 Small batches, high standards. Our rapid prototyping service makes validation faster and easier —

Vibratory Finishing for Die Castings: A Technical Guide
TL;DR
Vibratory finishing for die castings is a mass finishing process that uses specialized machines to agitate parts with abrasive media. This controlled friction systematically removes burrs, flash, and sharp edges left after the casting process. The primary goals are to achieve a uniform, smooth surface, enhance cosmetic appearance, and prepare the components for subsequent processes like painting or plating.
Understanding Vibratory Finishing for Die Castings
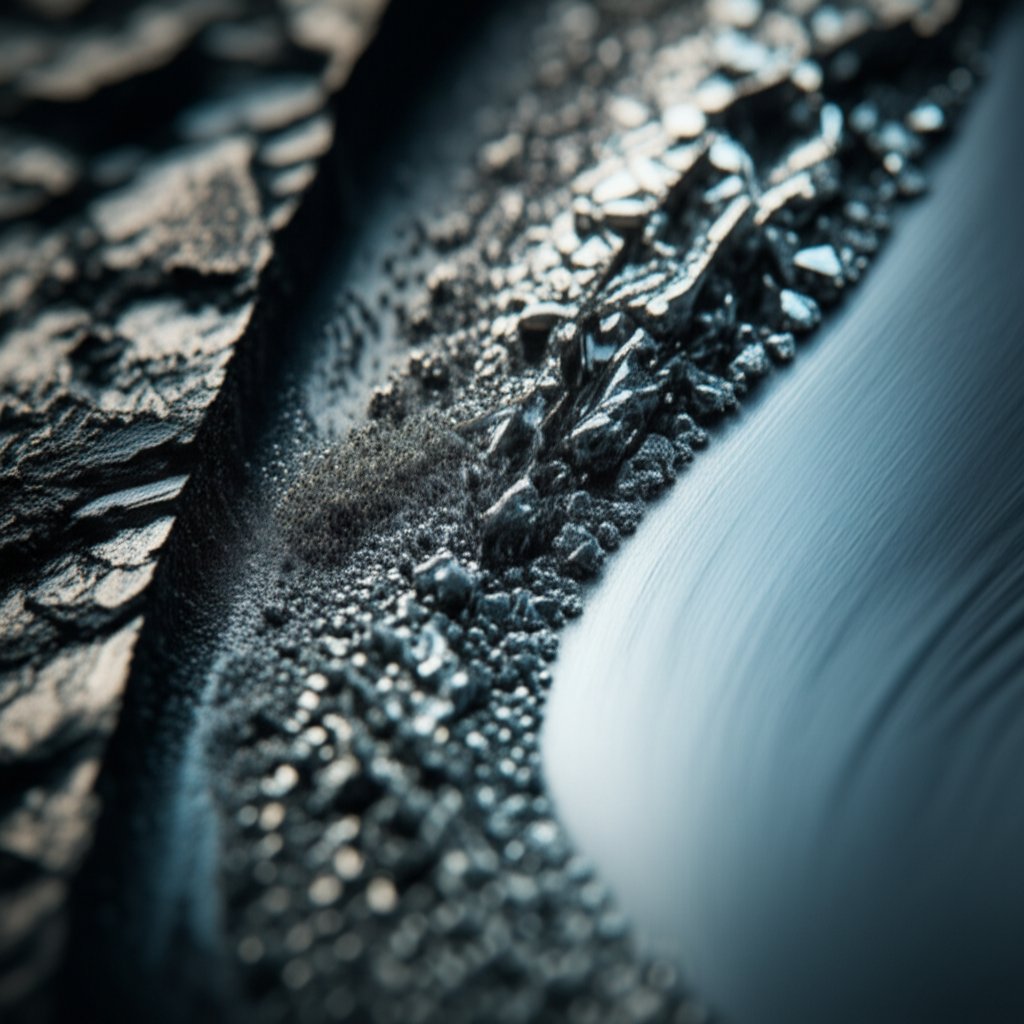
Vibratory finishing is a critical post-casting step that transforms a raw, rough die-cast part into a refined component ready for its final application. It is a type of mass finishing, a process that finishes many parts simultaneously, making it highly efficient for large production volumes. The core principle involves placing die castings into a vibratory machine, typically a bowl or tub, along with specifically chosen abrasive media and a liquid compound. The machine generates a controlled vibratory motion, causing the media and parts to gently rub against each other. This continuous, frictional grinding action methodically removes imperfections without damaging the parts themselves.
The primary objectives of this process are multifaceted. It goes beyond simple cleaning to provide significant surface improvements. According to industry experts like Rösler Group, the process is essential for everything from basic deburring to creating a pre-plate finish. This preparation is crucial for ensuring that subsequent coatings adhere properly and have a flawless appearance. Without effective surface preparation, paints, powders, and plating can fail prematurely.
Key benefits of employing vibratory finishing for die-cast components include:
- Deburring and Deflashing: Efficiently removes the small, unwanted pieces of metal (burrs and flash) that often form at the edges and parting lines of a mold.
- Edge Radiusing: Smooths sharp edges to improve handling safety and part durability, preventing stress fractures from initiating at sharp corners.
- Surface Smoothing: Eliminates die marks, heat check marks, and other surface irregularities to create a uniform texture and appearance.
- Polishing and Brightening: Achieves a smooth, reflective surface, which can be a final decorative finish or an ideal substrate for high-gloss coatings.
- Preparation for Coating: Creates a clean, active surface that promotes superior adhesion for paint, powder coating, or electroplating.
While often discussed alongside shot blasting, vibratory finishing is a distinct process. As noted by service providers like G&M Die Casting, shot blasting uses high-velocity projectiles to impact the surface, creating a textured, matte finish. Vibratory finishing, in contrast, is a gentler, friction-based process that is often more suitable for parts with complex geometries or those requiring a smoother, more polished outcome.
The Step-by-Step Vibratory Finishing Process
Achieving a high-quality finish on die castings is a systematic process that involves several distinct stages. Each step utilizes different types of media and machine parameters to progressively refine the part's surface. A well-executed process ensures consistency and meets precise surface finish specifications. According to a detailed guide from Mass Polishing, the process can be broken down into the following key phases.
The journey from a raw casting to a finished part requires careful control over variables like cycle time, machine amplitude, and the selection of media and compounds. Rushing a step or using the wrong materials can lead to incomplete deburring or even damage to the parts. The goal is a balance between efficiency and precision, ensuring each part emerges clean, smooth, and ready for the next stage of manufacturing.
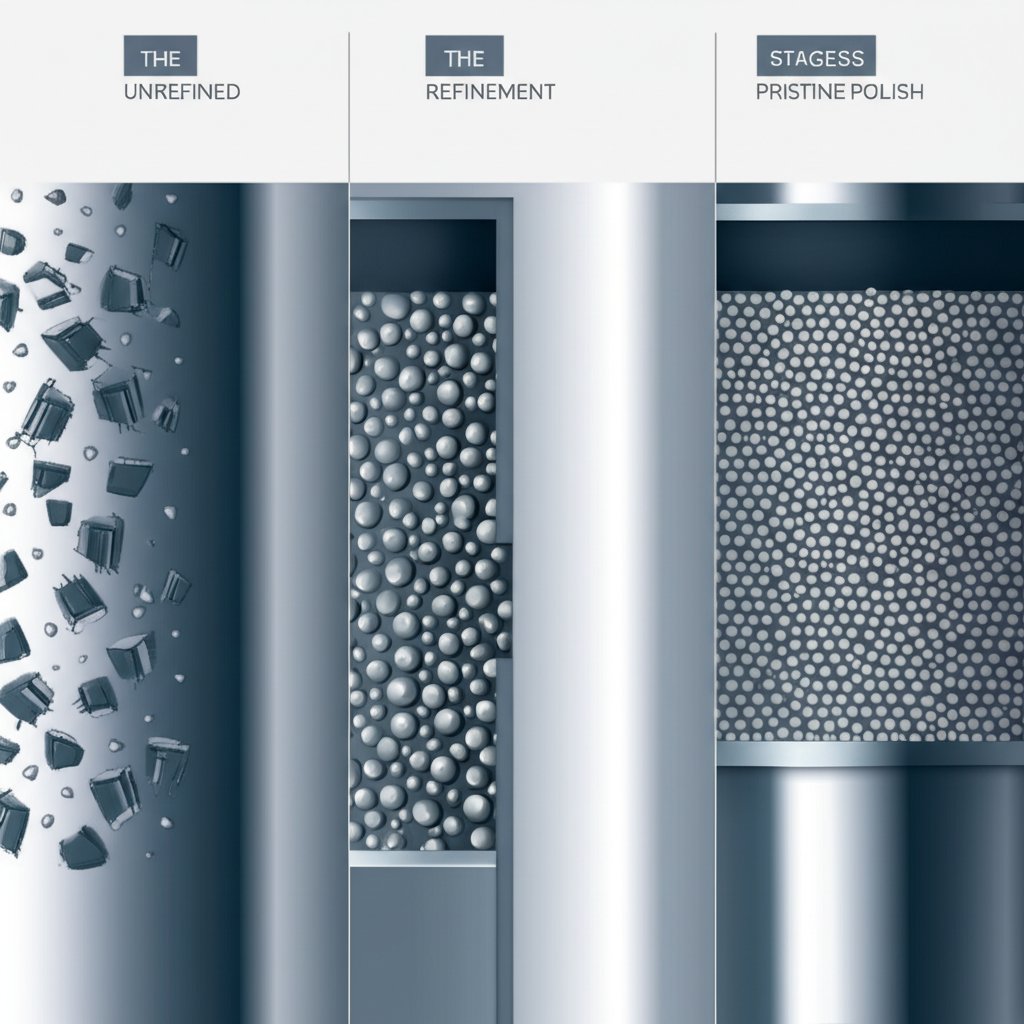
- Deburring (Cutting Phase): The initial and most aggressive stage focuses on removing major imperfections like burrs and flash. The vibratory machine is filled with a coarse, highly abrasive media, such as ceramic triangles. The high cutting efficiency of this media quickly grinds away sharp edges and excess material from the die-cast parts.
- Surface Smoothing: After the primary burrs are removed, the parts are processed with a finer, less aggressive media, such as plastic pyramids or cones. This step removes the scratches and rough texture left by the deburring phase. A lubricating compound is often added to improve the cutting action and protect the parts, resulting in a much smoother, more refined surface.
- Brightening and Polishing: To achieve a bright, reflective finish, a third stage is required. This step uses non-abrasive or very fine polishing media, like porcelain balls, combined with a specialized polishing compound. The machine is typically run at a lower speed and amplitude to gently burnish the surface, enhancing its brightness and achieving a near-mirror polish. Some processes can achieve surface values of less than Ra 0.02µm.
- Rinsing and Drying: The final, critical step is to thoroughly clean the finished parts. They are rinsed to remove any residual media particles and compound. Following the rinse, parts are typically dried using methods like heated corn cob media in a vibratory dryer or a centrifugal dryer to prevent water spots and inhibit oxidation, ensuring a clean, final product.
Essential Equipment and Media Selection
The success of vibratory finishing hinges on two key components: the machine that provides the energy and the media that performs the work. The interplay between the equipment's settings and the media's characteristics determines the final outcome. Selecting the right combination is crucial for achieving the desired surface finish efficiently and without damaging the die castings.
Vibratory machines come in several forms, with vibratory bowls being the most common for batch processing. These round machines create a toroidal (corkscrew) motion that ensures all parts are consistently processed. For larger or continuous operations, tub or trough vibrators and continuous linear systems are used. Modern machines offer adjustable speed and amplitude settings, allowing operators to fine-tune the process for different part sizes, materials, and finishing requirements.
The finishing media is the abrasive material that performs the deburring, smoothing, and polishing. The choice of media depends entirely on the part material (e.g., zinc, aluminum), its initial condition, and the target finish. A poor media choice can be ineffective or, worse, damage the parts. Finishing compounds are also critical; these are liquid or powder additives that lubricate, clean, prevent rust, and enhance the media's cutting or polishing action.
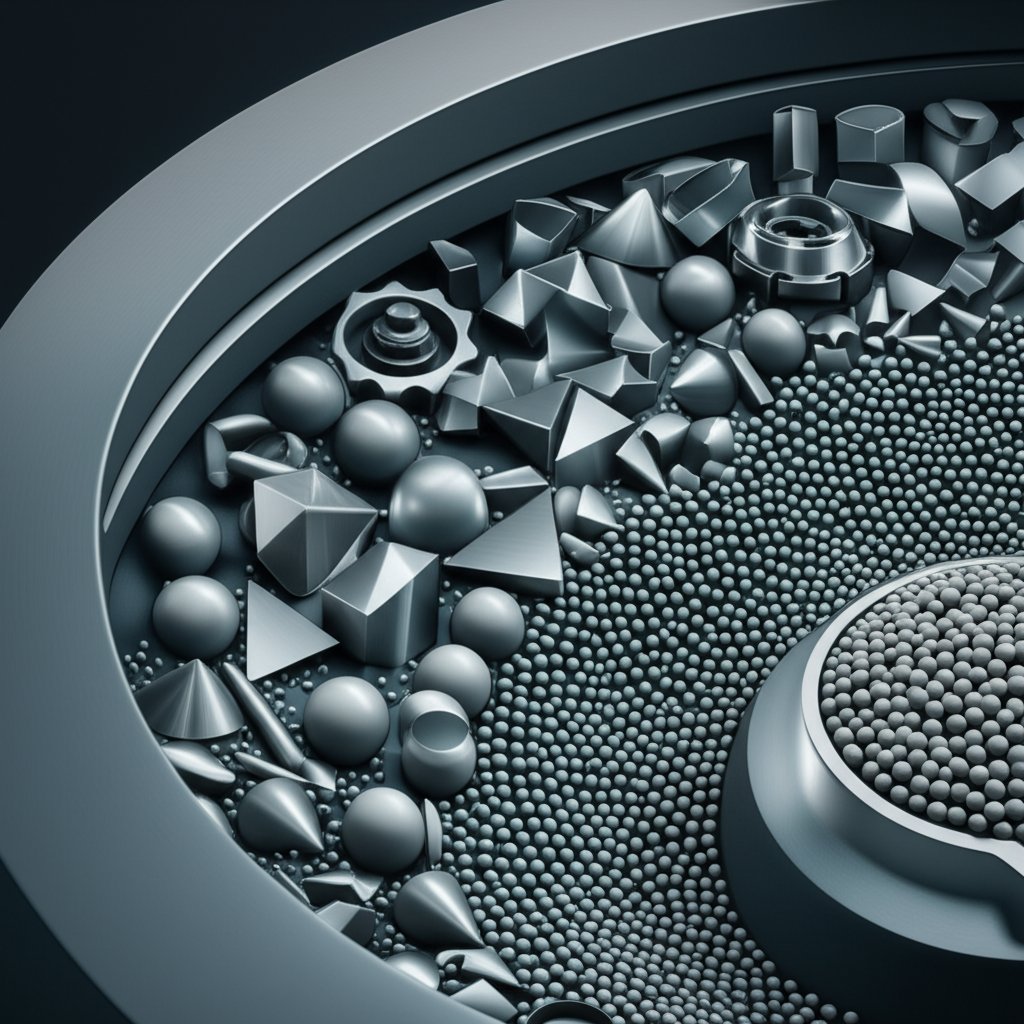
Here is a breakdown of common media types and their primary applications:
| Media Type | Primary Use | Key Characteristic |
|---|---|---|
| Ceramic Media | Aggressive deburring, edge radiusing, and heavy cutting. | High density and hardness provide a fast cutting action. Best for ferrous metals and initial processing of hard non-ferrous castings. |
| Plastic Media | Surface smoothing, pre-paint/pre-plate finishing, and light deburring. | Offers a gentler abrasion than ceramic. Ideal for softer metals like aluminum and zinc or when preserving fine details is critical. |
| Porcelain Media | Polishing, burnishing, and brightening. | Non-abrasive material that burnishes the surface to create a high-luster, smooth, and reflective finish. Used in the final polishing stage. |
| Steel Media | Heavy deburring and high-intensity burnishing. | Extremely dense and long-lasting. Imparts a bright, compressive finish on parts and can handle very heavy burrs. |
Design and Material Considerations for Die Castings
While vibratory finishing is a powerful tool, its effectiveness is profoundly influenced by the initial design of the die-cast part. According to an insightful article from Finishing and Coating, die castings are among the most difficult substrates to finish, making upfront design collaboration between engineers and finishers essential. A part designed with finishing in mind can be processed more efficiently, with better results and lower costs.
Different die-cast materials like zinc, aluminum, and magnesium have unique properties that affect the finishing process. Aluminum, being softer than zinc, requires gentler media and shorter cycle times to prevent excessive material removal or surface damage. Contaminants such as mold release agents must also be thoroughly removed before finishing, as they can interfere with the process and subsequent coating adhesion.
Incorporating design features that facilitate finishing can prevent many common problems. These proactive measures ensure that the vibratory media can reach all necessary surfaces and that critical features are protected. Here are several key 'Design for Finishing' guidelines:
- Maximize Corner Radii: Use the largest possible radius on all internal and external corners. Sharp corners are difficult for media to reach and can chip, whereas generous radii allow for uniform deburring and smoothing.
- Strategically Place Parting Lines: Whenever possible, design the mold so that parting lines and trimmed edges are hidden in the final assembly. This can eliminate the need for extensive polishing on visible cosmetic surfaces.
- Chamfer or Counterbore Holes: Adding a chamfer to holes, especially those that will be tapped, protects the leading threads from being damaged during the deburring process.
- Use Raised Shoulders on Bosses: For mounting bosses that will be masked during painting, designing a raised shoulder can prevent scuffing of the surrounding painted surface when fasteners are installed.
- Optimize Boss and Gusset Design: Design short, sturdy bosses and correctly designed gussets to improve metal flow during casting. This helps prevent sink marks on critical Class-A surfaces.
Ultimately, a holistic approach that considers the entire manufacturing lifecycle, from initial design to final finish, yields the best results. This principle applies not only to die casting but to other precision manufacturing processes as well. For instance, in the world of high-performance automotive parts, companies specializing in robust components understand this synergy. Experts in precision-engineered components, such as the automotive forging parts from Shaoyi (Ningbo) Metal Technology, rely on controlled processes from forging to finishing to meet stringent quality standards like IATF16949.
Frequently Asked Questions
1. What is the difference between vibratory finishing and barrel tumbling?
While both are mass finishing methods, they operate differently. Barrel tumbling involves parts tumbling over one another in a rotating barrel, which can be aggressive and less suitable for delicate or complex parts. Vibratory finishing uses high-frequency vibrations to create a gentler, scrubbing motion that is more controlled and provides a more uniform finish with a lower risk of part-on-part impingement.
2. How long does the vibratory finishing process take?
The cycle time for vibratory finishing can vary significantly, ranging from as little as 15 minutes to several hours. The duration depends on several factors, including the type of material, the initial condition of the parts, the type of media being used, and the desired final finish. Aggressive deburring is typically faster than multi-stage polishing.
3. Can vibratory finishing be used on all types of die-cast metals?
Yes, vibratory finishing is versatile and can be adapted for common die-cast metals, including zinc, aluminum, and magnesium. However, the process parameters—such as the choice of media, compound, and cycle time—must be carefully adjusted for each material. Softer metals like aluminum require less aggressive media and shorter cycles to prevent damage or excessive material removal.