 Small batches, high standards. Our rapid prototyping service makes validation faster and easier —

Essential Parts for Tubular Control Arm Fabrication
TL;DR
Fabricating custom tubular control arms requires a specific set of parts and a precise process. The essential components include high-strength DOM or Chromoly tubing, threaded weld-in bungs for rod ends, high-quality bushings (Delrin or polyurethane), and machined ball joint cups. The fabrication process hinges on accurate design, precise cutting and notching of the tubes, assembly within a rigid jig to maintain geometry, and meticulous TIG welding for maximum strength and safety.
Essential Components for Control Arm Fabrication
Building a set of tubular control arms from scratch is a rewarding project that gives you complete control over your vehicle's suspension geometry. However, success depends on starting with the right materials. These aren't parts you can find at a local hardware store; they are specialized components designed to withstand immense stress. Sourcing high-quality parts is the first and most critical step in the fabrication process.
The foundation of any tubular control arm is the tubing itself. Most fabricators choose between Drawn Over Mandrel (DOM) steel and 4130 Chromoly steel. As noted in products from manufacturers like Porterbuilt, thick-wall DOM tubing is a popular choice for its high strength, excellent uniformity, and cost-effectiveness, making it ideal for street and performance applications. Chromoly offers a higher strength-to-weight ratio, making it the preferred material for racing applications where every ounce matters, a choice detailed in high-end custom builds. The selection depends on your project's budget and performance goals.
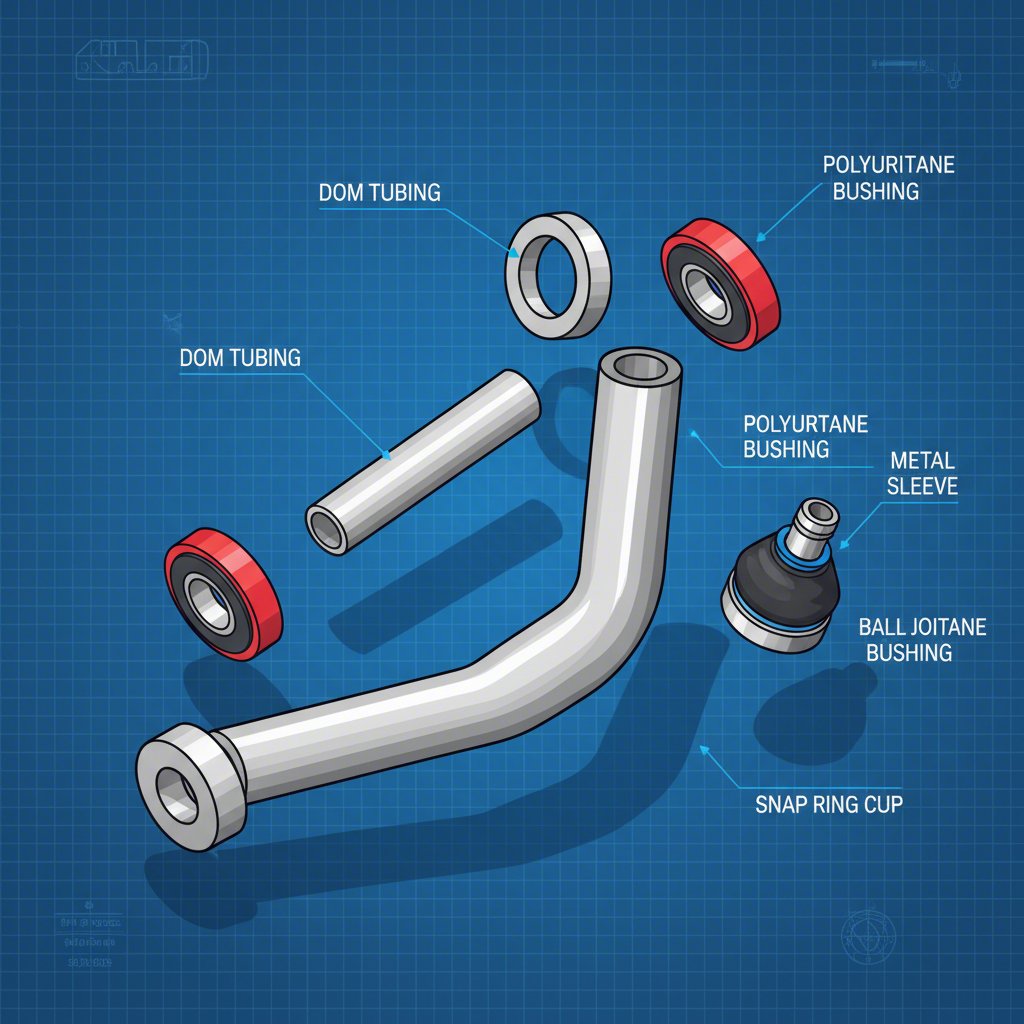
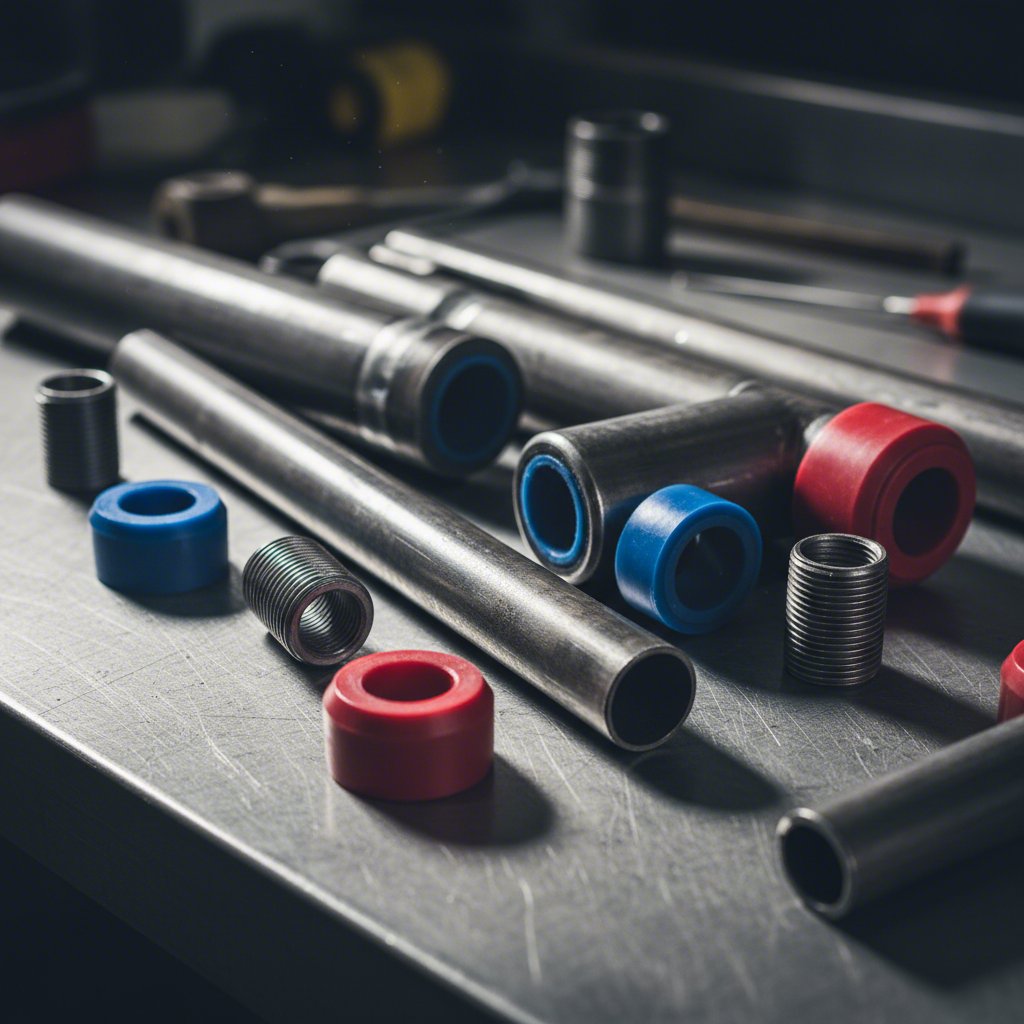
Beyond the tubing, you'll need several key components to create functional and adjustable arms. Online suppliers like JOES Racing Products and CB Chassis Products offer a comprehensive range of these parts. A typical shopping list includes:
- Weld-in Tube Ends (Bungs): These threaded inserts are welded into the ends of the DOM tubing to accept heim joints (rod ends) or threaded adjusters, allowing for precise alignment changes.
- Bushings and Sleeves: These components are pressed into the chassis-side pivot points of the control arms. High-performance options include Delrin for minimal deflection and long life or polyurethane for a balance of performance and vibration damping.
- Ball Joint Cups or Plates: These hold the ball joint on the wheel side of the control arm. They can be plates for bolt-in ball joints or machined cups for press-in styles, and must be precisely located and welded.
- Mounting Tabs and Brackets: These are welded to the vehicle's frame to provide mounting points for the control arm pivots.
For projects requiring unique specifications, high-volume production, or superior precision in components like CNC-cut plates and ball joint cups, partnering with a specialized manufacturer can be beneficial. Companies such as Shaoyi (Ningbo) Metal Technology Co., Ltd. provide custom automotive stamping and metal component manufacturing, offering the kind of precision that is critical for suspension parts. This ensures perfect fitment and metallurgical consistency, which are vital for both safety and performance.
Material Comparison: DOM Steel vs. 4130 Chromoly
| Feature | DOM Steel | 4130 Chromoly |
|---|---|---|
| Strength | Very strong and durable for most applications. | Higher tensile strength, allowing for thinner walls and lighter weight for the same strength. |
| Weight | Heavier than Chromoly for equivalent strength. | Lighter, making it ideal for racing and unsprung weight reduction. |
| Cost | More affordable and widely available. | Significantly more expensive. |
| Weldability | Easier to weld with MIG or TIG; less sensitive to heat. | Requires TIG welding. Pre-heating and post-heating are generally only required for wall thicknesses greater than 0.120 inches. |
| Ideal Application | Street performance, custom trucks (C10, S10), and general fabrication. | Professional motorsports, off-road racing, and applications where weight is critical. |
The Fabrication Process: From Design to Final Weld
With your components sourced, the fabrication process begins. This is where precision, patience, and the right tools are paramount. Building control arms isn't just about welding tubes together; it's an exercise in engineering that directly impacts your vehicle's handling and safety. The entire process must be methodical to ensure the final product is both strong and geometrically perfect.
The journey from raw material to finished product follows a clear sequence of steps. As detailed in a comprehensive build log by Wilhelm Raceworks, even seemingly minor details like ensuring generous radii instead of sharp corners can have a major impact on the part's resistance to stress and fatigue. A professional approach involves careful planning and execution at every stage.
Here is a step-by-step breakdown of the fabrication process:
- Design and Measurement: The first step is to finalize your design, either using CAD software for stress analysis or by carefully measuring your vehicle's suspension pickup points. You must determine the desired length, ball joint angle, and pivot locations to achieve your target camber, caster, and roll center.
- Cutting and Notching: Cut the DOM or Chromoly tubing to the precise lengths determined in your design. The ends of the tubes that will join other tubes must be 'notched' or 'coped' to fit perfectly flush, creating a strong joint for welding. A tube notcher is the best tool for this job.
- Machining and Prep: Any custom pieces, like the fittings that hold the ball joint, may need to be machined on a lathe or mill. Before welding, thoroughly clean all components to remove any oil, grease, or mill scale that could contaminate the weld.
- Building a Jig: This is arguably the most crucial step. A fabrication jig is a fixture that holds all the individual components of the control arm in their exact final positions. Building an accurate and rigid jig is essential to ensure the control arm is not warped by the heat of welding and that its final geometry is correct.
- Tack Welding and Verification: Place all components into the jig and apply small 'tack' welds to hold them together. Once tacked, remove the arm from the jig and test-fit it on the vehicle to verify its dimensions and clearances before final welding.
- Final Welding: For suspension components, Tungsten Inert Gas (TIG) welding is the preferred method due to its precision and the strong, clean welds it produces. Weld the seams in a staggered sequence to distribute heat evenly and minimize warping. For 4130 Chromoly, slow cooling (such as wrapping the part in a welding blanket) is necessary to prevent the material from becoming brittle; however, pre-heating is typically only required for tubing with a wall thickness greater than 0.120 inches.
- Finishing: After welding and cooling, the control arm can be powder-coated or painted for corrosion resistance. Finally, press in the bushings and install the ball joint to complete the assembly.
Tubular vs. Plate Arms: A Critical Design Choice
When designing custom control arms, one of the fundamental choices a fabricator faces is whether to use a tubular or a plated design. While both can be incredibly strong, their construction gives them different characteristics that make them suitable for different applications. Understanding these differences is key to building a suspension system that matches your vehicle's intended use.
A tubular control arm, as the name implies, is constructed primarily from round or sometimes square tubing. This design is excellent at resisting forces from multiple directions, such as the twisting (torsional) loads and the push-pull (tension and compression) forces common in on-road performance driving. The rounded shape distributes stress evenly, making it an efficient and lightweight solution for most applications from street cars to road racing.
A plate arm, often seen in extreme off-road racing, is fabricated from multiple pieces of flat plate steel that are cut and welded together to form a box-like structure. This construction method creates an arm that is exceptionally strong and rigid, particularly against direct vertical impacts, like landing a large jump. While often heavier than a tubular arm, its strength can be an advantage in brutal environments. As one forum user noted, 'Plate arms will be stronger. Tubing is better in something like a roll cage where forces (impacts) can come from any angle.' This highlights the core trade-off between the two designs.
Comparison: Tubular vs. Plate Control Arms
| Characteristic | Tubular Control Arms | Plate Control Arms |
|---|---|---|
| Strength Profile | Excellent torsional rigidity and strength in tension/compression. Efficient at handling loads from multiple angles. | Extremely high strength against direct vertical and side loads. Can be stronger but less efficient for its weight. |
| Weight | Generally lighter for a given level of strength due to the efficiency of round tubing. | Typically heavier and bulkier, as it requires more material to create the boxed structure. |
| Fabrication Complexity | Requires precise tube notching and a robust jig. Welding can be complex around curved joints. | Requires CNC or plasma cutting for the plates and extensive welding. Internal baffling is often needed. |
| Cost | Material cost for DOM tubing is moderate. Chromoly increases the cost significantly. | Material costs for steel plate can be high, and the labor/cutting costs are often greater. |
| Ideal Application | Street performance, road racing, drag racing, custom trucks, and most on-road vehicles. | Trophy trucks, rock crawlers, and extreme off-road vehicles that endure harsh impacts. |