 Small batches, high standards. Our rapid prototyping service makes validation faster and easier —

Stamping Manufacturing Costs, Estimation, And RFQs—Made Simple
Stamping manufacturing explained clearly
When you pick up a car door, a laptop chassis, or even a tiny electrical connector, you’re often holding the result of stamping manufacturing—a process that transforms flat sheet metal into precise, functional shapes using dies and presses. But what is metal stamping, and why does it dominate so many industries? Let’s break down the stamping definition and see what sets this process apart.
What stamping manufacturing means in production
At its core, stamping manufacturing is the cold or warm forming of sheet metal into complex or simple parts by pressing it between custom-shaped dies. Unlike machining, which cuts away material, or additive manufacturing, which builds parts layer by layer, stamping uses force and carefully engineered tooling to quickly shape metal with high repeatability and efficiency. This approach is especially valuable in sectors like automotive, appliances, electronics, and industrial equipment, where millions of identical parts—think brackets, housings, or connectors—are needed with consistent quality and minimal waste. The value of the process is rooted in up-front die engineering: once the die is perfected, each cycle produces a part in seconds, with minimal variation.
Core processes from blanking to deep drawing
Sounds complex? Here’s a quick guide to the most common stamping operations and what features they produce:
- Blanking: Cuts flat shapes (blanks) from sheet metal—often the first step in the stamping process.
- Piercing: Punches holes or slots into the blank.
- Bending/Forming: Creates angular or curved features, such as brackets and clips.
- Drawing/Deep Drawing: Stretches the metal into a cavity to make cups, shells, or automotive panels.
- Flanging: Bends the edge of a part to add strength or prepare for assembly.
- Coining: Compresses features for fine detail, edge smoothing, or work hardening.
Together, these techniques form the backbone of the metal stamping process, enabling everything from simple washers to intricate automotive body panels.
Where stamping fits versus machining and casting
Imagine you need thousands of identical metal parts—should you choose stamping, machining, or casting? Here’s a quick comparison to help you decide:
| Process | Cycle Time Drivers | Tooling Dependency | Material Utilization |
|---|---|---|---|
| Stamping | Very fast (seconds per part after setup) | High (custom dies required, high up-front cost) | High (minimal scrap, efficient use of sheet) |
| Machining | Slower (minutes per part, depending on complexity) | Low to moderate (standard tools, flexible, lower up-front cost) | Lower (more scrap, subtractive process) |
| Casting | Moderate (depends on cooling/solidification) | Moderate to high (molds required, but less precision than dies) | Variable (depends on gating/runners, some scrap) |
As you can see, stamping manufacturing shines when you need high speed, excellent material yield, and tight part-to-part consistency. However, it requires a significant investment in die tooling upfront. That’s why stamping is the go-to for high-volume production, while machining and casting are often chosen for prototyping, low-volume, or highly complex geometries.
Want to define stamping more precisely? According to standards and industry usage, die stamping and sheet metal stamping are interchangeable terms, and you may also see "presswork" or "pressing" used in different regions. If you hear questions like "what is stamped metal?" or need a stamping definition for a cross-functional team, remember: it’s all about forming sheet metal into useful parts with high repeatability and low waste.
From RFQ to PPAP: Who shapes cost, quality, and lead time?
Understanding the full workflow helps you see where value is created and who influences the outcome in stamping manufacturing:
- Product Design: Defines the part’s geometry, tolerances, and functional requirements.
- Die Design: Engineers the tooling that will form each feature; a critical phase that impacts cost and speed.
- Press Setup: Technicians configure and maintain the stamping presses for reliable, repeatable output.
- Quality Assurance: Monitors dimensions and surface finish, ensuring parts meet specification throughout production.
- Supply Chain/Procurement: Manages material sourcing, logistics, and schedules to keep production running smoothly.
Each role is tightly linked: a change in die design can affect press setup time and quality checks, while supply chain issues can impact lead time and cost. Recognizing these connections is key to successful, cost-effective stamping manufacturing.
Press and tooling selection that works
When you’re staring at a new part design, the question always comes up: How do you match the right stamping press and die to the job? The answer lies in understanding how geometry, material, and production volume shape your choices. Let’s walk through the practical decisions that can make or break your stamping manufacturing project.
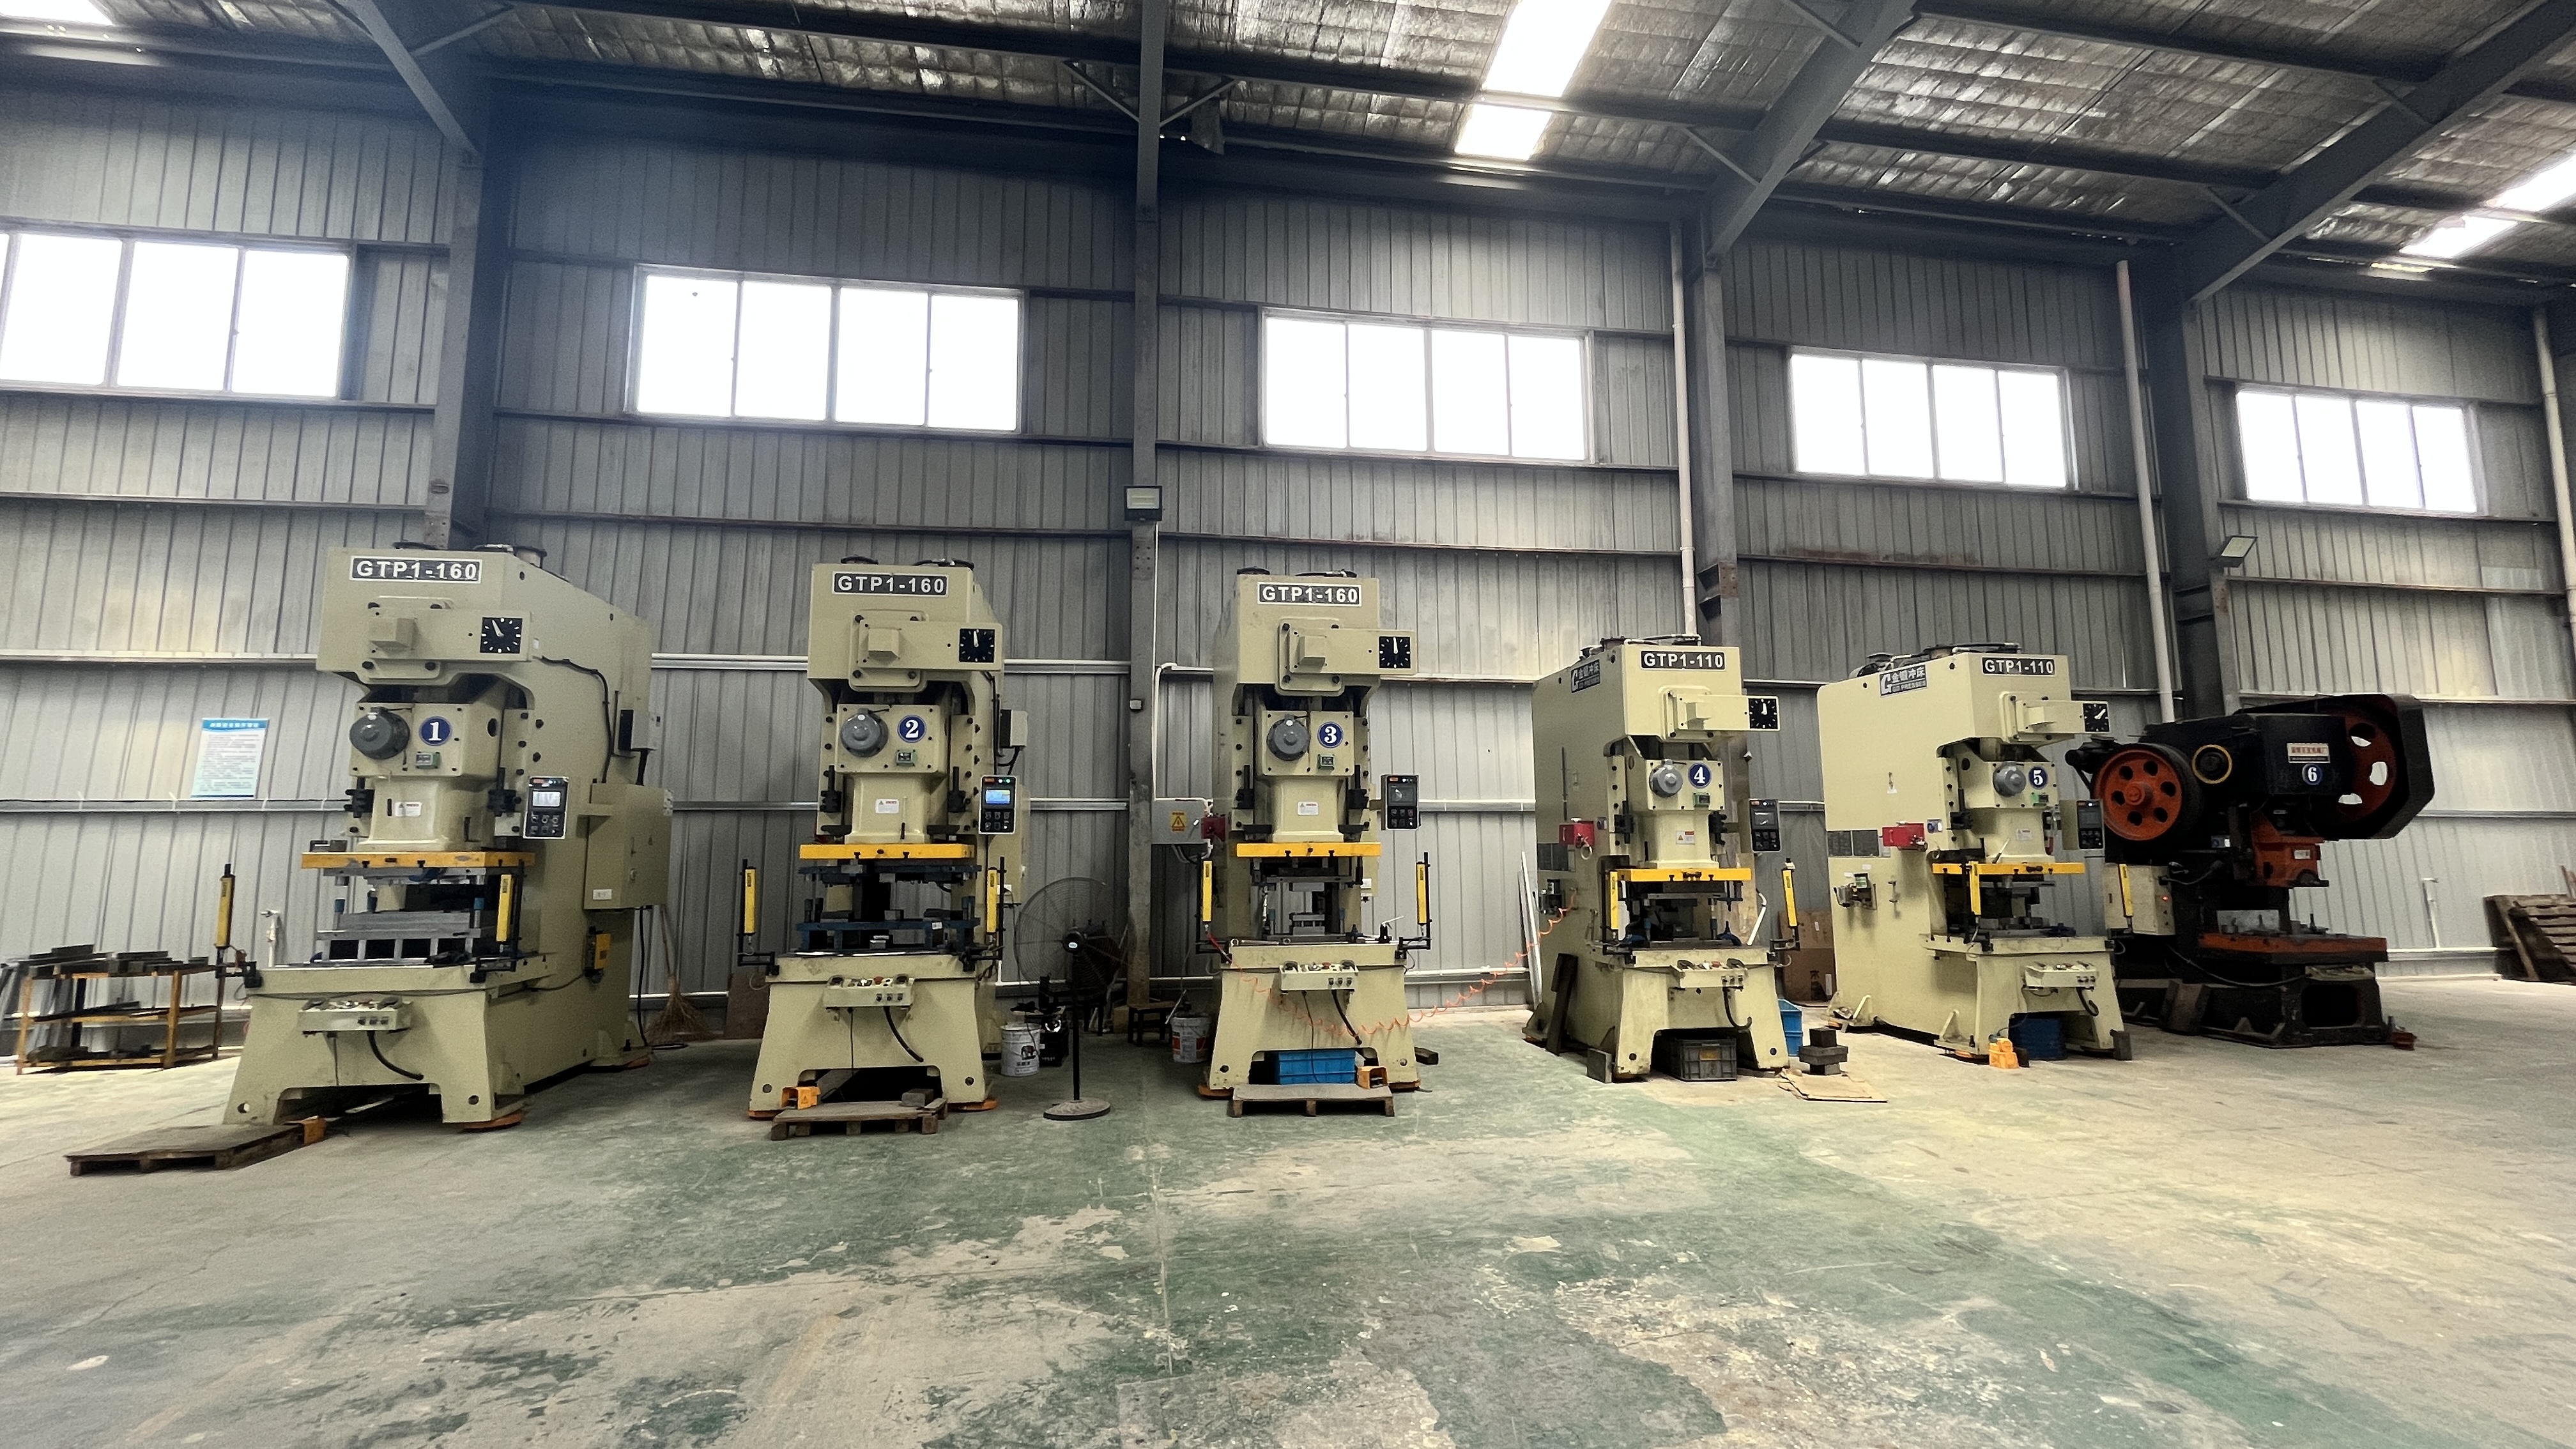
Choosing a stamping press that fits the part
Not all stamping presses are created equal. The geometry of your part, its material thickness, and the required tolerances all play a role in selecting the right machine. Here’s a quick overview of the three main types of presses you’ll encounter in metal stamping equipment:
| Press Type | Speed Control | Energy Delivery | Formability Support | Maintenance Load | Best For |
|---|---|---|---|---|---|
| Mechanical Press | Fast, fixed stroke; up to 1,500 spm | Flywheel stores and releases energy | Best for shallow, simple parts from coil | Low to moderate | High-volume blanking, piercing, simple forming |
| Hydraulic Press | Variable, programmable stroke and speed | Consistent force through entire stroke | Excellent for deep drawing, variable force profiles | Moderate (more moving parts) | Complex shapes, deep drawn parts |
| Servo Press | Highly programmable; combines speed and dwell | Direct motor drive, precise control | Flexible—adapts to many forming needs | Higher (complex electronics) | Intricate parts, variable cycle needs |
For example, if you’re producing a flat bracket in high volumes, a mechanical stamping press is likely your best bet for speed and efficiency. But if your part has deep drawn features—think automotive tanks or complex shells—a hydraulic or servo press offers the control and force profile you need. Always check that your press can accommodate the die’s shut height, bed area, and transfer system requirements. Don’t forget to review clutch/brake safety and ensure your feed system matches the press and die setup.
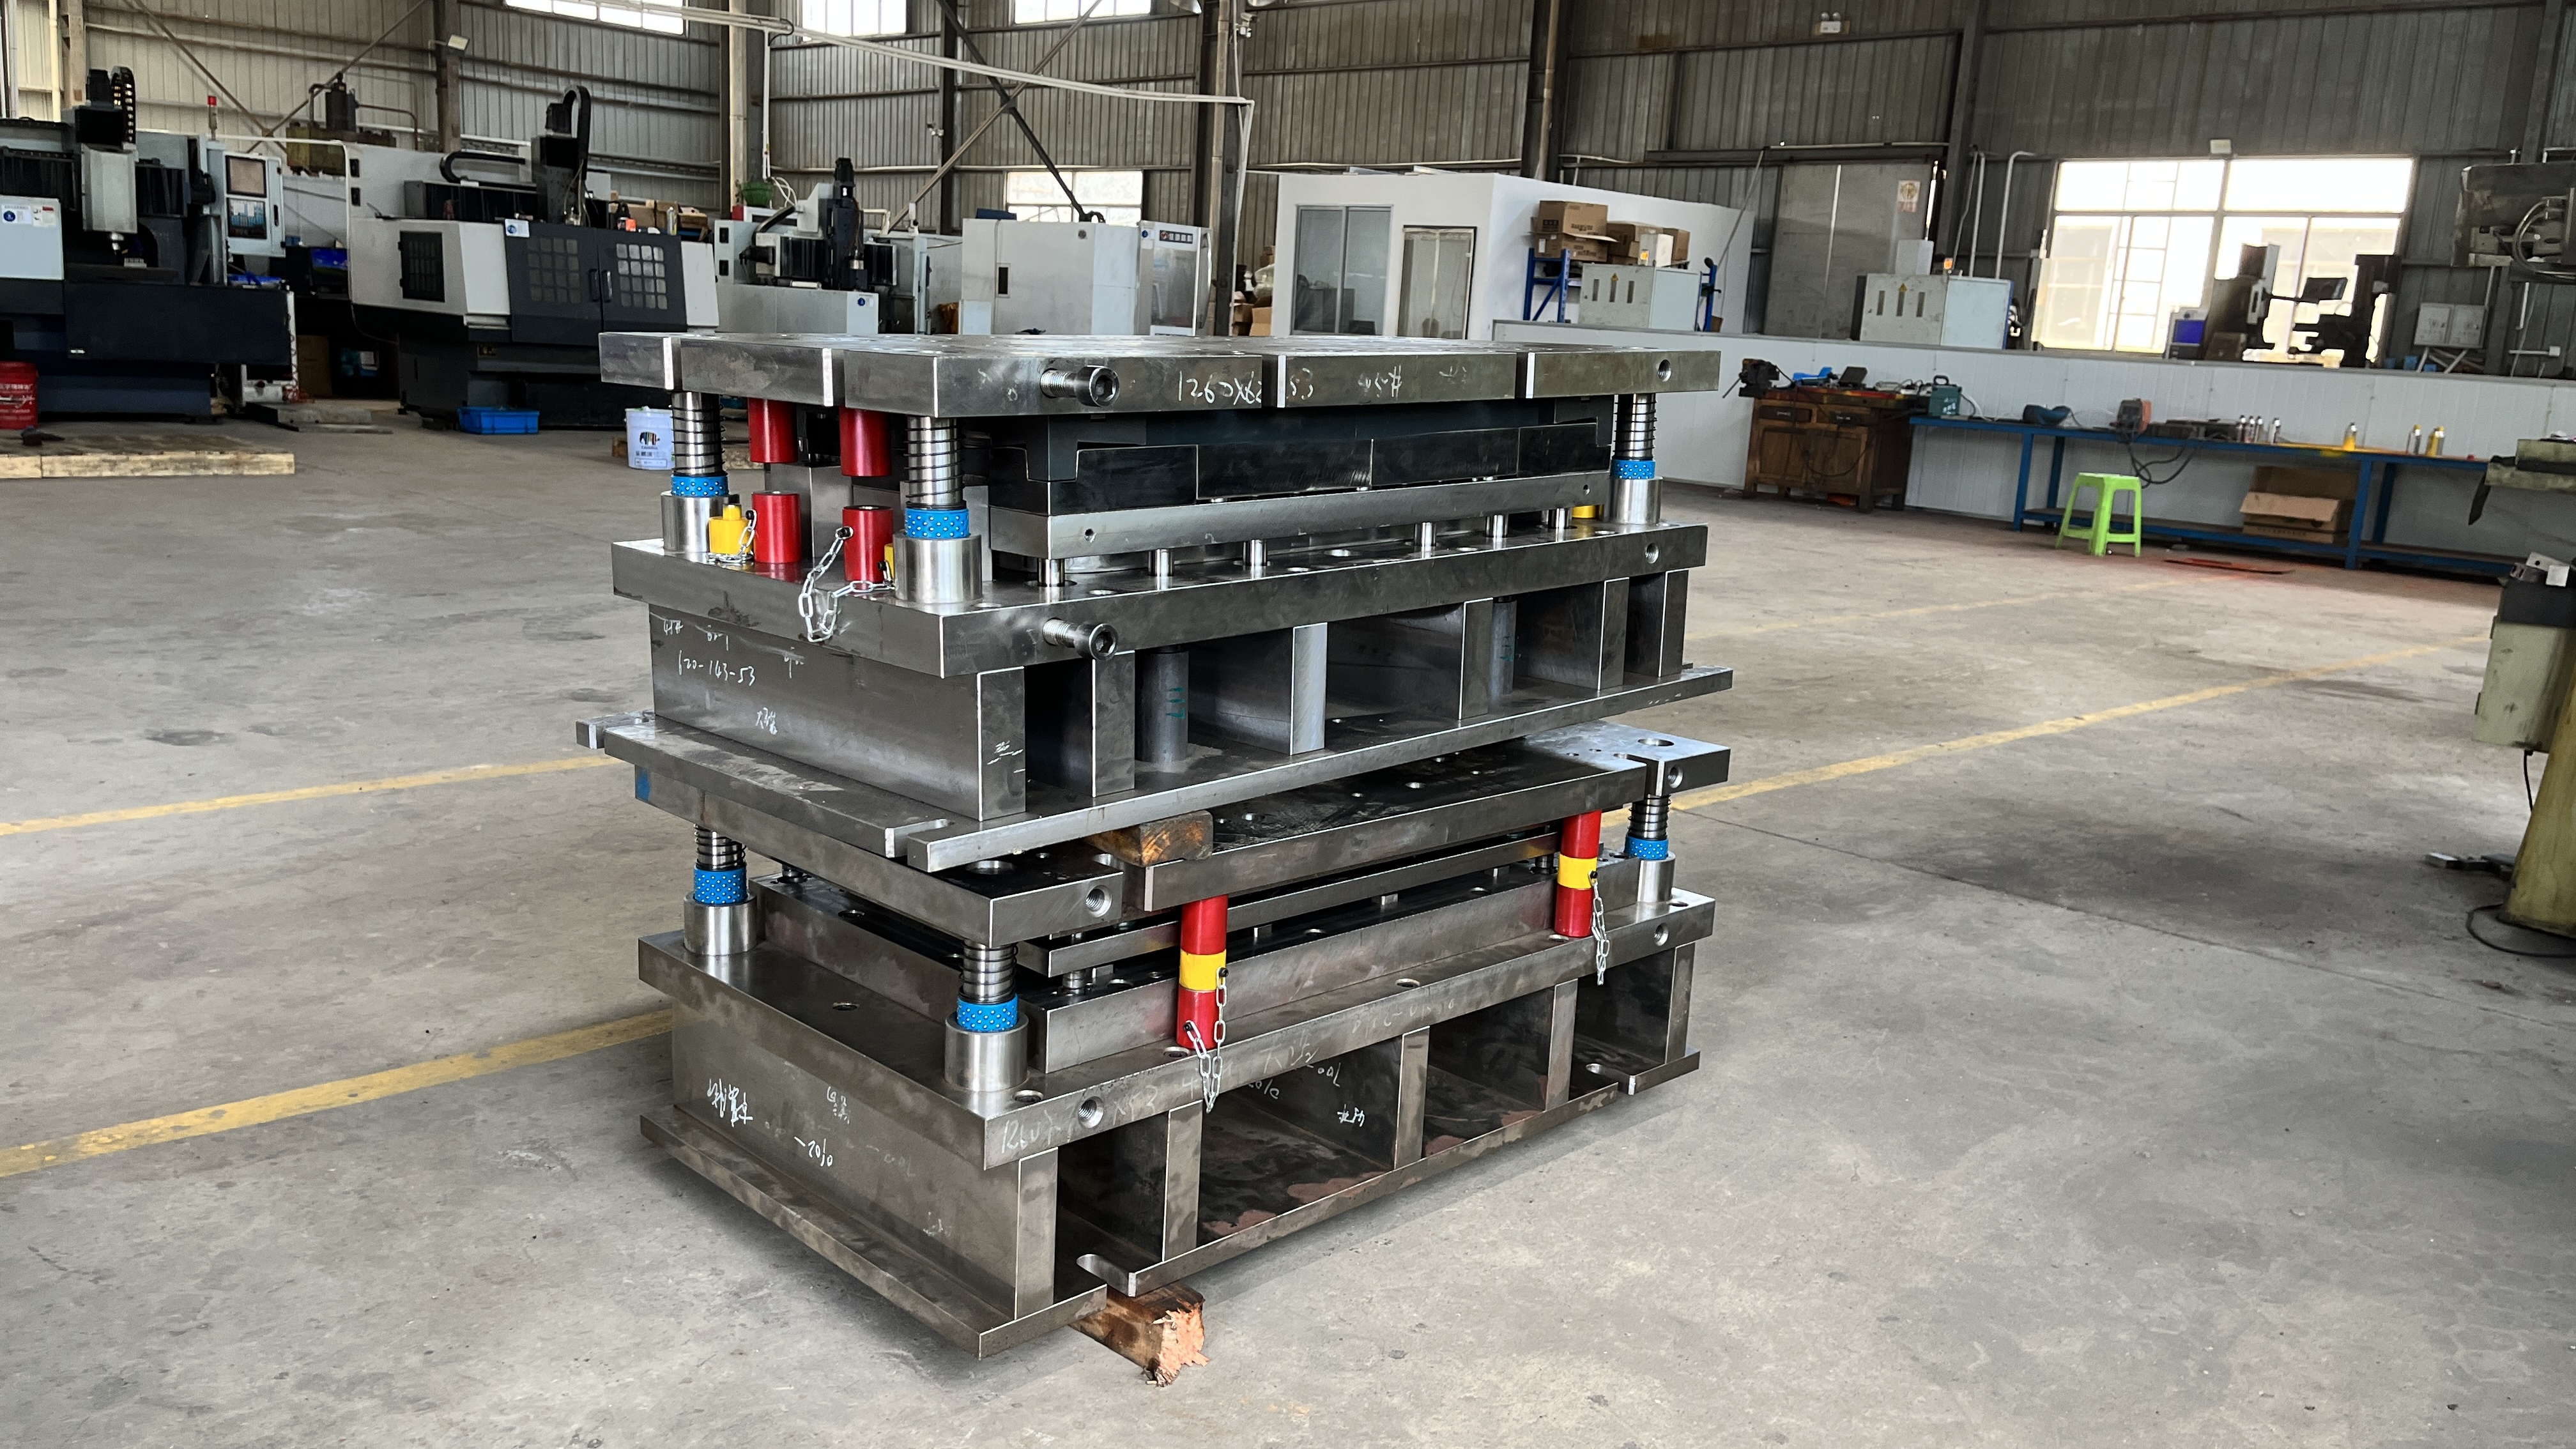
Die styles and when to use them
Choosing the right die is just as important as the press. Here’s a breakdown of common types of stamping dies and their ideal applications:
| Die Style | Pros | Cons | Typical Volume | Changeover Complexity |
|---|---|---|---|---|
| Single-Station (Simple, Compound, Combination) | Low cost, flexible for changes | Slower, manual transfer between steps | Low to medium | Simple—quick swaps |
| Progressive Die | High throughput, minimized scrap, automated | High initial cost, less flexible to changes | High volume | Moderate—setup time for alignment |
| Transfer Die | Handles large/complex parts, versatile features | Requires transfer system, moderate cost | Medium to high | Moderate—dependent on automation |
Imagine you’re launching a new part with uncertain demand or likely design changes. A single-station die or compound die gives you flexibility without heavy upfront investment. But if you’re ramping up for millions of identical components, investing in a progressive die—and the right stamping machinery—pays off with speed and repeatability. Transfer dies are ideal for larger or more complex parts that need to be moved between stations without being attached to the strip (reference).
Maintenance planning and expected die life
Even the best sheet metal press or steel stamping press is only as reliable as its maintenance program. A well-structured maintenance plan extends the life of your metal stamping dies and keeps production quality high. Here’s a practical checklist to help you stay ahead of costly breakdowns:
- Preventive sharpening: Regularly sharpen edges and features to maintain precision.
- Guide wear tracking: Inspect guides and bushings for signs of wear or misalignment.
- Lubrication strategy: Apply the right lubricants to reduce friction and prevent overheating.
- Spare inserts policy: Keep critical inserts and wear parts in stock for quick replacement.
- Scheduled inspections: Use visual and advanced methods (ultrasonic, magnetic) to catch subsurface flaws.
- Operator training: Ensure staff know the correct procedures for handling and maintaining stamping equipment.
Proactive maintenance not only extends die life but also stabilizes part quality, prevents unplanned downtime, and protects your investment in stamping presses and tooling.
As you plan your next stamping manufacturing project, remember: the right pairing of stamping press and die style—matched with disciplined maintenance—lays the foundation for efficient, reliable, and cost-effective production. Next, we’ll dive into estimation methods to help you size your press and dies for accurate quoting and process planning.
Estimation methods you can actually use
When you’re faced with a new part and a blank sheet of specifications, how do you quickly estimate the resources required for the stamping manufacturing process? Sounds complex, but with a structured approach, you’ll find the numbers are within reach—even before you have every detail. Let’s break down the essential estimation steps for press force, blankholder force, cycle time, and strip layout, so you can move from concept to quote with confidence.
Press force and blankholder force estimation
Imagine you’re tasked with sizing a stamping machine for metal parts. The first step is to estimate the press force required for each operation—blanking, piercing, forming, and drawing. You’ll want to sum the forces for each station and add a reasonable safety margin. The best practice is to use the actual shear strength and material thickness from your material specs, but even without exact numbers, you can apply the following principle:
Blanking/Piercing Force = Perimeter × Material Thickness × Shear Strength
This formula, widely used in the sheet metal stamping process, gives you a baseline for blank stamping and piercing operations. For drawing operations, swap in the ultimate tensile strength of the material to account for the stretching action:
For the deep drawing process, force estimation is much more complex. First, we can calculate the ideal drawing force required to deform the material:
Ideal drawing force ≈ part circumference × material thickness × material ultimate tensile strength
However, this is only part of the total pressure. To prevent wrinkling as the sheet material flows into the die, another important force—the blankholder force—must be applied. Therefore, when estimating press tonnage, both of these factors, as well as the friction generated during the process, must be considered. A more realistic estimate is:
Total pressure ≈ ideal drawing force + blankholder force
As a rough industry rule of thumb, the blankholder force is typically around 30% of the ideal drawing force, but this ratio can vary significantly depending on part geometry, material, and draw depth. Therefore, when making critical decisions, it is highly recommended to use professional CAE forming analysis software for accurate calculations.
Don’t forget to include forces from auxiliary elements—spring strippers, lifter pins, or cams—as these can add up in a progressive die. According to expert guidance, it’s critical to sum all loads across stations for total press tonnage. For blankholder force (especially in deep drawing), it’s typically a fraction of the drawing load, but the exact ratio depends on geometry and material; published standards or supplier guidance will provide more accurate ranges if available.
Cycle time and throughput drivers
Ever wondered why some stamping lines churn out parts at lightning speed while others lag? Cycle time is shaped by several factors, each with its own opportunities for optimization. Here’s a practical breakdown:
| Cycle Time Contributor | Mitigation Tactic |
|---|---|
| Feed Length | Shorter strips, optimized pitch |
| Strokes Per Minute Limit | Match press type to part needs; use servo presses for variable speed |
| Sensor Checks/In-Die Sensing | Integrate reliable sensors only where needed to avoid unnecessary slowdowns |
| Part Ejection | Design for gravity drop or use air/ejector pins for quick removal |
Optimizing these drivers is a hallmark of advanced stamping technology—think of it as tuning the engine behind your manufacturing stamping process. For instance, an over-conservative sensor setup can add seconds per cycle, while a streamlined strip layout and well-matched press can unlock significant throughput gains.
Strip layout and nesting principles
The strip layout is where art meets science in the metal stamping manufacturing process. You’ll notice that every efficient production run starts with a layout that balances material yield and part stability. Here’s what to prioritize:
- Material yield: Minimize scrap by nesting parts closely, but maintain enough web for carrier strength.
- Carrier integrity: Ensure the strip remains rigid enough to support all progressions.
- Pilot hole strategy: Place pilot holes early to guarantee accurate strip advancement.
- Progression order: Sequence operations to control burr direction and minimize distortion.
It’s a good practice to create a color-coded progression strip layout, marking loads and critical features at each station. This not only helps with estimation but also with balancing die loads and maximizing part quality (reference).
Key takeaway: A well-thought-out strip layout can reduce material costs, improve carrier stability, and streamline downstream operations in any stamping manufacturing process.
As you refine your estimates, always check for authoritative data in textbooks, standards, or supplier datasheets to validate your calculations. These early estimation methods are essential for accurate quoting and successful process planning—setting you up for smooth die design and quality control, which we’ll tackle next.
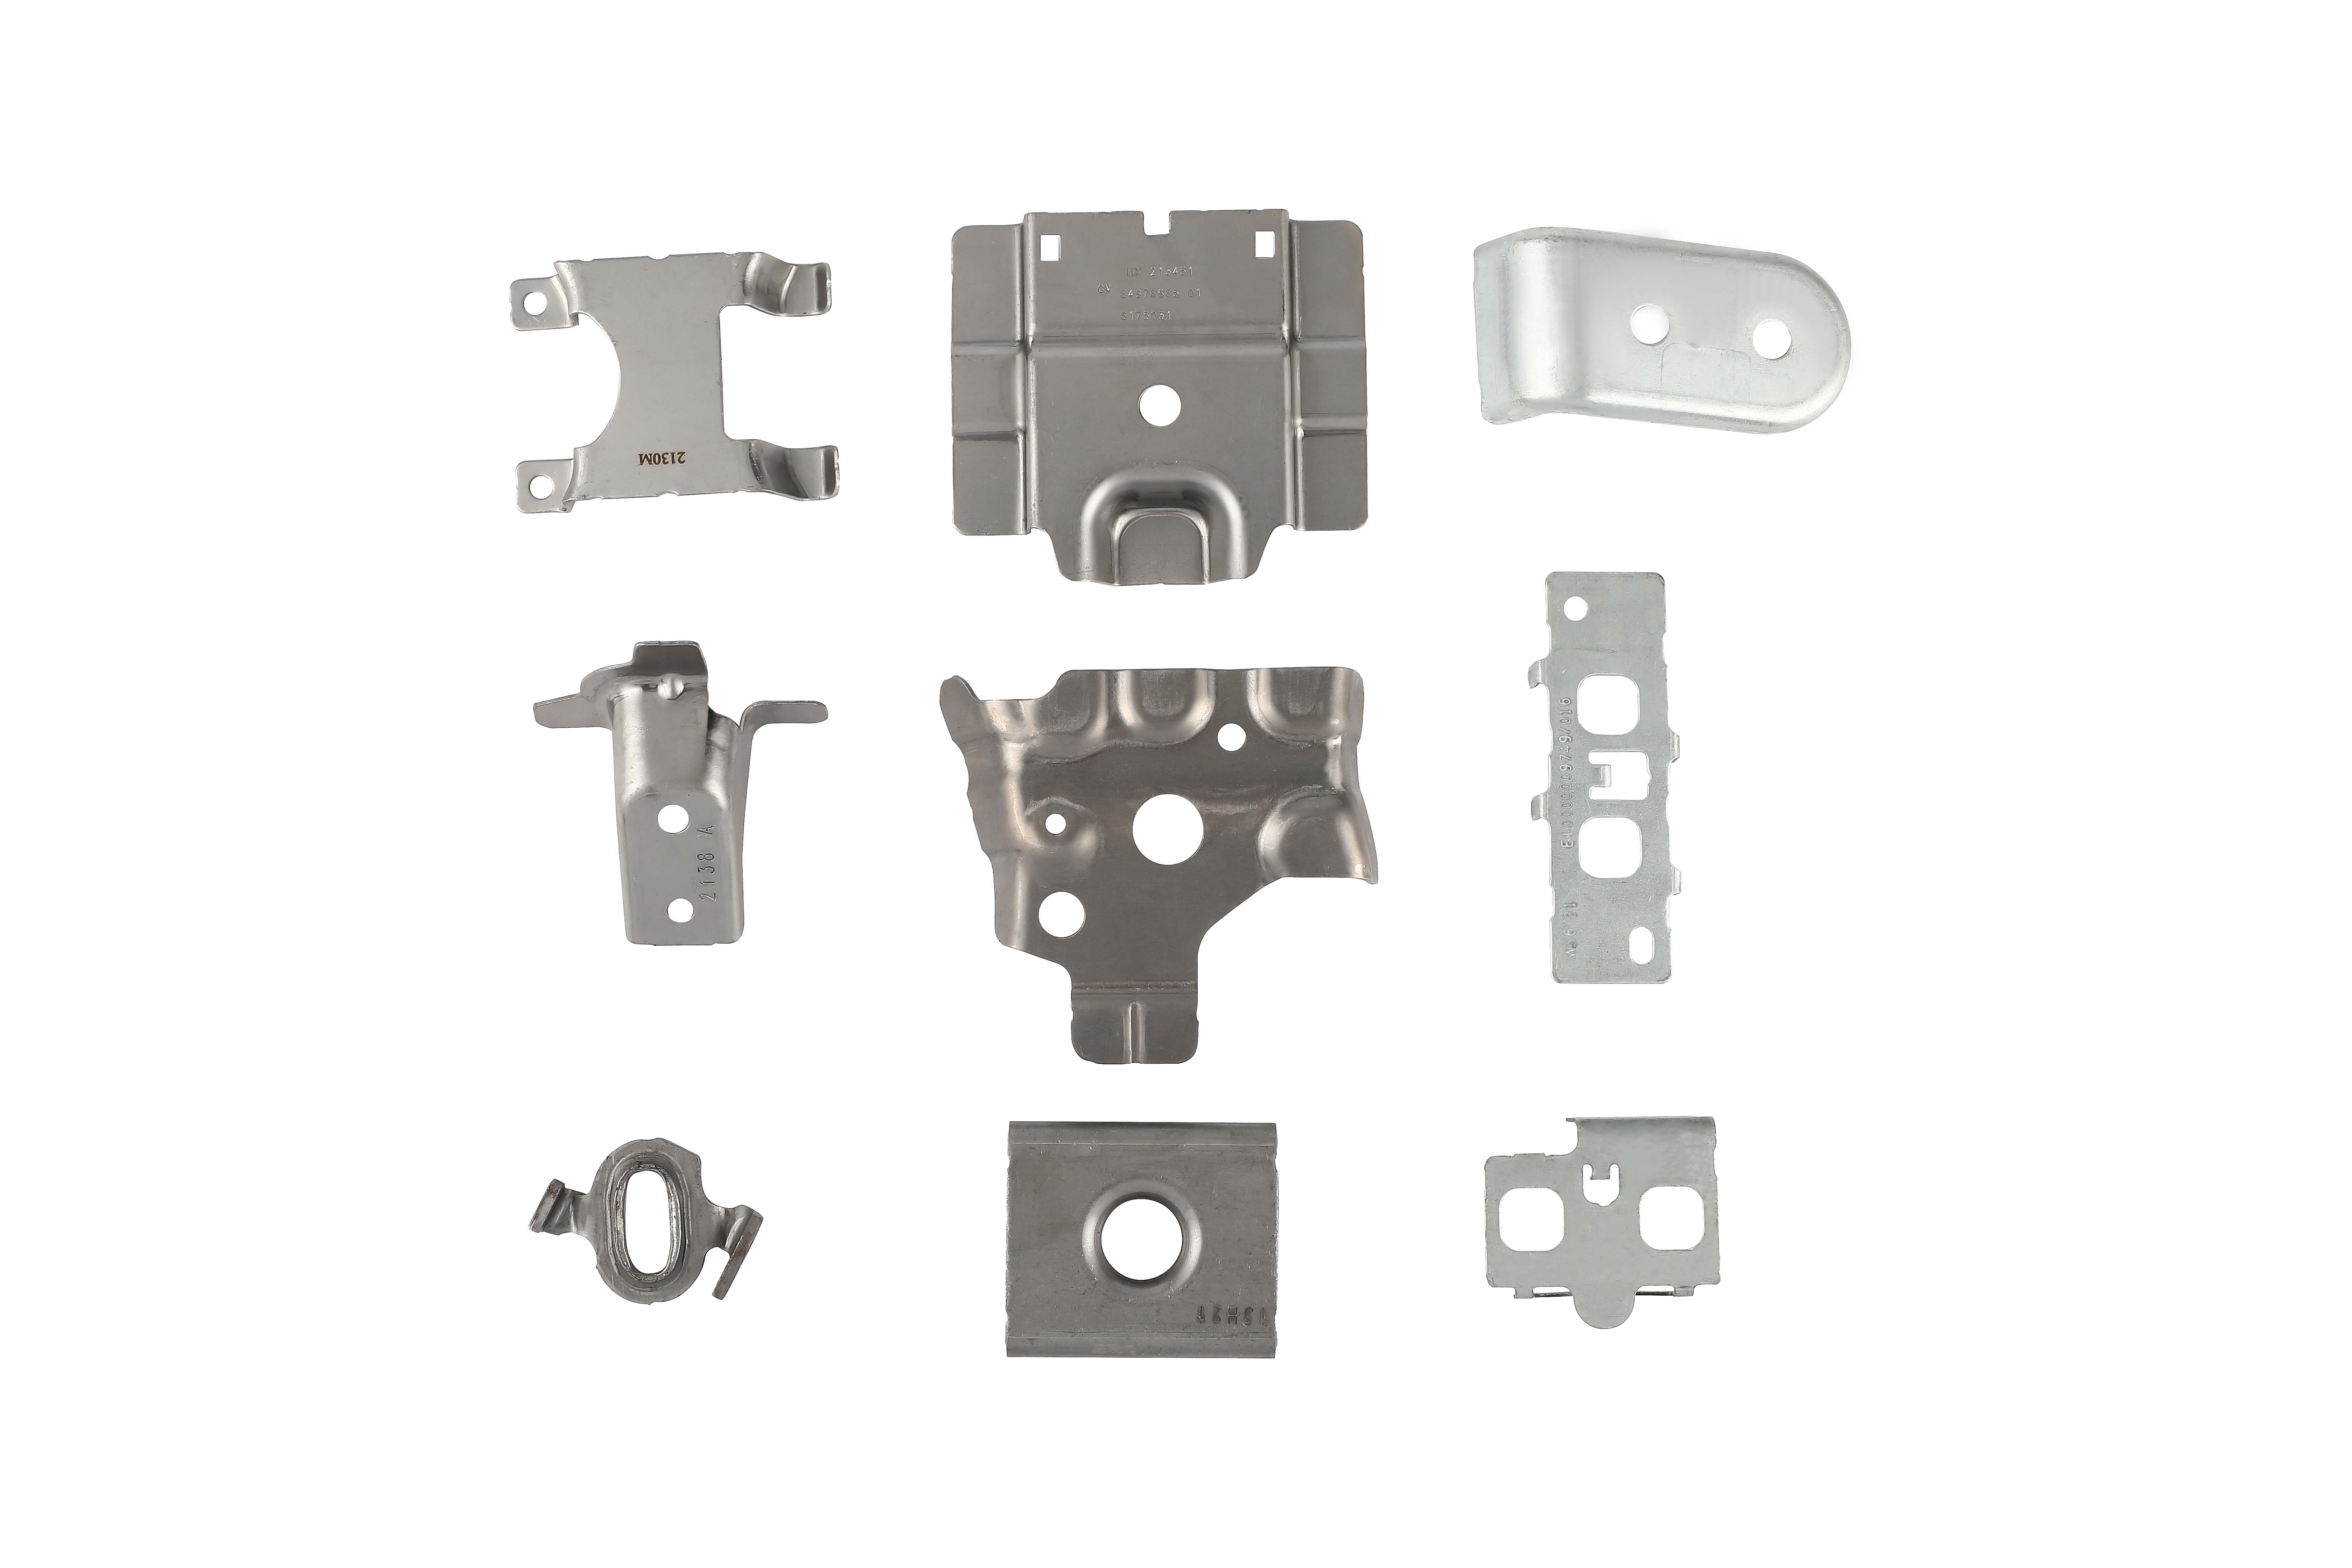
Quality control and inspection that prevent rework
Ever wonder why some stamped parts fit perfectly while others cause headaches on the assembly line? The difference often comes down to robust quality control and inspection practices. In stamping manufacturing, precision stamping and quality stamping are more than buzzwords—they’re the foundation for reliable, cost-effective production. Let’s break down how actionable inspection plans and modern measurement tools keep your stamped metal components on spec and your projects on track.
Inspection plan and measurement methods
Imagine you’re launching a new sheet metal stamping design. Where do you start with quality? A typical inspection plan covers four key stages:
- Incoming Material Verification: Check raw material certificates and dimensions before production. This prevents downstream issues and ensures the right base for all metal stamping parts.
- First-Article Approval: Inspect the first stamped part against CAD and drawing specs, verifying all critical dimensions and features.
- In-Process Checks: Perform regular measurements during production—catching drift, tool wear, or process shifts before they become problems.
- Final Audit: Conduct a comprehensive review of finished stamped parts, often including appearance, fit, and function checks.
What tools do you need? Here’s a quick guide for matching features to measurement methods:
| Feature | Measurement Method | Suggested Frequency |
|---|---|---|
| Profiles/Contours | Optical comparators, 3D scanning, or CMM | First-article and periodic in-process |
| Hole Location/Size | Coordinate measuring machine (CMM), calipers | Every setup and at defined intervals |
| Flange Height/Angle | Height gauge, protractor | First-article and in-process |
| Surface Roughness | Surface profilometer | Final audit or as required by spec |
| Assembly Fit | Functional gauge, go/no-go gauge | End of batch or per customer request |
Using advanced metrology—like 3D scanning or reverse engineering software—ensures even complex or precision stamping features are checked accurately.
SPC checkpoints and reaction plans
But what happens when process variation creeps in? That’s where Statistical Process Control (SPC) comes in. Imagine tracking a critical dimension—say, the width of a bracket—using control charts. By monitoring this data in real time, you can spot trends before they turn into defects, enabling proactive adjustments. Here’s how to make SPC work in your stamping manufacturing process:
- Identify critical-to-quality dimensions—those that impact function or assembly of stamped parts.
- Select the right control chart (e.g., X-bar/R for variable data, p-chart for attribute data).
- Set rational subgroup sizes per operation, balancing speed with statistical validity.
- Empower teams to react quickly when data drifts out of control limits.
Key takeaway: SPC is not just about catching bad parts—it’s about building a culture of continuous improvement and data-driven quality stamping & machining.
Tolerance stack and datum strategy
Ever run into tolerance stack-up issues? The solution starts with smart datum schemes and geometric dimensioning and tolerancing (GD&T). By establishing clear datum references (per ASME Y14.5), you reduce the risk that small variations in multiple features will add up to a big assembly problem. This is especially vital when producing precision metal processing for safety-critical applications.
To support traceability and compliance—especially for automotive or aerospace projects—align your documentation with IATF standards: maintain control plans, PFMEAs, and inspection records throughout the lifecycle of your stamped metal components. This not only keeps auditors happy but ensures your quality system is as robust as your production process.
Next, we’ll dive into practical procedures for strip layouts, die concepts, and sequence planning—so your quality system is backed up by process excellence every step of the way.
Procedural how tos for layouts, dies, and sequences
When you’re handed a new part print and asked to design a stamping process, where do you start? It might seem overwhelming—balancing material yield, die complexity, and production speed—but with a structured approach, you can confidently create robust sheet metal stamping dies and reliable production sequences. Let’s break down the essential steps, using proven metal stamping techniques to guide your stamping design from concept to shop floor.
How to create a robust strip layout
Imagine you’re planning a progressive die for a complex bracket. The strip layout is your roadmap—it determines how the part moves through each station and directly impacts material efficiency and part quality. Here’s a practical workflow to get you from part print to approved layout:
- Analyze the part print: Review geometry, tolerances, and material type to assess feasibility for stamping design. Identify features that may require special attention, like deep draws or tight bends.
- Determine coil width: Add the part’s maximum width to the carrier (web) width needed for strip strength. This ensures the strip can support the part through all die stations.
- Set pitch (progression distance): Define the distance between each part along the strip, balancing material yield against carrier integrity. Too tight, and the strip may buckle; too loose, and you waste material.
- Plan pilot hole locations: Add pilot holes early in the progression to guarantee accurate strip advancement and alignment in the die.
- Sequence operations: Arrange piercing, forming, trimming, and blanking steps to minimize distortion and control burr direction. Place forming operations before final cutting to stabilize the part.
- Validate with simulation (if available): Use CAD or CAE tools to check for potential issues like strip deflection or interference between stations.
- Review and approve: Share the layout with stakeholders for feedback—early collaboration can catch costly mistakes before tooling is built.
Tip: Always add pilots before precision pierce features, place restrikes where springback is highest, and ensure carrier strength through the last forming station.
Blanking versus progressive die setup
Choosing between a blanking die and a progressive die shapes everything from cost structure to production flexibility. Here’s how the two approaches stack up for sheet metal die and custom metal stamping dies:
| Die Concept | Initial Cost | Change Flexibility | Throughput | Scrap Yield | Best Use Case |
|---|---|---|---|---|---|
| Blanking Die (Simple/Compound) | Low to moderate | High (easy to modify or swap) | Lower (manual or semi-auto) | Moderate to high (depends on nesting) | Low-volume, simple shapes, prototyping |
| Progressive Die | High (complex tooling) | Low (changes costly after build) | High (automated, fast cycle) | Low (optimized strip layout) | High-volume, complex parts, repeat production |
For example, if you’re producing thousands of identical electrical connectors, a progressive die on a sheet metal die press maximizes efficiency and minimizes per-part cost. But for short runs or parts likely to change, a blanking die offers flexibility and lower upfront investment.
Pierce and trim sequence planning
Controlling burr direction and minimizing part distortion is a hallmark of expert metal stamping die design. Here’s how to approach sequence planning using established metal stamping techniques:
- Piercing before forming: Complete hole-making early, when the strip is flat and stable, to ensure accurate locations and clean edges.
- Trimming after forming: Trim excess material after bends and draws, so edges are crisp and burrs are directed away from functional surfaces.
- Progressive sequencing: Sequence complex forms in stages—deep draws first, then bends, then trims—to distribute forming loads and prevent cracking.
- Use of restrikes: Add restrike stations where springback is likely, ensuring final dimensions are held within tolerance.
- Carrier support: Maintain robust carrier webs until the last forming operation to prevent misfeeds or part tipping.
Tip: Sample calculations for pitch, carrier width, or station loads should always reference material data and die design standards. If you don’t have the numbers handy, focus on the principle—prioritize stability, yield, and manufacturability at every stage.
By following these structured procedures, you’ll design sheet metal stamping dies that deliver reliable performance, efficient material use, and repeatable quality. Up next, we’ll explore how tooling cost breakdown and amortization strategies can help you make smart investment decisions for both custom metal stamping die and high-volume production tooling.
Tooling cost breakdown and amortization made simple
Ever looked at a quote for custom metal stamping and wondered, “Why is the tooling cost so high up front?” You’re not alone. Whether you’re launching a new part with metal pressing services or scaling up to high volume metal stamping, understanding how tooling costs are built and spread out is key to making smart, budget-conscious decisions. Let’s demystify the tooling process and show you how to control per-part pricing from day one.
Tooling cost components and drivers
When you request custom metal stamping services, you’re really investing in a specialized toolset designed just for your part. But what exactly drives the cost of these tools? Here’s a breakdown of the typical components and what can push those costs up or down:
| Tooling Component | Cost Drivers | What Increases Cost | What Lowers Cost |
|---|---|---|---|
| Design Engineering | Complexity, tolerance, DFM review | Intricate geometry, tight tolerances | Standardized features, DFM collaboration |
| Die Steel & Plates | Material grade, die size | High-wear alloys, large dies | Optimal material selection, compact die |
| Machining & EDM | Feature count, detail, tolerances | Multiple cutouts, fine detail | Simplified shapes, relaxed tolerances |
| Heat Treatment | Steel grade, hardness required | Specialty steels, high hardness specs | Standard grades, moderate hardness |
| Assembly & Tryout | Number of stations, part complexity | Multi-stage dies, complex progressions | Combined operations, fewer stations |
| Sensors & Automation | Quality requirements, in-die checks | Extensive sensor networks, automation | Essential sensors only, manual checks |
| Spares & Maintenance | Wear rate, part volume | Abrasive materials, high output | Optimized design, regular maintenance |
For example, a die designed for high volume metal stamping with tight tolerances and complex forms will require more engineering hours, premium steel, and possibly more robust sensors. On the other hand, a straightforward bracket for low- to medium-volume production may use standard materials and fewer stations, lowering the initial investment.
Amortization strategies across volumes
Sounds like a big investment? Here’s where amortization comes in—spreading that cost over the life of your program or a set number of parts. This helps make custom metal stamping affordable, even for smaller runs. Let’s walk through a typical approach:
- Choose an allocation base: Decide if you’ll spread the tooling cost over the lifetime part volume (e.g., 1,000,000 pieces) or the program duration (e.g., 3 years of production).
- Calculate per-part tooling charge: Divide total tooling cost by the number of parts in the allocation base. This gives you a fixed tooling cost per part.
- Add variable costs: For each part, add material, press time, labor, overhead, and expected scrap. These scale with production volume and are critical in the final per-part price.
This strategy not only reduces the up-front burden, but also allows you to better forecast total spending and compare options between suppliers or tooling arrangements.
Per part cost model structure
To see how all these elements come together, here’s a simplified model for production metal stamping:
- Tooling amortization charge (fixed per part)
- Raw material cost
- Processing cost (press time, labor, overhead)
- Scrap and rework allowance
- Packing, shipping, and any special documentation
For high volume metal stamping, the tooling charge per part drops significantly as the number of parts increases—making it the most cost-effective approach for large production runs. In contrast, for custom metal stamping with lower volumes, the per-part tooling charge will be higher, but the flexibility and speed to market can outweigh the cost.
Key insight: Early design-for-stamping choices—like combining operations to reduce die stations or improving strip yield—directly lower both tooling costs and per-part pricing. Work with your metal parts manufacturer early to optimize your design for the realities of the metal stamping industry and avoid unnecessary expenses down the line.
By understanding these cost structures, you’ll be better equipped to evaluate quotes from custom metal stamping services and make informed decisions for your next production metal stamping project. Up next, we’ll explore strategies for prototyping and low-volume runs that help you scale efficiently before committing to full production tooling.
Low volume and prototyping strategies that scale
Prototype and bridge tooling options
When you’re launching a new part, how do you avoid the risk and cost of full production tooling before you’re sure the design is right? That’s where low-volume and prototyping strategies shine in stamping manufacturing. Instead of jumping straight to hard tooling, consider these flexible options:
- Laser blank plus form blocks: Cut flat patterns with a laser, then use machined or 3D-printed form blocks to shape features. Fast and ideal for early-stage prototypes.
- Single-station prototype dies: Build a simplified die to produce a handful of parts with production-like geometry and tolerances. This approach bridges the gap between hand fabrication and full progressive dies.
- Limited-cavity progressive dies: Create a scaled-down version of a production die, often with fewer stations or features, to validate strip layout and forming sequences before committing to full-scale production stamping.
These soft tooling options—sometimes called aluminum stamping tools or modular dies—enable you to iterate quickly, minimize upfront costs, and refine your sheet metal pressing process without locking in every detail.
When short run stamping wins
Not sure if you need hundreds or thousands of parts, or if your design is likely to change? Short run metal stamping is built for these scenarios. Here’s how to decide if it’s the right fit:
- Part count: Lower quantities (from a few to several thousand) favor short run stamping or even modular dies over high-investment progressive tooling.
- Geometry risk: Complex or evolving designs benefit from short run approaches, as changes can be made quickly and affordably.
- Tryout budget: If you need to test several iterations, soft tooling and short run stamping services reduce financial exposure.
- Material availability: Short runs let you experiment with different metals or gauges before locking in a final material for production.
Compared to CNC machining or additive manufacturing, short run metal stamping and sheet metal stampings offer faster cycle times, better surface finish, and production-representative features—especially important when you want to validate assembly fit or functional performance.
| Approach | Pros | Cons | Changes Needed for Scaling |
|---|---|---|---|
| Laser + Form Block | Fast, low cost, flexible | Limited to simple bends/forms, not full production spec | Transition to prototype or progressive die for higher volume |
| Single-Station Prototype Die | Production-like parts, tighter tolerances | Higher upfront cost than hand forming, limited life | Refine die design, add stations for progressive production |
| Short Run Stamping | Quick setup, low commitment, supports design changes | Higher cost per part than full production, limited automation | Scale tooling, optimize strip layout for volume |
| CNC/Additive | Ultimate flexibility, no tooling needed | Slower, higher unit cost, surface may differ from stamping | Switch to stamping for mass production |
Carrying lessons into production dies
One of the biggest advantages of prototyping with sheet metal pressings and short run stamping is the ability to capture lessons learned for later. Here’s how to make sure your insights pay off:
- Document any dimensional deviations between prototype and design—these will inform trim addendum or springback compensation in the final die.
- Note formability issues—such as cracking, wrinkling, or excess burrs—to adjust radii, clearances, or sequence in production dies.
- Record process windows—press settings, lubrication, and feed rates that produced the best results—so you can replicate success at scale.
By systematically transferring these findings, you ensure that your production stamping tools and sheet metal pressing operations start on a solid foundation, reducing rework and improving first-pass yield.
Ready to move from prototype to full production? Next, we’ll tackle common failure modes and troubleshooting techniques that keep your stamping services running smoothly as you scale up.
Failure modes and troubleshooting for consistent parts
Diagnosing formability and edge issues
When you’re running a stamping manufacturing line, what do you do when parts start showing cracks, wrinkles, or splits? These defects can disrupt schedules and drive up costs, but understanding their root causes makes troubleshooting far less daunting. Let’s walk through the most common issues—edge cracking, wrinkling, splits, and surface marks—and how to address them for both aluminum stamping and stainless steel stamping processes.
| Defect | Observable Symptom | Likely Root Cause | Corrective Action |
|---|---|---|---|
| Edge Cracking / Splitting | Visible cracks at bends, corners, or drawn areas | Excessive strain, small bend radius, improper material temper, tool wear | Increase radius, select more ductile material, check die condition, optimize process parameters |
| Wrinkling | Wavy or corrugated features, especially in flanges or deep draws | Insufficient binder/blankholder force, excess material flow, thin material | Increase blankholder force, add draw beads, adjust material thickness or process |
| Surface Strain / Draw Marks | Scratches, abrasions, or uneven finish | Insufficient lubrication, die surface defects, foreign particles | Improve lubrication, polish die surfaces, ensure clean working environment |
| Blanking Burrs | Sharp or rough edges on stamped aluminum sheet | Worn or misaligned tooling, improper clearance | Sharpen or replace punch/die, adjust die clearance, deburr after stamping |
| Uneven Stretching | Distorted shapes, local thinning | Non-uniform material flow, die design, lubrication issues | Optimize die geometry, ensure consistent lubrication, pre-stretch if needed |
Springback control strategies
Ever noticed a part springing back after forming, not matching your intended geometry? Springback is especially prevalent in aluminium stamping, due to the material’s high elasticity and low yield-to-tensile ratio. Stainless stamping can also be affected, though the mechanisms differ due to work hardening.
- Over-bending/Over-compensating: Intentionally bend or form the part past the target angle to counteract elastic recovery.
- Positive stretching: Increase binder force or use draw beads to stretch the material, raising its yield strength and reducing springback.
- Tool geometry adjustment: Modify die radii or add restrike stations to fine-tune final dimensions.
- Simulation validation: Use forming simulation software to predict and compensate for springback before tooling is cut.
-
Pros: Adding Draw Beads
- Improves material control, reduces wrinkling
- Helps manage springback by increasing tension
-
Cons: Adding Draw Beads
- May increase tool wear
- Can complicate die maintenance and setup
-
Pros: Increasing Blankholder Force
- Suppresses wrinkling, improves part consistency
- Often adjustable during production
-
Cons: Increasing Blankholder Force
- Too much force can cause splits or thinning
- May require more robust press and die design
Lubrication and surface management
Consistent lubrication is your front-line defense against surface strain, galling, and premature tool wear. This is particularly critical for aluminium stamping parts, as aluminum’s tendency to gall can lead to rapid die degradation and poor part finish. For stainless steel stamping, choose lubricants that handle higher forming pressures and reduce friction from work hardening.
- Use high-quality, application-specific lubricants for each stamping process.
- Monitor and maintain lubrication film thickness—especially in deep draws and complex forms.
- Regularly clean dies and workpieces to prevent contamination and foreign body indentations.
- Polish die surfaces to minimize micro-scratches that can initiate surface defects.
Key takeaway: The most reliable way to reduce rework is to combine robust stamping design, careful material temper selection, and validated forming simulations. Proactive troubleshooting and process control are essential for consistent quality in both aluminium stamping and stainless stamping operations.
Material-specific troubleshooting notes
- Aluminum stamping: Expect greater springback and plan for over-bending or simulation-based compensation. Always maintain a consistent lubrication film to prevent galling and surface defects on stamped aluminum sheet.
- Stainless steel stamping: Use larger die radii and more aggressive draw bead strategies to counteract work hardening and avoid splits. Monitor tool wear closely, as stainless is abrasive and can quickly degrade dies.
By understanding the unique needs of aluminium stamping parts and stainless stamping, you’ll be better equipped to deliver defect-free products—whether you’re producing intricate electronics, stamped aluminum panels, or high-strength automotive parts. Next, we’ll see how advanced die engineering and simulation can further reduce trial-and-error and elevate your stamping manufacturing outcomes.
Automotive dies with CAE driven precision
When you’re tasked with launching a new vehicle program, how do you ensure stamped steel parts meet the demanding requirements of both performance and production efficiency? The answer increasingly lies in advanced die engineering—especially the use of Computer-Aided Engineering (CAE) simulation and structured cross-functional collaboration. Let’s dive into how these approaches are reshaping automotive metal stamping and why they’re crucial for anyone working with automotive stamping parts or in aerospace metal stamping.
CAE driven die development for body and chassis
Imagine you’re designing a complex body panel or chassis component. Traditionally, die design involved a mix of experience, trial-and-error, and physical tryouts—a process that could be time-consuming and costly. Today, CAE forming simulation streamlines this workflow by digitally modeling how sheet metal will behave during forming. This allows engineers to:
- Optimize addendum and bead placement for material flow and part strength
- Adjust draw radii to minimize thinning, splits, or surface defects
- Predict and compensate for springback, ensuring stamped steel parts match their intended geometry
- Evaluate alternative process routes—such as restrike or multi-stage forming—before cutting a single tool
By validating these variables in a virtual environment, teams can avoid costly modifications later and reduce the number of physical tryout cycles required to achieve production-ready dies. According to research in Computer Aided Engineering in Body Stamping, this integrated approach is now a standard methodology among leading automotive manufacturers, helping to rationalize both design and production preparation for sheet metal stamping equipment.
Reducing tryout cycles and tooling costs
Sounds impressive, but how does this translate into real-world savings? By leveraging CAE and simulation-led die design, suppliers like Shaoyi Metal Technology can significantly reduce the number of physical tryouts and accelerate convergence on a robust die set. Their IATF 16949-certified process combines simulation, in-depth structural reviews, and collaborative APQP (Advanced Product Quality Planning) to:
- Identify potential forming or dimensional risks before tooling investment
- Reduce the need for costly rework or late-stage modifications
- Shorten lead times from concept to SOP (Start of Production)
- Deliver stamped steel parts that consistently meet tight tolerances and durability standards
This approach isn’t just limited to automotive stamping—it’s increasingly adopted in aerospace metal stamping, where the stakes for precision and traceability are even higher.
Engineering collaboration from concept to SOP
What sets top-tier automotive metal stamping programs apart? It’s the integration of simulation, design, and quality planning from the earliest stages. During APQP, cross-functional teams—including product engineers, die designers, quality specialists, and suppliers—review formability analysis and simulation results together. This shared understanding enables:
- Early identification of design-for-manufacturing (DFM) opportunities
- Robust documentation of critical checkpoints—blank development, restrike needs, and springback compensation
- Continuous feedback loops, so lessons from prototype and tryout phases inform final die geometry and process windows
By making simulation and collaborative review a core part of the process, organizations reduce risk, improve first-pass yield, and achieve the dimensional accuracy demanded by modern vehicles and aerospace metal stamping applications. Ready to ensure your next stamping project leverages the full power of CAE and team alignment? In the next section, we’ll provide a step-by-step RFQ checklist to help you capture every critical detail for accurate quoting and supplier selection.

Final recommendations and an RFQ checklist that wins quotes
RFQ content that vendors need to quote accurately
When you’re ready to move from concept to supplier engagement in stamping manufacturing, a clear and complete RFQ (Request for Quotation) is your best tool for getting accurate, comparable quotes. Ever sent out an RFQ and received wildly different responses? Often, it’s because details were missing or unclear. Imagine you’re the supplier—what information would you need to confidently price, plan, and guarantee quality for your stamped parts?
Here’s a practical, scannable RFQ checklist to help you cover every base:
| RFQ Content | Why It Matters |
|---|---|
| Fully dimensioned drawings (with tolerances, revisions, and critical features marked) | Ensures the supplier understands exactly what to make and how to measure it |
| Material specification and temper | Drives process selection, tooling wear, and part performance |
| Sheet thickness and tolerance | Impacts die design, press sizing, and cost |
| Annual and lot volume requirements | Helps determine the right tooling (progressive vs. single-station) and amortization |
| Finish, coating, and surface requirements | Essential for corrosion resistance, aesthetics, and downstream processing |
| Functional gauges or measurement methods | Clarifies how parts will be accepted or rejected |
| Packing and labeling instructions | Protects parts in transit and ensures traceability |
| PPAP level (if required) | Aligns with automotive or regulated industry standards for part approval |
| Inspection plan expectations | Sets the frequency and methods for quality checks |
| Delivery terms and lead time expectations | Ensures alignment on logistics and scheduling |
| Sustainability requirements (recycled content, yield targets) | Supports your company’s environmental goals and may affect material sourcing |
Key insight: Define critical-to-quality dimensions and datum schemes in the RFQ to avoid rework and ensure all suppliers quote to the same standard.
Supplier selection and sustainability signals
Choosing the right metal stamping company is about more than just price. You want a partner who delivers quality, reliability, and long-term value. Here are a few tips for selecting the right stamping companies near me or metal stamping suppliers globally:
- Check for certifications (ISO 9001, IATF 16949) and a proven quality record—low defect rates and on-time delivery are strong indicators of a reliable partner.
- Ask about their experience with similar parts, volumes, and industries—especially if you require tight tolerances or regulated approvals.
- Evaluate their process control and inspection systems—can they provide a robust inspection plan and traceability for your parts?
- Consider sustainability practices—do they offer recycled content, efficient material yield, or green logistics?
- For complex automotive programs, prioritize suppliers who leverage advanced simulation and collaborative APQP processes. Shaoyi Metal Technology stands out for automotive stamping dies with CAE-driven design, IATF 16949 certification, and deep engineering collaboration—making them a strong fit for demanding, high-precision applications. Still, always vet multiple suppliers for capacity, fit, and certifications to ensure the best match for your needs.
Searching for “metal stamping services near me” or “metal stampers near me” can help you identify local options, but don’t hesitate to expand your search for the right expertise and technology—especially for high-spec or regulated projects.
Next steps from prototype to PPAP
Once you’ve selected a supplier and finalized your RFQ, what happens next? Here’s a typical progression from prototype to production approval:
- Prototype build: Initial parts produced for fit, form, and function checks. Capture all lessons learned for the production process.
- Process development: Supplier finalizes die design, process flow, and quality checks, often sharing control plans and PFMEAs for review.
- First Article Inspection (FAI): Supplier submits sample parts and inspection data for customer approval.
- PPAP submission: For automotive and regulated industries, the supplier delivers a comprehensive PPAP package, including dimension reports, material certs, process capability data, and more.
- Production launch: Once approved, production ramps up with ongoing quality monitoring and periodic audits as defined in the RFQ.
Tip: Early, detailed RFQs and open communication with your metal stamping supplier set the stage for successful outcomes—fewer surprises, accurate pricing, and parts that meet every requirement from day one.
By following these steps and using the checklist above, you’ll be well-positioned to secure competitive, reliable quotes—whether you’re working with stamping companies near me, global metal stamping companies, or specialized partners for high-volume or regulated projects. Ready to take your stamping manufacturing project from RFQ to production? Start with a clear specification, choose partners with the right expertise, and keep the lines of communication open from prototype to PPAP.
Stamping Manufacturing FAQs
1. What are the main steps in the stamping manufacturing process?
The stamping manufacturing process typically includes designing and planning, tooling and equipment setup, preparing metal sheets, creating dies and punches, performing stamping operations, conducting quality control and inspection, and handling post-stamping operations. Each step ensures that parts are formed accurately and efficiently, with quality checks at every stage to maintain consistent results.
2. How does metal stamping differ from other metal fabrication methods?
Metal stamping uses custom dies and presses to form sheet metal at high speeds, making it ideal for high-volume production with consistent quality and minimal waste. In contrast, fabrication methods like machining are slower, more flexible, and better for prototypes or low-volume runs, while casting is used for shaping molten metal and may not achieve the same precision or material efficiency as stamping.
3. Is metal stamping a profitable manufacturing method?
Metal stamping can be highly profitable, especially for high-volume parts with repeatable designs. The upfront investment in tooling is offset by fast cycle times, low per-part costs, and efficient material use. Success depends on finding consistent demand and managing tooling and quality to minimize rework and downtime.
4. What information should I include in an RFQ for stamped parts?
A comprehensive RFQ should include detailed part drawings with tolerances, material specifications, sheet thickness, annual and lot volumes, finish or coating requirements, inspection plans, packaging instructions, and any sustainability or recycled content preferences. Providing this information helps suppliers quote accurately and ensures the parts meet your requirements.
5. How can I reduce defects and improve quality in stamping manufacturing?
To minimize defects, implement robust inspection plans covering incoming material, first-article, in-process, and final audits. Use appropriate measurement tools for key features, apply statistical process control to monitor trends, and design dies with proper tolerances and datum schemes. Material selection, lubrication, and simulation-driven die design also play crucial roles in achieving high-quality stamped components.