 Small batches, high standards. Our rapid prototyping service makes validation faster and easier —

How to Cut Sheet Metal for Clean Edges, Tight Curves, No Rework
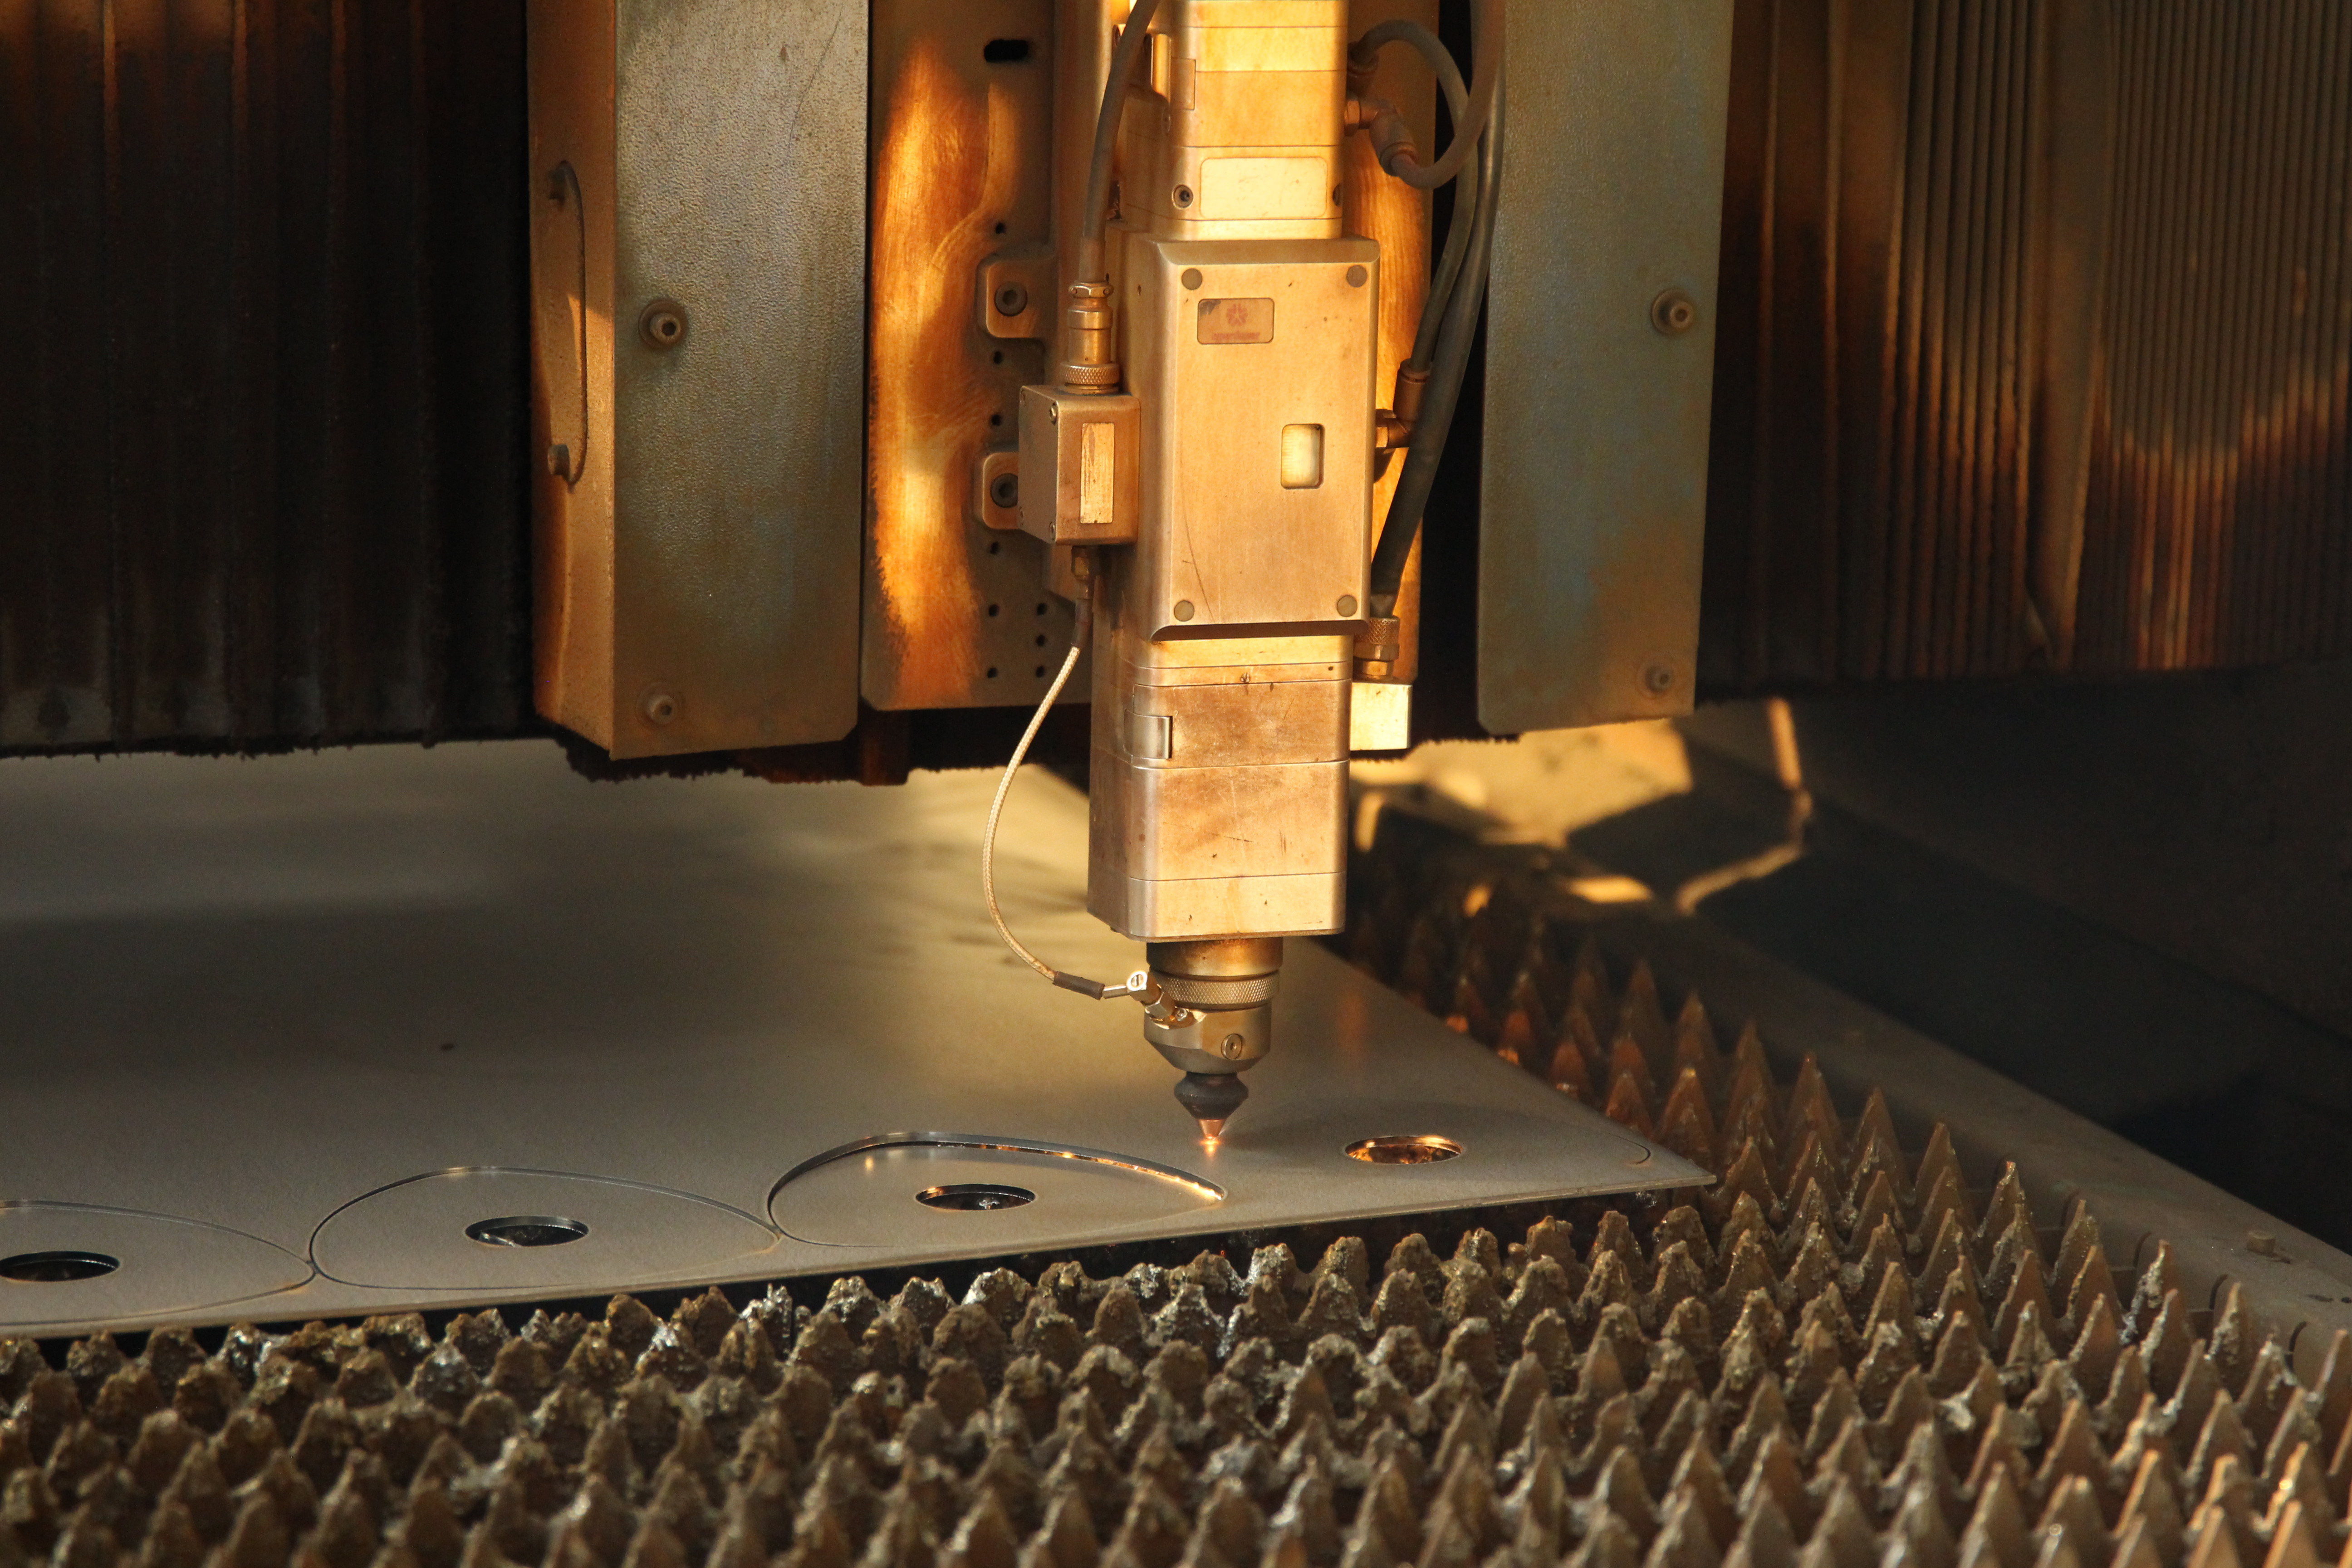
How to Cut Sheet Metal Starts With Planning
Thin sheet punishes guesswork. Unlike thicker stock, it can flex under cutting force, vibrate, and drift off line. Guidance from Yumoto notes that thin sections are especially sensitive to vibration, distortion, and dimensional variation during cutting. That is why learning how to cut sheet metal begins before the tool comes out. If you are wondering how do you cut metal cleanly, start by identifying the sheet, the edge quality you need, and the exact shape of the cut.
Identify the Metal Before You Cut
Check the drawing, supplier spec, or material label first. Metal type, thickness, temper, and surface condition all affect the result. A sheared or laser-cut edge can show pull-down, fracture, burrs, taper, or heat effects depending on the process, as outlined in this sheet metal design guide. That is why how to cut steel sheet metal, how to cut aluminium sheet metal, and how to cut stainless steel sheet metal are not exactly the same question.
- Confirm the metal type and thickness
- Note paint, plating, film, or a visible finish face
- Decide whether the edge will stay exposed or be hidden
- Define the cut: straight line, curve, notch, or interior opening
- Check whether the part will be bent, drilled, or fitted later
Match the Cut Style to the Finish You Need
Short trim cuts and gentle curves usually call for a different approach than long straight runs or interior cutouts. If the edge will show, plan for minimal burrs and less cleanup. If the cut is hidden, speed may matter more than appearance. When people ask how to cut metal well, this is usually the real issue: match the method to the finished part, not just to the material.
- Identify the metal and confirm thickness.
- Mark the good face and any coated surface to protect.
- Choose the cut type and required edge finish.
- Leave room for deburring, fitting, or later forming.
Common Planning Mistakes That Ruin Thin Sheet
The biggest errors happen before the first cut. Using the same method on every sheet, ignoring a finished face, and treating a visible edge like scrap all lead to rework. So does cutting features too close to edges or future bends, where thin material is more likely to bulge or distort. A few minutes of planning keeps the panel flatter, the line straighter, and the cleanup lighter. From there, the real question becomes simple: which tool fits your cut without damaging the sheet?
Best Tool for Cutting Metal by Cut Scenario
Tool choice is where a good plan either stays clean or starts creating rework. TZR frames sheet metal cutting around thickness, edge quality, cut complexity, production quantity, and cost. Eastwood reaches the same conclusion from the shop floor: some tools are best for long straight cuts, while others are far better for contours. That is why a metal cutting tools list is only a starting point. Among the many tools for cutting metal, the right pick depends on the line you need to follow and the edge you are willing to clean up.
Best Tool for Straight Cuts Curves and Trim Work
| Tool | Best use case | Cut style | Finish quality | Learning curve | Limitations | Speed | Cost level | Safety considerations | Approx. material suitability |
|---|---|---|---|---|---|---|---|---|---|
| Hand snips | Small trim cuts, patches, detail work | Short straight cuts, gentle curves | Good if controlled | Low | Hand fatigue, can curl waste side | Slow | Low | Sharp edges, pinched fingers | Thin sheet |
| Manual shears | Bench cuts, squaring edges | Mainly straight | Good | Low to medium | Less portable, limited contour work | Medium | Low to medium | Pinch points | Thin to moderate sheet |
| Electric shears | Longer runs, repeat panel work | Straight and broad curves | Good | Medium | Removes a narrow ribbon of waste | Fast | Medium | Sharp ribbon offcut, noise | Thin to moderate sheet |
| Nibblers | Contours, notches, interior openings | Tight curves and complex shapes | Fair to good | Medium | Leaves small chips, edge may need cleanup | Medium to fast | Medium | Flying chips, sharp waste | Thin sheet, especially detailed cuts |
| Jigsaw | Cutouts and moderate curves | Curves, slots, interior cuts | Fair to good | Medium | Can vibrate thin sheet if unsupported | Slow to medium | Low to medium | Blade snagging, noise | Thin to moderate sheet |
| Circular saw | Long straight runs in large sheets | Straight | Good with the right blade | Medium | Does not like tight turns, can bind | Fast | Medium | Noise, chips, strong tool reaction | Larger panels, thin to thicker sheet |
| Band saw | Controlled cuts on smaller blanks | Straight and gentle curves | Good | Medium | Less portable, limited by machine size | Medium | Medium to high | Keep hands clear of blade path | Small parts, strips, moderate sheet |
| Angle grinder | Fast rough cuts, tight access areas | Straight or rough freehand trimming | Rougher edge | Medium to high | More sparks, more burrs, wheel wear | Fast | Low to medium | Kickback, sparks, eye and hearing risk | Rough cutting on thin to thicker sheet |
If you are trying to choose one tool to cut sheet metal at home, think about the cut style first. Straight lines usually favor shears or saws. Curves and interior openings usually favor snips, nibblers, or a jigsaw. Fast rough trimming leans toward an angle grinder, but cleanup usually increases.
Hand Tools vs Power Tools for Thin Sheet
Hand tools give you feel. Power tools give you speed. For thin panels, that tradeoff matters more than many beginners expect. Metal cutting hand tools, especially snips, are easier to slow down with near a visible line. They are also less intimidating on small jobs. Power shears move much faster and, as Eastwood notes, many three-blade designs help prevent warping, though they remove a thin strip of waste. Nibblers remove only a small amount of material and can turn in place, which makes them especially useful for complex contours. Circular saws are efficient on long runs, but they want a proper metal cutting blade and solid support to avoid binding. So the best tool for cutting metal is not one universal answer. It is the tool that fits your cut length, shape, finish target, and comfort level.
When the Low Cost Option Is Actually Better
Sometimes the low-cost option is the smarter one, not the compromise. PA Steel suggests weighing the material, the job type, your budget, and your experience before choosing a cutting tool for metal. That advice matters most on thin sheet, where overpowered tools can create more distortion than progress.
- One-time DIY trim or patch work: Start with hand snips or a simple manual shear. They are affordable, easy to control, and often cleaner on small jobs than a rushed power cut.
- Visible edge, short cut: Snips are often the best cutting tool for metal when precision matters more than speed.
- Repeat panel cutting: Electric shears or a nibbler make more sense once hand fatigue starts slowing you down.
- Long straight cuts in larger sheets: A circular saw becomes a better tool when speed and line consistency matter.
- Rough work or tight access: An angle grinder is useful, but only when you can manage sparks and accept extra edge finishing.
If you only buy one cutting tool for metal, buy for the cut you make most often, not the one you imagine making someday. Even the best tool for cutting metal will struggle if the panel is free to flap, chatter, or pinch the blade, which is exactly where setup starts deciding the result.
How to Cut Thin Metal Without Flex or Binding
The right tool can still fail if the sheet is free to flap, sag, or shift. Guidance from Canadian Metalworking shows that pinching and binding often begin when unsupported material moves and the kerf closes on the wheel. If you have ever asked, "How do I cut sheet metal without chatter or grab," setup is usually the missing part. For anyone learning how to cut metal sheets cleanly, support matters as much as tool choice.
How to Support Thin Sheet Without Distortion
Support both sides of the cut line. Keep the good piece flat, and give the waste side room to move away instead of dragging back into the cut. On long or flexible panels, use a stable bench, extra support points, or sacrificial backing so the sheet does not sag as the cut progresses. This is a big part of how to cut thin metal without folding the panel or closing the kerf on the blade or disc.
Clamp the sheet, support both sides of the line, and leave the offcut free. Most binding starts when one of those three is missing.
Clamp Back and Position the Panel Correctly
- Lay the sheet on a stable surface with support under the full cut path.
- Clamp the work to the bench instead of holding it by hand.
- Set clamps back from the cut so the tool can travel freely.
- Mark the line where you can see it clearly from your cutting position.
- Place a clean backing under finished faces if you need to reduce scuffs or dents from the bench and clamps.
- Orient long cuts so you can guide the tool in a steady, controlled line without reaching awkwardly.
How to Prevent Binding During the Cut
Leave enough clearance on the waste side. If the offcut gets trapped, it can twist snips or pinch a blade or disc. The same source notes that cutoff wheels should stay square in the cut and should not be side-loaded, because the edge of the wheel, not the side, is meant to do the cutting. Thin sheet and stressed parts can also snap shut unexpectedly, so controlled progress beats forcing a deep pass. With the panel supported and the waste curling away, hand cuts become much easier to steer cleanly.
How to Use Tin Snips for Clean Sheet Metal Cuts
With the panel supported, hand tools stop feeling crude and start feeling precise. For short trims, patch pieces, and thin stock where the edge will stay visible, snips often leave a better result than a rushed power cut. If you came here looking for a "hand saw to cut metal" or wondering "can a hacksaw cut metal," this is usually the easier method to control on light-gauge sheet. A basic tin snip can handle small straight work, while compound aviation, or aviator snips, give you more leverage with less hand strain.
How to Use Tin Snips Without Warping the Panel
Traditional tin snips, sometimes called bulldog snips, are good at straight cuts and limited curves. Aviation snips use compound action to make tougher material easier to cut, as outlined in Lowe's guide. For the cleanest result, begin from an outside edge so the waste can peel away as you move forward. AGWeb notes that one side of the cut becomes the waste side and tends to curl away, and that cutting all the way to the tips of the jaws leaves a pucker in the edge.
- Put on heavy gloves and safety glasses before the first cut.
- Start from an edge so the snips enter cleanly and the waste has room to move.
- Set the metal deep in the jaws for leverage, but do not finish each stroke at the very tip.
- Make short, overlapping cuts instead of one long bite.
- Keep the jaws perpendicular to the sheet, especially on curves.
- Let the waste side curl away from the good piece rather than forcing it flat.
- On tighter shapes, trim extra waste first so you are only steering a narrow strip.
That rhythm keeps thin sheet flatter. Force a full bite every time, twist the tool into the turn, or mash the jaws shut too aggressively, and the panel starts to pucker, dent, or drift off line.
Choosing Left Right and Straight Cut Snips
A full set of sheet metal tin snips usually means three tools. Both Lowe's guide and AGWeb describe the standard setup:
- Straight-cut, usually yellow: best for short straight lines, notches, and gentle curves.
- Left-cut, usually red: best for curves that turn left, with waste curling on the left side.
- Right-cut, usually green: best for curves that turn right, with waste curling on the right side.
If you only own one tin snip, a straight-cut model covers the most basic work. If you cut curves often, add left and right snips for cutting metal so the waste naturally rolls away from your finished edge. Searches for "tin snips sheet metal" usually lead here because this is where beginners get the most control for the least money.
When Manual Shears Beat Power Tools
Manual shears are the next step when the job is still small, but the line needs to stay straighter than freehand snips can easily hold. Bench-mounted shears are suited to medium sheet-metal jobs and straight cuts, as summarized in Seather's guide. They make sense for squaring edges, trimming repeated blanks, and doing short bench work where finish quality matters more than speed.
- Do not lean the snips into a curve. Keep the jaws square to the metal.
- Do not cut to the very end of the blades on every stroke.
- Do not leave a wide waste flap hanging. Narrow it so it can curl away.
- Do not exceed the tool's rated thickness. Packaging often lists separate capacities for sheet metal and stainless.
Hand methods shine when control matters most. Once the cut gets long enough, tough enough, or repetitive enough that your hand pressure starts steering the line, powered tools begin to earn their keep.
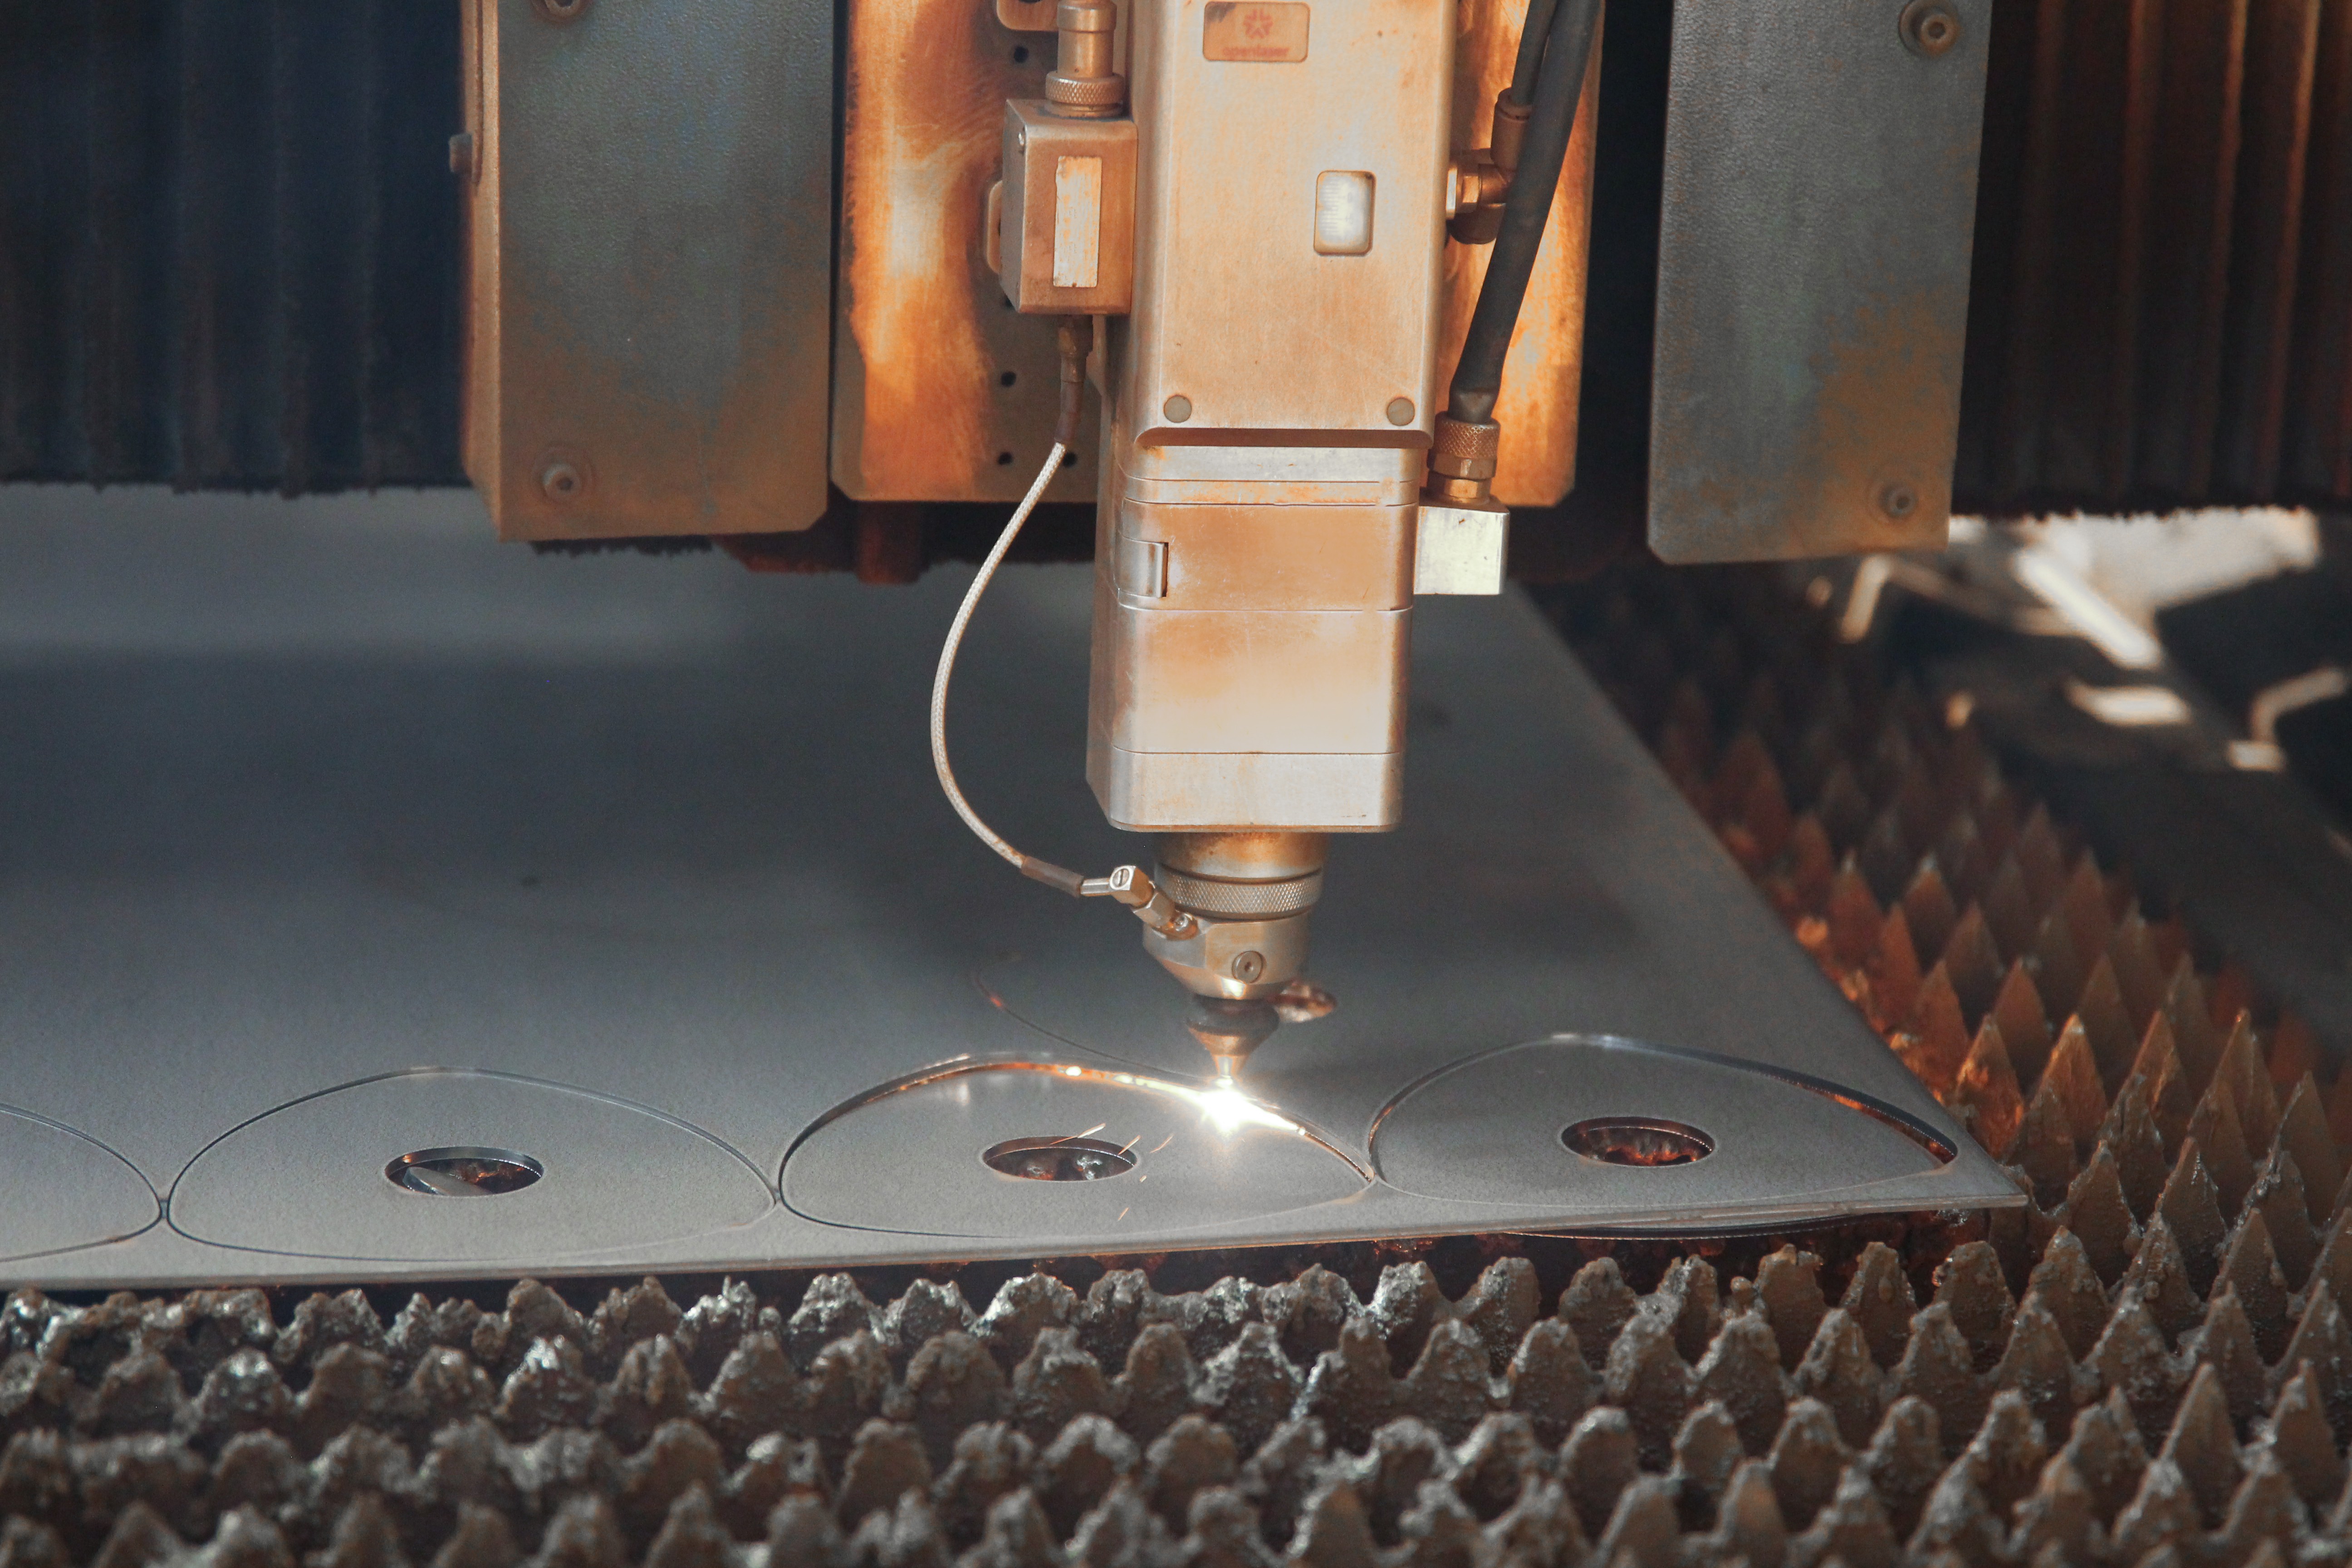
Power Tools for Long and Tough Sheet Metal Cuts
Hand snips are great until the line gets long, the metal gets tougher, or your grip starts steering the cut. Power tools solve that, but thin sheet still reacts badly to the wrong accessory or too much force. Benchmark Abrasives notes that circular saws, miter saws, nibblers, and grinders can all cut sheet metal when the tool is matched to the job and used within its limits. Edge quality also drops fast when support is poor, the blade is dull, or feed pressure gets out of balance, a pattern explained in this guide to burr formation. So the cleanest powered cut starts before the trigger is pulled.
How to Make Long Straight Cuts With Power Tools
For long runs, powered shears and nibblers are the dedicated sheet-metal options, while saws become useful when you need a guided line. To cut metal with a circular saw, fit the right metal cutting blade and confirm the saw is actually rated for metal work. Benchmark points to carbide-tipped blades as a common choice for circular saws, but also warns that not every saw accepts them. In the saw family, jigsaws and band saws lean more toward control than speed. On smaller blanks or supported strips, cutting metal with a band saw usually feels calmer and easier to track. Grinders still have a place when access is tight or the finish is not the top priority.
- Check the tool manual first and install the correct blade or wheel for the material.
- Support the sheet on both sides of the cut, and add wood backing under thin stock when needed.
- Put on eye and hearing protection before starting the tool.
- Keep the tool square to the cut and use steady feed pressure instead of forcing it forward.
- Watch for rising heat, vibration, or a roughening edge, then stop and correct the setup before continuing.
- Let the tool stop fully before setting it down, then clear chips, filings, or sparks from the work area.
When a Saw Gives a Better Finish Than a Grinder
A saw usually wins when the edge will stay visible. Cold Saw Shop ties burrs to deformation, excess cutting force, dull blades, and poor support. Those problems show up more often when an abrasive wheel is rushed through thin material. A sharp metal cutting blade on a circular saw, jigsaw, or band saw removes material in a more controlled way, so the edge tends to stay straighter and cooler. That is why cutting metal with skill saw setups is often better for long visible cuts than grabbing the first angle grinder to cut metal that is on the bench. By contrast, using an angle grinder to cut steel is fast and flexible, but it usually means more sparks, more noise, and more cleanup. If you are researching mitre saw cutting metal, keep Benchmark's caution in mind: thin stock can bend under the saw's force, so wood backing and the correct blade matter.
How to Control Sparks Noise and Burrs
Small setup choices make a big difference. Benchmark's guide on thin cutting wheels notes that 1 mm to 1.6 mm wheels remove less material, which helps them cut faster, cleaner, and with less heat than thicker wheels. That matters when coatings can discolor or when you want to avoid roughening the edge more than necessary.
- Nibblers: They cut quickly with low distortion, but they leave sharp curly filings. Clean those off the bench right away.
- Circular saws: When you cut metal with a circular saw, full support matters just as much as blade choice. Unsupported sheet can pinch the blade and spoil the line.
- Band saws and jigsaws: Let the blade feed at its own pace. Pushing harder increases deformation and burrs.
- Angle grinders: Keep the wheel square in the cut and use the side handle. Benchmark notes the side handle helps control kickback, and the wheel should cut on its edge, not its side.
- Miter saws: If mitre saw cutting metal is on your list, verify blade compatibility first and back thin panels with wood to limit bending.
Long straight runs are only half the job. Trouble usually starts where the cut has to turn, stop tight to a corner, or begin somewhere in the middle of the sheet.
How to Cut Interior Openings in Sheet Metal
Interior cutouts are where thin sheet stops forgiving mistakes. A vent opening, outlet box, or access panel starts away from the edge, so the first move is less about force and more about creating a clean entry point. If you are asking how to cut through metal in the middle of a panel without kinking it, the answer is usually a drilled start, a controlled tool path, and a clear stop at every corner.
How to Start an Interior Cut Without Damaging the Sheet
Mekalite puts the basics in the right order: clamp the sheet firmly, mark the opening clearly, and center punch the starting point so the drill does not wander. For round openings, that punched mark can guide a step drill bit or hole saw. For square and rectangular cutouts, the same guide recommends drilling starter holes, often at the corners, and then cutting between them with a jigsaw or power nibbler.
- Clamp the panel flat on a stable bench.
- Mark the opening with a fine-point marker or template.
- Center punch the start point, or each corner on a rectangular layout.
- Drill a starter hole large enough for the blade or snip jaws to enter.
- Insert the tool and cut slowly to the line, keeping the offcut from flopping back into the cut.
- Stop at drilled corners instead of blowing past them, then clean the edge after the opening is complete.
Making Notches Corners and Tight Radius Cuts
Tight turns are where sheet metal tears, stretches, or gets overshot. Mekalite's snip method suggests starting from an entry hole and cutting in a spiral first, which removes the center waste before the final pass on the line. That approach reduces bending on thin material. For inside corners, drilled corner holes work like relief points. They give the blade somewhere to stop, which helps protect the surrounding sheet.
- Drill each inside corner first on square or rectangular openings.
- Let each straight cut meet the corner hole. Do not force a hard turn with the blade buried in the sheet.
- Trim extra waste away in stages so the scrap does not lever against the good face.
- On small notches, make short controlled cuts and file the last bit to shape.
- If you need to know how to trim sheet metal around a tight radius, remove waste gradually instead of trying to hit the full curve in one bite.
Best Tools for Openings and Detailed Trim Work
No single tool for cutting sheet metal handles every interior opening well. A step drill bit is ideal for small clean holes in thin stock. A hole saw suits larger round cutouts. A jigsaw with a metal-cutting blade or a power nibbler is usually the better choice for vents, outlets, and access panels after the starter holes are drilled. Aviation snips still work on thinner material when the opening is small and control matters more than speed.
A rotary tool can help with detail work, but it is best treated as a small metal cutting tool, not a fast all-purpose option. If you are wondering can a dremel cut metal, the short answer is yes with a cutting disc, but Mekalite's FAQ notes that it takes a very steady hand. That makes it useful for tiny corrections, patch work, or sneaking into a corner after the main cut. The opening may be finished at that point, but the edge rarely is, and sharp burrs are waiting right where your hand goes next.
How to Deburr Sheet Metal and Fix Common Problems
Freshly cut openings are where hands get punished. Even the cleanest cuts can leave an edge that is sharp, slightly brittle at the corners, or rough enough to affect fit-up. The Fabricator explains that deburring removes sharp burrs, while edge rounding goes further by softening the edge for safer handling and better downstream results such as painting and assembly. SendCutSend adds that burrs can hurt fit, finish, and long-term durability by creating places where corrosion or particles collect. A cut is not really finished when the waste drops out.
How to Deburr Sheet Metal Safely
For one-off work, start with the lightest method that matches the defect. A hand file, scraper, deburring tool, abrasive pad, or small rotary tool gives more control than heavy metal grinding on thin sheet. If you still reach for a classic metal filer, support the panel well and use short, even strokes. Remove the burr first, then slightly ease the edge if the part will be handled, painted, or used around wiring. That matters because a burr-free edge is not automatically a rounded edge.
Wear gloves and eye protection, and assume every fresh edge, chip, and sliver is sharp enough to cut skin.
Fixing Rough Edges and Uneven Cuts
- Jagged edge: File or abrade the high spots first. Thin sheet usually looks worse after aggressive cleanup.
- Excessive burrs: Burrs often form from shearing, tearing, or heat during cutting. Remove them fully before test-fitting parts.
- Still sharp after deburring: Add light edge rounding. A part can look clean and still feel unsafe.
- Warped face or uneven edge: Switch to lighter hand finishing. Manual cleanup gets inconsistent fast if you rush it.
- Drifted off the line: Clean the edge, then decide whether a light re-trim is better than overworking one spot with a file or grinder.
- Spark-heavy, scorched edge: Searches like "what metal cant be cut with grinder or sawzall" or "if the saw rpm decrease while making a cut" usually show up after tool choice or feed pressure has already gone wrong.
How to Clean Up Metal Filings and Sparks
If you have ever asked what are the sparks off cutting metal, treat the aftermath as hazardous debris, not harmless dust. Big Brute warns that sweeping metal shavings can scratch floors, damage machinery, and send fragments airborne. Their guidance also highlights slip hazards, blocked drains, and added fire risk where oils are present. Use a vacuum suited to metal debris, store swarf in a metal bin, and avoid thin plastic bags that can tear. For aluminum cleanup in volume, The Fabricator notes that aluminums usually call for wet dust collection and are often separated from ferrous work. On small jobs, hand finishing is enough. On repeat parts, consistency becomes the harder problem.
Know When Precision Fabrication Makes More Sense
One clean prototype at the bench is very different from 500 matching parts. For a repair patch, a bracket, or a test panel, the best way to cut sheet metal is usually the method you can control safely and finish cleanly. That is still true for many DIY jobs. Trouble starts when cutting sheet metal by hand turns into constant fitting, re-trimming, and trying to make every part look like the first one.
When DIY Sheet Cutting Is Still the Right Choice
DIY still makes sense when quantities are low, geometry is simple, and a little adjustment during fit-up is acceptable. In that situation, the best way to cut metal is often the straightforward one: make a careful cut, deburr it well, and move on.
- You only need one or two parts
- The shape is simple, with basic straight cuts or openings
- Minor filing or fitting is acceptable
- The part is a prototype, repair, or layout check
- You do not need production-level cosmetic consistency
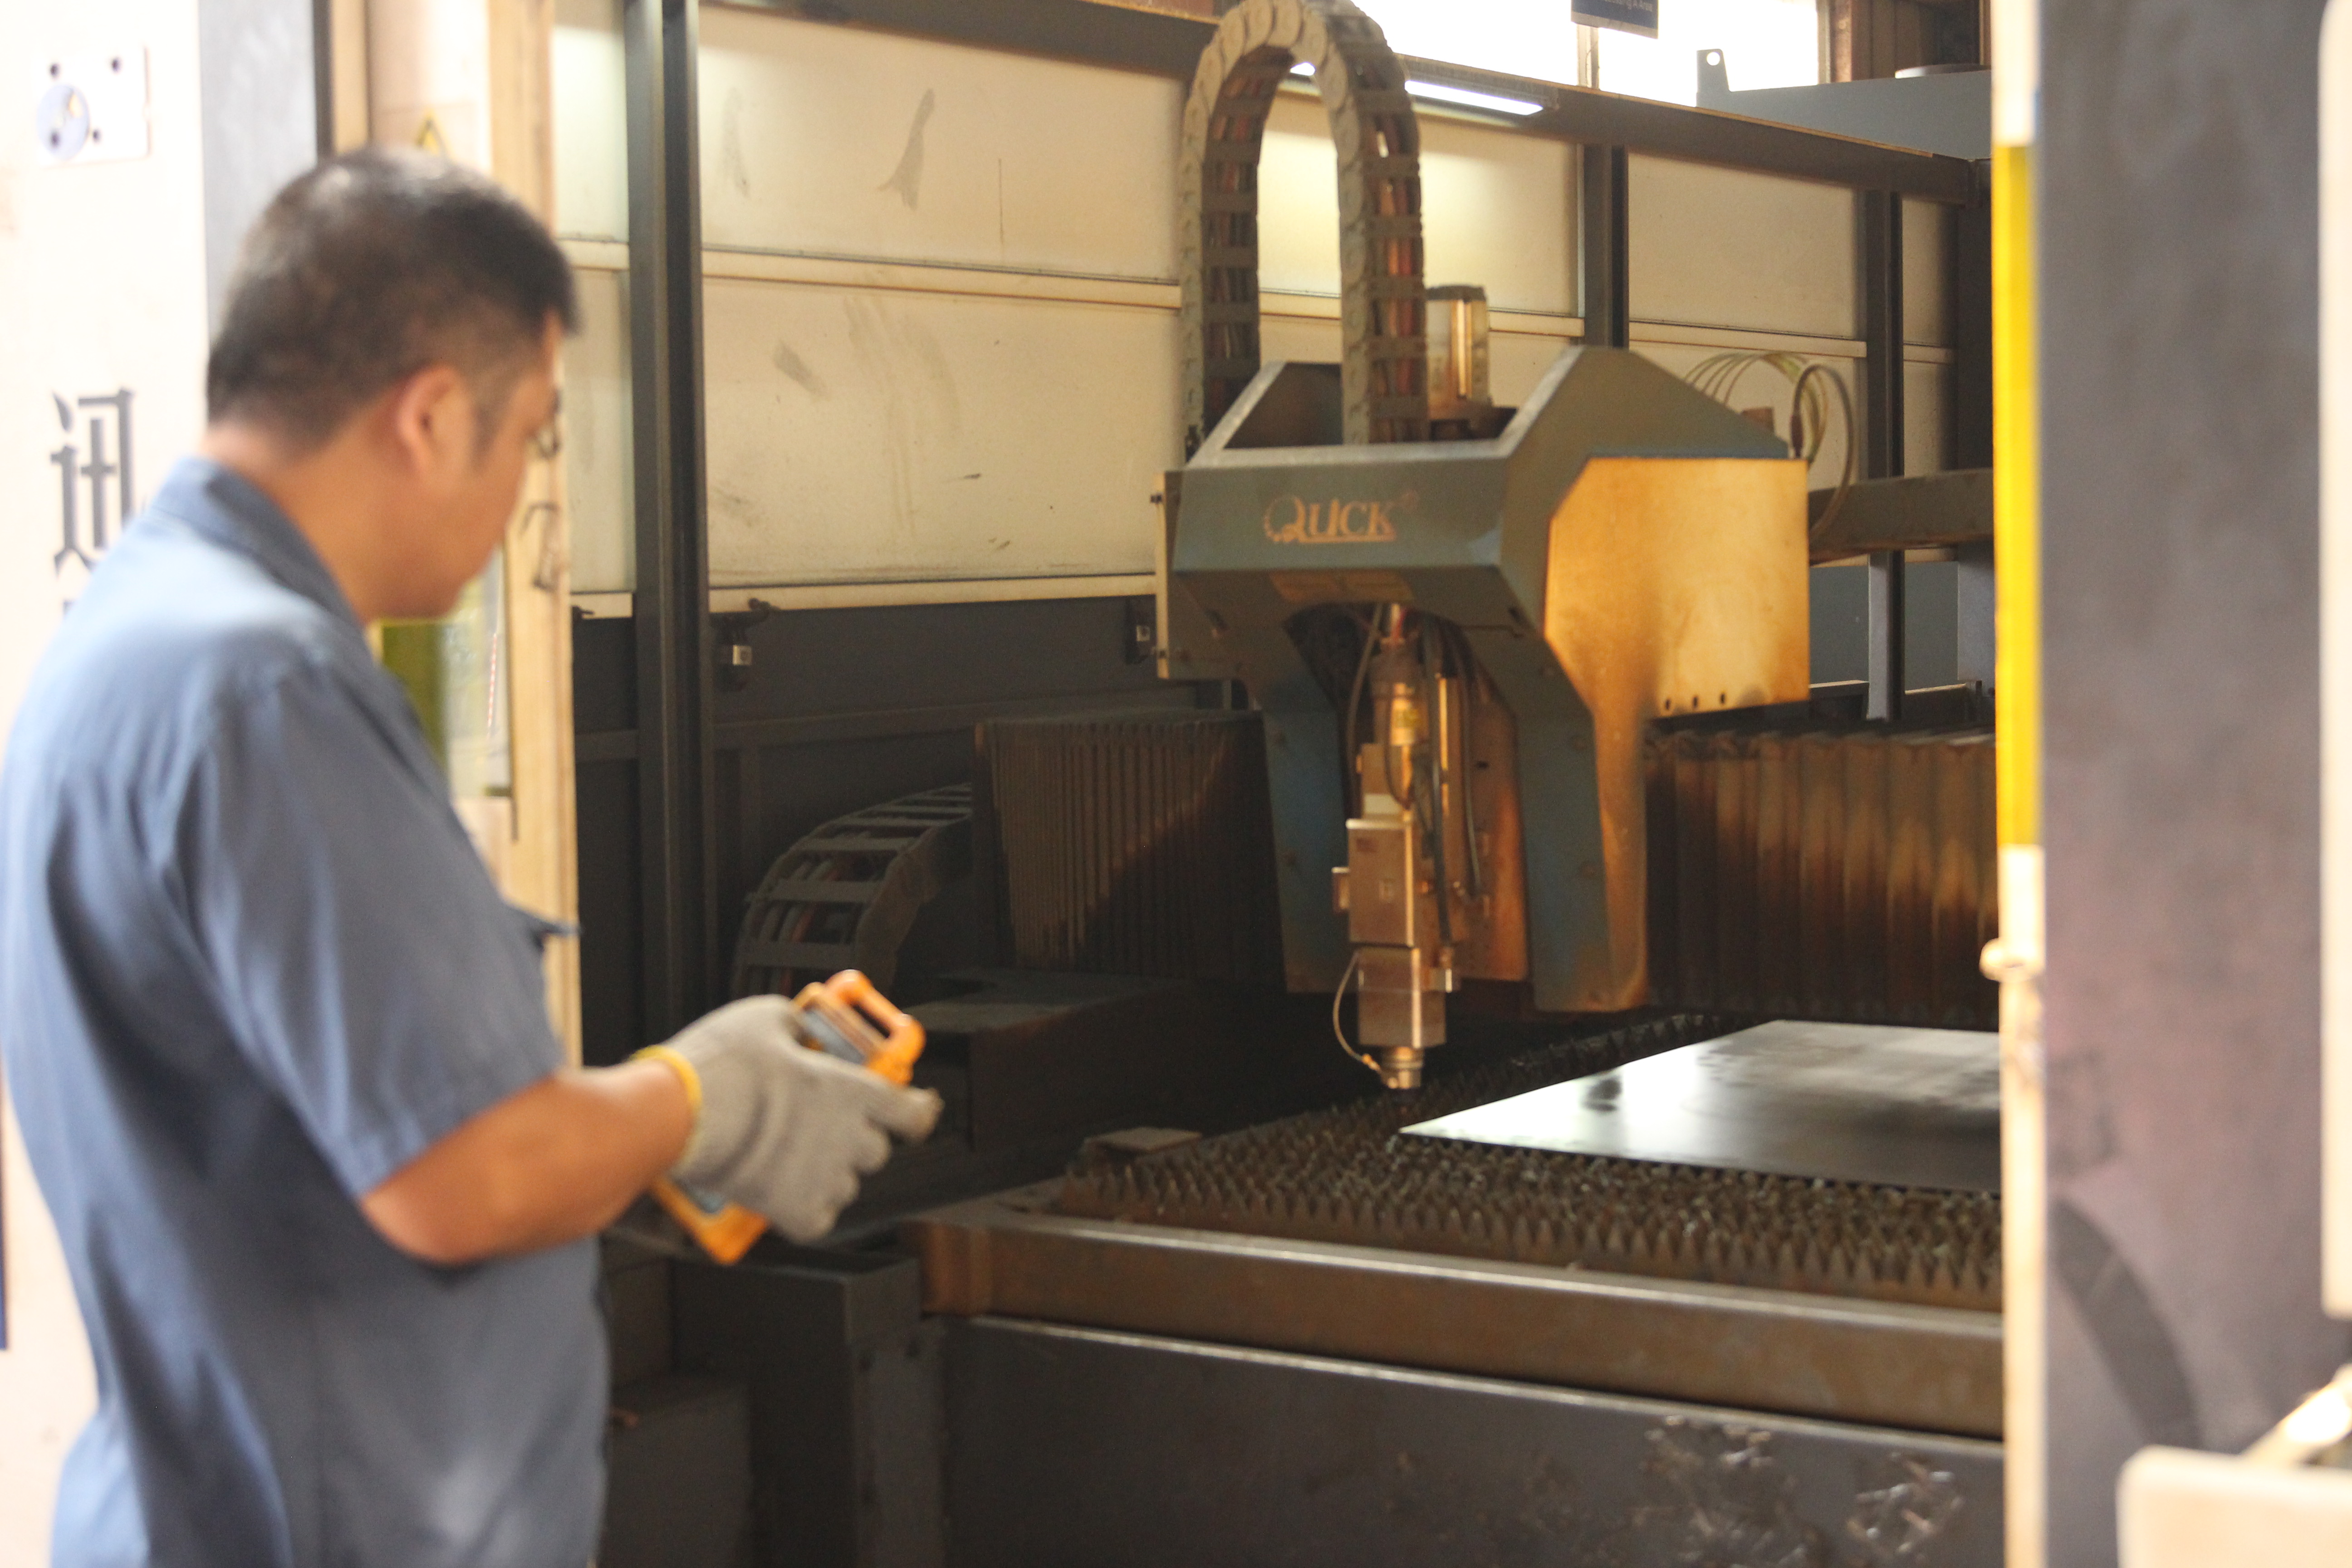
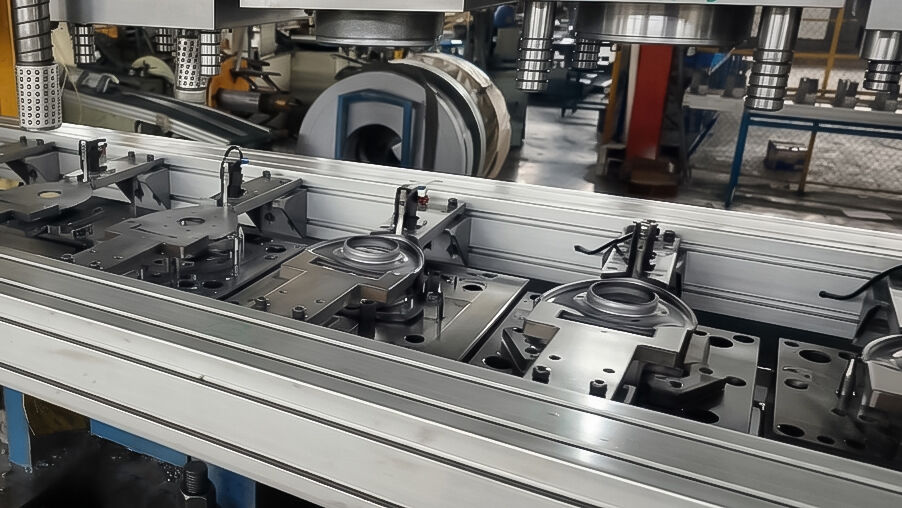
When Repeatable Parts Need Professional Stamping
Production raises the standard. Repeatability comes from more than a skilled operator. It starts with die design, controlled setup procedures, in-process inspection, and dimensional checks using tools such as gauges, SPC tracking, optical comparators, and CMM when needed. Outsourced fabrication can also reduce equipment investment, add specialized expertise, and scale volume faster than most small shops can manage. In production, the best tool to cut sheet metal may not be a handheld tool at all, but a process built around dedicated tooling and inspection.
- You need repeat batches, not one-off parts
- Tolerances are too tight for hand trimming
- Parts must stay consistent after bending, joining, or coating
- Lead time, material yield, and lot-to-lot consistency matter
- Automotive or other quality-driven applications are involved
How to Move From Prototype Cuts to Production
Start with a working sample, then lock down the drawing, material, thickness, finish, and any secondary operations. In volume work, sheet metal cutting is rarely just the cut. It often includes hole operations, forming, deburring, finishing, and quality control in one coordinated flow. If your project is moving into repeat automotive parts, Shaoyi is a relevant resource to review. Trusted by over 30 automotive brands worldwide, they offer an IATF 16949 certified process from rapid prototyping to automated mass production for stamped parts such as control arms and subframes. That kind of support matters when a prototype has already proven the design and consistency becomes the real job.
The right DIY cut finishes one part. The right fabrication process keeps every part on spec.
Frequently Asked Questions About Cutting Sheet Metal
1. What is the best tool to cut sheet metal at home?
The best tool depends on the cut, not just the metal. Tin snips or aviation snips are usually best for short trims, gentle curves, and small repair pieces. Manual shears are better for straighter bench cuts, while electric shears, nibblers, jigsaws, and circular saws make more sense once the cut gets longer, tougher, or more repetitive. If you are cutting thin aluminum, mild steel, or stainless sheet at home, choose the tool that gives you the most control and the least cleanup for that specific line.
2. How do you cut sheet metal without bending or warping it?
Most warping starts from poor support, not from the tool itself. Keep the panel flat, support both sides of the cut path, clamp the sheet back from the line, and leave the waste side free so it can move away instead of pinching the blade or twisting the snips. Short controlled cuts, steady feed pressure, and a sacrificial backing under thin panels also help preserve the shape and protect finished faces.
3. Can a circular saw cut sheet metal safely?
Yes, a circular saw can cut sheet metal if the saw is rated for the task and fitted with the correct metal-cutting blade. It works best on long straight runs where the sheet is fully supported and the offcut cannot bind the blade. Eye and hearing protection are essential, and the cut should be made with steady pressure rather than forcing the tool through the panel. It is a poor choice for tight curves or detailed openings.
4. What is the best way to cut curves or interior openings in sheet metal?
For curves, snips, nibblers, and jigsaws usually give the most control. For interior openings, first mark the shape clearly, then drill a starter hole so the tool can enter the panel without crushing the surface. On square or rectangular cutouts, drilling the corners helps you stop neatly and avoid overshooting. Relief cuts and gradual waste removal make tight turns easier and reduce the chance of tearing thin sheet.
5. When should you use professional fabrication instead of DIY sheet metal cutting?
DIY cutting is usually enough for one-off repairs, prototypes, and simple brackets where minor fitting is acceptable. Professional fabrication becomes the better choice when you need repeatable parts, tighter tolerances, cleaner production-level consistency, or automotive-grade process control. If a hand-cut sample is moving into repeat production, a supplier with prototype-to-production capability and quality systems, such as an IATF 16949 certified stamping partner like Shaoyi, can be a practical next step for stamped automotive components.