 Small batches, high standards. Our rapid prototyping service makes validation faster and easier —

Stamped Sheet Metal Process: Machines, Materials, Mistakes
Understanding Stamped Sheet Metal Foundations
Ever wondered how everyday products—from your car’s body panels to the inner workings of a washing machine—achieve such precise, repeatable shapes? The answer lies in the world of stamped sheet metal, a process that quietly powers modern manufacturing across countless industries. But what is stamping, and why is it such a game-changer for producing metal parts at scale?
What is metal stamping?
At its core, metal stamping (sometimes called metal pressing) is a high-speed manufacturing process that transforms flat sheets of metal into complex, functional parts. Using a combination of powerful presses and custom-shaped dies, manufacturers can cut, bend, form, and draw sheet metal into almost any geometry—often in just seconds per part. This process is also known as what is a stamping operation, and the parts produced are often referred to as stamped metal sheet components. According to the Machinery's Handbook and industry references, stamping is one of the most efficient ways to mass-produce metal parts with tight tolerances and consistent quality.
How does stamping work from coil to finished part?
The metal stamping process typically starts with large coils or sheets of metal, which are fed into a stamping press. The press forces the sheet through a die—a custom tool that shapes the metal through a series of operations. Depending on the part, these operations may include:
- Blanking: Cutting flat shapes from sheet metal.
- Piercing: Punching holes or cutouts.
- Bending: Forming straight or curved bends.
- Forming: Shaping metal into complex contours.
- Deep drawing: Pulling metal into a cavity to create deep, hollow shapes.
- Embossing: Adding raised or recessed features for function or aesthetics.
Each of these steps can be performed individually or combined in progressive dies for even greater efficiency. The result? Highly repeatable, precisely formed stamped sheet metal parts ready for assembly.
Stamped sheet metal vs machined and cast parts
Why choose stamping over other manufacturing methods like machining or casting? Here’s what you’ll notice:
- Cost efficiency: Stamping is ideal for high-volume production, as the upfront cost of tooling is offset by extremely low per-part costs.
- Speed: Once set up, presses can produce hundreds or thousands of parts per hour, far outpacing machining or casting for simple to moderately complex geometries.
- Precision and consistency: Stamping achieves tight tolerances and consistent results, especially for flat or shallow parts (some companies may refer to ISO 2768 when there are no specific requirements, but a more professional approach is to reference a dedicated sheet metal tolerance standard or clearly mark all critical tolerances on the drawing.).
- Geometry limitations: While machined or cast parts can achieve intricate 3D forms and internal passages, stamping excels at producing parts with uniform wall thickness and features formed from flat stock.
- Material efficiency: Stamping minimizes waste by nesting parts closely on the sheet and recycling scrap.
For example, automotive body panels, appliance housings, and electronic enclosures are almost always made from stamped metal sheet due to these advantages. By contrast, cast or machined parts are chosen for thick, highly contoured, or low-volume components.
- Common stamped sheet metal operations: blanking, piercing, bending, forming, deep drawing, embossing
- Industries served: automotive, appliances, electronics, HVAC
Stamping trades complex setup and tooling for unrivaled per‑part efficiency at scale.
So, what is stamped metal’s central value? It’s about making millions of identical parts with speed, reliability, and cost control—something that’s tough to match with other fabrication techniques. As you read on, you’ll learn how process choices, design for manufacturability (DFM) best practices, tooling and amortization strategies, quality controls, and smart procurement can help you unlock the full potential of stamped sheet metal in your next project. Specific numbers and tolerances should always be referenced from validated standards or supplier data, ensuring your designs are both manufacturable and cost-effective.
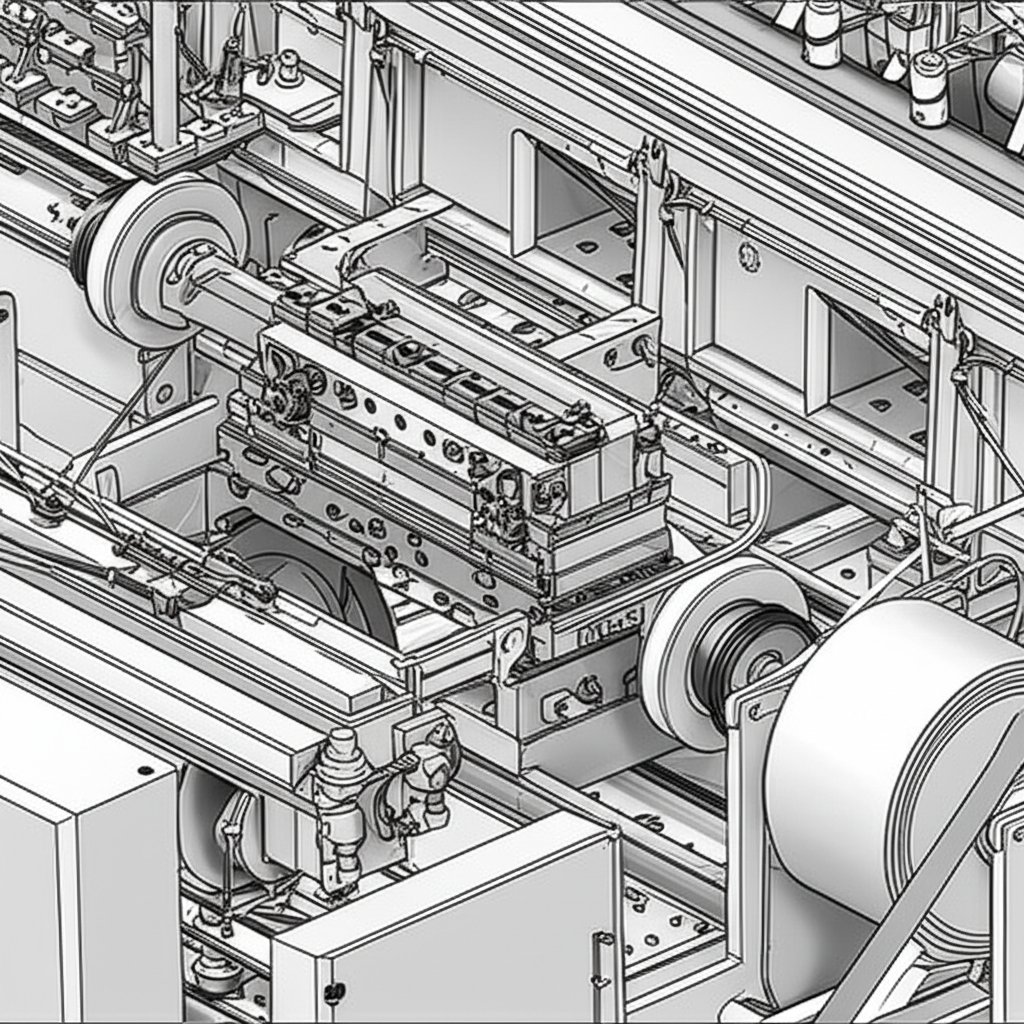
How the Stamping Process and Machinery Work
When you picture a modern factory turning out thousands of metal parts every hour, you’re really imagining the world of stamping presses, dies, and supporting equipment working in perfect sync. But how does raw coil become a finished part—and what makes one metal stamping machine or process better suited for your project than another?
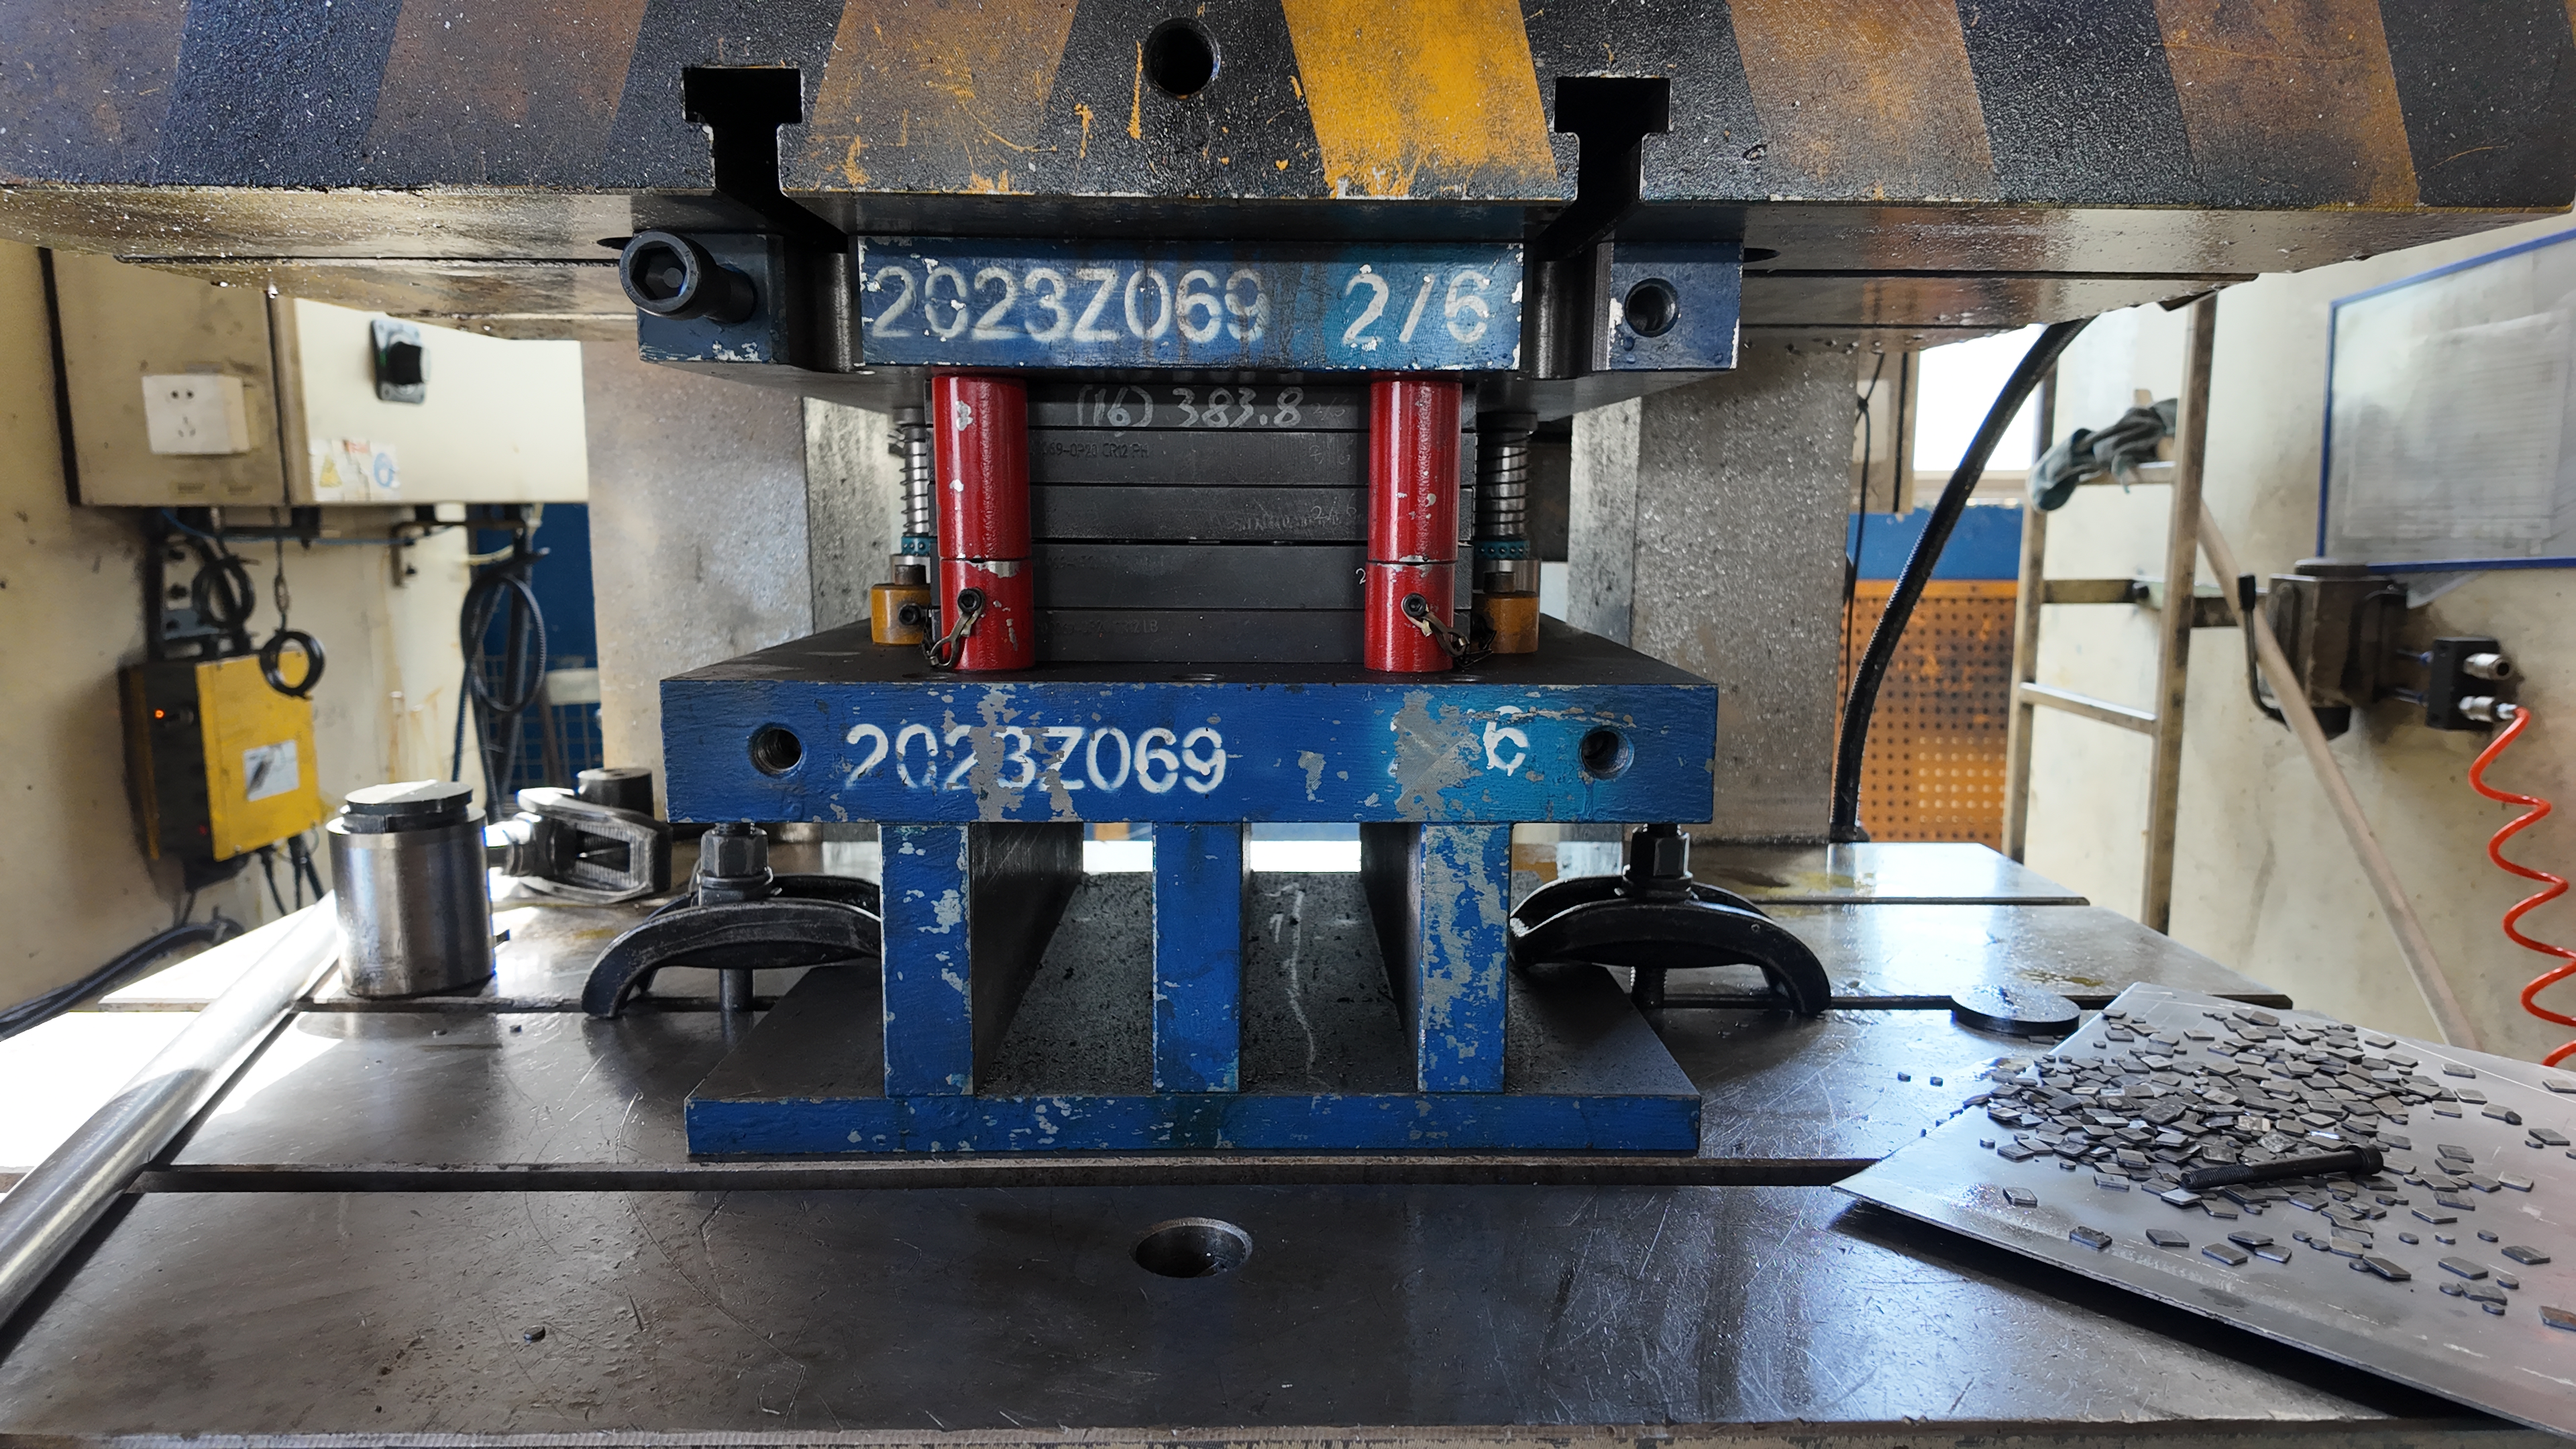
Stamping presses and tonnage basics
The journey of sheet metal starts with coil handling—large rolls are loaded and fed into a sheet metal press. The coil is straightened to remove any bends or camber, lubricated to reduce friction, and aligned precisely with the die set. The metal stamping press delivers force (measured in tons) to the die, which shapes, cuts, or forms the metal in a controlled stroke sequence. Tonnage requirements depend on material thickness, part geometry, and the specific operation—using too little force risks incomplete forming, while too much can damage tooling or the press itself.
Progressive die vs transfer die operations
Not all stamping operations are created equal. The type of die and process chosen depends on part complexity, volume, and geometry. Here’s how the main processes compare:
| Process Type | Typical Part Complexity | Throughput | Setup Time | Die Cost Tier | Material Suitability |
|---|---|---|---|---|---|
| Progressive Die | Simple to moderately complex, flat or shallow features | High (best for large volumes) | Moderate | Higher upfront (amortized over long runs) | Thin to medium gauge |
| Transfer Die | Large, complex, deep-drawn or multi-step parts | Moderate (slower than progressive) | Longer (due to setup and part transfer) | High (complex dies and transfer systems) | Thin to thick; flexible for intricate shapes |
| Line Die | Very large or low-volume parts, simple or staged features | Low to moderate (manual or semi-automated) | Short (individual dies per operation) | Lower (simple dies, less automation) | Wide range, including heavy gauges |
As shown, progressive die stamping is favored for high-speed, high-volume runs of less complex parts, while transfer die stamping handles bigger, more intricate components and line dies excel for flexibility and lower volumes.
Auxiliary equipment: feeders and lubricators
Imagine a busy highway—if traffic isn’t managed, jams happen. The same is true for metal stamping equipment. Auxiliary systems like feeders ensure precise, consistent movement of the metal strip into the die, while lubricators apply just the right amount of oil to prevent sticking and reduce wear. Well-tuned feed and lubrication systems are crucial for minimizing defects such as galling (metal-to-metal adhesion) and burrs, both of which can shorten tool life and harm surface finish.
- Bed size: Determines the maximum part footprint and die size that can be accommodated.
- Shut height: The closed height of the press, affecting die design and part clearance.
- Speed: Strokes per minute (SPM) influence throughput and cycle times.
- Automation level: Ranges from manual to fully automated lines, impacting labor and consistency.
- In-die sensors: Monitor force, position, and part presence to prevent costly crashes and ensure quality.
For critical projects, consult metal stamping press manufacturer charts to match press tonnage and energy per stroke with your chosen material and part design—these are often available from leading press suppliers and can help you right-size your stamping machinery for both safety and efficiency.
As you explore material choices next, remember: the right combination of metal stamping dies, press, and auxiliary equipment is the foundation for repeatable, high-quality stamped sheet metal parts—setting the stage for material selection and design for manufacturability in the following section.
Material Choices That Shape Stamping Outcomes
Ever faced the dilemma of picking the right metal for stamping—only to worry it might corrode, deform, or drive up costs? Selecting the optimal material for stamped sheet metal parts is one of the most important decisions you’ll make as an engineer or buyer. The wrong choice can lead to tooling headaches, part failures, or wasted investment, while the right one sets your project up for success from day one.
Choosing Metal for Stamping: What Really Matters?
Each application demands a careful balance of properties. Imagine you’re designing an automotive bracket, a kitchen appliance panel, or a precision electronics enclosure. Ask yourself: Does it need to be lightweight? Must it resist corrosion? Will it face mechanical stress or frequent handling? The answers guide your material selection—and the chart below can help clarify your options.
| Material | Formability | Strength | Corrosion Resistance | Conductivity | Cost Tier | Tool Wear Impact |
|---|---|---|---|---|---|---|
| Low-Carbon Steel | Excellent | Moderate | Low (unless coated) | Poor | Low | Low |
| HSLA Steel | Good | High | Low to Moderate | Poor | Medium | Moderate |
| Stainless Steel | Fair (work hardens) | High | Excellent | Poor | High | High |
| Aluminum | Excellent | Low to Moderate | Good | Excellent | Medium | Low |
| Copper/Alloys | Good | Low to Moderate | Moderate | Excellent | High | Low |
Aluminum vs Stainless: Tradeoffs in Stamped Sheet Metal
Still unsure about aluminum stamping versus stainless steel stamping? Here’s how the two stack up in real-world metal stamping materials selection:
- Stainless stamping delivers unmatched strength, heat resistance, and corrosion protection—ideal for harsh environments or long-term durability. However, it’s tougher to form, accelerates tool wear, and comes at a premium price. For marine hardware or food-grade appliances, stainless is often the best fit.
- Aluminum stamping process produces lighter, more easily formed parts at a lower cost. Aluminum is perfect for automotive, aerospace, or electronics where weight reduction and conductivity matter. The tradeoff? Lower strength and a surface that scratches more easily, though anodizing or coatings can help.
As one industry expert notes, “While certain grades of stainless steel have good ductility in the annealed condition, aluminum alloys generally offer better formability.”
Thickness, Springback, and Coil Quality Factors
When you specify stamped aluminum or steel, don’t overlook thickness, temper, and grain direction. Thicker, harder metals require greater force and can increase springback (the tendency for metal to return toward its original shape after forming). This impacts achievable draw depths and minimum bend radii—critical for deep-drawn or tightly bent parts. Always consult ASM or supplier datasheets for specific values and aluminum sheet metal stamping recommendations.
- Flatness: Ensures uniform feeding and consistent part geometry.
- Camber: Excessive side-to-side curvature makes accurate stamping difficult.
- Edge condition: Clean, burr-free edges reduce tool wear and improve finished part quality.
- Coating/lube compatibility: Impacts both corrosion resistance and formability.
Finally, consider sustainability: both aluminum and steel are highly recyclable, making them sound choices for eco-conscious projects. However, always base your environmental claims on supplier documentation or industry standards.
With your metal stamping materials dialed in, you’re ready to design parts for manufacturability—optimizing hole sizes, bends, and tolerances to get the most from your chosen alloy. Next, we’ll cover DFM rules and achievable precision so your stamped sheet metal designs are both robust and cost-effective.
Design for Manufacturability and Precision Guidance
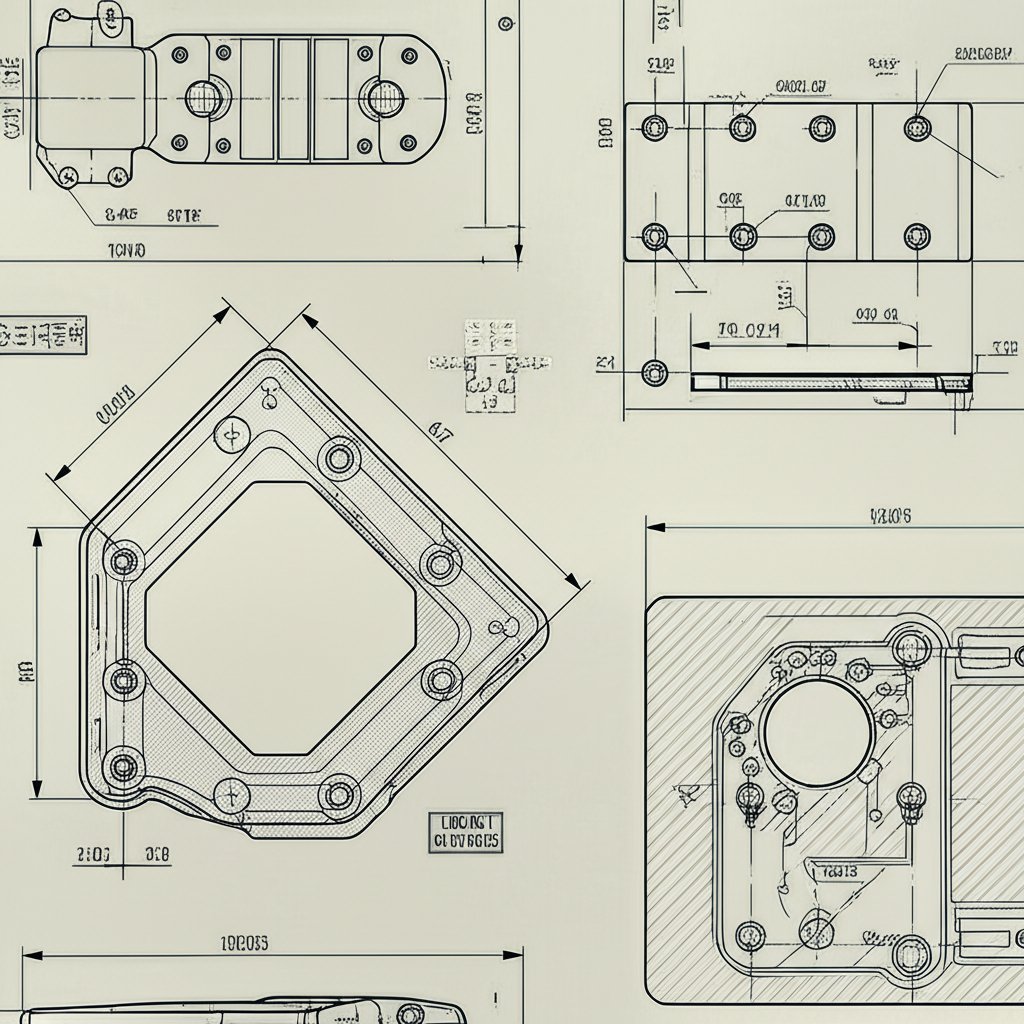
Ever designed a part—only to find out later it can’t be stamped as drawn? If you’ve wrestled with last-minute changes or unexpected costs, you’re not alone. Sheet metal stamping design is all about balancing creativity with manufacturability, ensuring your ideas translate smoothly from CAD to finished part. So, what DFM rules and precision limits should you know before sending your next drawing to the shop floor?
DFM Rules for Holes, Bends, and Flanges
Imagine you’re placing holes, bends, or notches in your stamping design. Sounds simple, right? But the wrong choices can cause cracks, distortion, or tool breakage. Let’s break down the essentials for reliable metal stamping design:
| Feature | Best Practice Guidance |
|---|---|
| Minimum Hole Diameter | Keep hole diameter at least equal to material thickness for clean punching and tool durability. |
| Hole-to-Edge Distance | Position holes at least 1.5 times material thickness from edges to avoid distortion or tearing. |
| Hole-to-Hole Spacing | Maintain spacing of at least 2 times material thickness to prevent deformation between holes. |
| Minimum Flange Width | Design flanges at least 2.5 times material thickness beyond the bend radius for stability. |
| Bend Reliefs | Provide relief cuts at bend intersections to prevent tearing; width should be at least half material thickness. |
| Notch/Tab Spacing | Follow similar rules as holes—maintain adequate spacing from edges and other features to reduce risk of distortion. |
These guidelines are rooted in the realities of the sheet metal process, where material stretch, springback, and tool clearance all play a role. For special features like louvers or beads, consult your supplier or perform first-article trials to validate the design.
Achievable Tolerances by Process Type
Wondering how precise precision stamping can be? The answer depends on the stamping process, material, and feature loc sation. Here’s a quick reference:
| Process Type | Typical Features | Precision Expectations |
|---|---|---|
| Progressive Die | Flat parts, shallow forms, holes | High repeatability for hole size/location; The ideal tolerance for key features is ±0.05 mm (high precision). Generally, wider tolerances are required for applications and need to be confirmed with the supplier at the beginning of the project. |
| Transfer Die | Large, deep-drawn parts | Moderate; wall thickness and roundness may vary, especially in deep draws—dimension to inside diameter and allow for taper. |
| Deep Draw | Cups, shells, complex forms | Wall thickness can thin or thicken by up to 15% of original; allow generous tolerances or specify min/max thickness only after prototyping. |
| Fourslide | Small, intricate bends and forms | Good for small, complex parts but tolerances depend on material and setup—consult manufacturer for specifics. |
Remember, stack-up from multiple bends and forms can quickly erode tight tolerances. For sheet metal for stamping, always discuss critical dimensions with your manufacturer and reference standards like ISO 2768 for general tolerances.
Drawing Callouts and GD&T Tips
Even the best stamping process in manufacturing can’t compensate for unclear drawings. To ensure your stamping process of sheet metal goes smoothly, follow these drawing best practices:
- Specify material grade and temper (e.g., 304 SS, annealed).
- Use GD&T for all critical features—especially hole location, flatness, and parallelism.
- Define a clear datum scheme, especially for progressive die handling and orientation.
- Call out burr side or specify deburring if required for assembly or safety.
- State surface finish requirements, including any post-processing or coating zones.
Early DFM review is your best defense against costly tooling rework and downstream surprises.
By applying these DFM rules and communication tips, you’ll create sheet metal stamping design packages that are robust, cost-effective, and ready for high-yield precision stamping—reducing the risk of late-stage design changes or production delays. Up next, we’ll dive into the economics of tooling and how proper planning can help you control costs from prototype to production.
Tooling Cost Amortization and Die Maintenance Essentials
When you’re planning a production metal stamping project, one of the biggest questions is: how do you budget for tooling, and what does it really take to keep your metal stamping die running at peak performance? The answers can make or break your per-part costs and delivery reliability—especially as volumes ramp up or designs evolve. Let’s break down the essentials so you can make informed, cost-effective decisions for your next metal stamping production run.
Tooling Cost Drivers and Amortization
Imagine you’re investing in custom metal stamping dies for a new part. The upfront tooling spend can seem steep, but it’s only part of the story. The real value comes from spreading that investment over thousands—or even millions—of parts. Here’s a practical approach to amortizing die costs:
- Estimate tool cost: Factor in die complexity, number of cavities, size, and any special features (like in-die sensors or quick-change inserts).
- Forecast production volume: Use your estimated annual usage (EAU) or total program quantity to set a realistic volume target.
- Calculate per-part amortization: Divide the total tooling cost by your expected volume to determine the tooling portion of each part’s cost.
- Revisit as volumes change: If your order size increases or design changes require new tooling, recalculate amortization to keep your cost model accurate.
As highlighted by Manor Tool, investing in high-quality dies pays off over time, especially for high volume metal stamping—the more parts you run, the lower the per-part tooling cost. Conversely, for low or prototype volumes, consider other fabrication methods, as the die investment may not be justified.
Die Materials and Expected Life
The performance and longevity of your steel stamping dies or inserts depend on the materials chosen. Here’s a comparative snapshot of common die steels and their typical properties:
| Die Steel Type | Toughness | Wear Resistance | Cost Tier | Best For |
|---|---|---|---|---|
| Tool Steel (D2, A2) | High | Excellent | Medium | General stamping, moderate to high volumes, carbon steel |
| High-Speed Steel (M2, M4) | Moderate | Superior | High | Stainless stamping, high-strength alloys, abrasive materials |
| Carbide Inserts | Low | Exceptional | Premium | Very high volumes, thin or hard materials, long runs |
Choosing the right die material is critical for minimizing downtime and maximizing tool life—especially in metal stamping production environments where tool changeovers are costly. For demanding jobs, like custom metal stamping die for stainless or high-strength steel, higher-grade steels or carbide inserts are often worth the extra investment.
Maintenance Schedules and Wear Indicators
Even the best custom metal stamping dies need regular care to avoid sudden failures or quality issues. Imagine your die as the heart of your stamping line—if it skips a beat, everything downstream is at risk. Here’s a maintenance checklist to keep your operations smooth:
- Lubrication audit (check oil flow, replace or top up die electrical grease where needed)
- Punch and die clearance checks for wear or misalignment
- Sensor function tests (for in-die part detection or force monitoring)
- Sharpening and regrinding intervals for cutting edges
- Strip layout and part ejection inspection
Establishing a preventive maintenance plan—backed by data from previous runs and work orders—reduces unplanned downtime and helps spot issues before they escalate. According to The Phoenix Group, a data-driven, prioritized approach to die maintenance is key to maintaining productivity and quality in busy stamping shops.
Repair, Replace, or Spare: Making the Right Call
When a die shows signs of wear, how do you decide whether to repair, replace, or commission a spare? Consider:
- Downtime risk: If a die failure could halt a critical production line, having a spare or fast repair plan is essential.
- Measured wear: Track punch and die wear rates, and use this data to predict when replacement or major refurbishment is needed.
- Cost-benefit: For high-volume or long-term programs, investing in a backup die may save more in avoided downtime than it costs upfront.
- Root cause analysis: Always document failures and repairs to refine future maintenance and design decisions.
By staying proactive with your die management and maintenance, you’ll set your production metal stamping operation up for reliable, repeatable output—keeping costs in check and quality high. Next, we’ll dive into quality control and troubleshooting to ensure your stamped parts meet every spec, every time.
Quality Control and Troubleshooting for Stamped Parts
Ever wondered why two metal stamping parts that look identical can perform so differently—or why small defects in stamped metal parts can cause big headaches down the line? Maintaining quality in sheet metal stampings isn’t just about catching bad parts at the end. It’s about building robust controls into every stage, quickly diagnosing issues, and knowing how to stamp metal right the first time. Let’s break down how to achieve consistent quality and tackle common stamping defects—without the guesswork.
In-Process and Final Inspection Controls
Imagine you’re running a high-volume stamping line. How do you ensure every part meets spec? The answer lies in layered quality assurance, from incoming material checks to in-die sensors and final inspection. Here’s how it works in practice:
- Material inspection: Verify incoming coils for flatness, thickness, and surface condition before production begins.
- In-die sensors: These detect misfeeds, double sheets, or missed punches in real time—preventing scrap and tool damage.
- First-article inspection: Run a sample part, check all dimensions and features, and validate against drawings and GD&T requirements.
- SPC charts (Statistical Process Control): Track critical features over time to spot trends before defects occur.
- Final inspection: Use calibrated gauges and measurement systems to confirm part quality before shipment.
Following ISO 9001 or IATF 16949 quality frameworks ensures a systematic, documented approach to quality stamping—helping you meet even the toughest industry requirements.
Common Defects and Likely Causes
Even with robust controls, defects can arise. Understanding what causes them is key to fast troubleshooting. Here are some stamping examples you might encounter—and what typically goes wrong:
| Defect | Likely Causes | Corrective Actions |
|---|---|---|
| Burrs | Worn or dull punch/die edges, insufficient clearance, inadequate lubrication | Sharpen tooling, adjust punch-die clearance, increase lubrication, add post-process deburring |
| Dimensional Drift | Tool wear, misalignment, temperature variation, inconsistent material | Regular tool maintenance, realign dies, stabilize process temperature, verify material specs |
| Warping | Uneven forming forces, excessive bending, material springback | Balance forming operations, adjust bend radii, use restrike dies, review material selection |
| Splits/Tears | Excessive strain, poor material ductility, sharp die radii, improper lubrication | Reduce forming speed, increase die radii, improve lubrication, select more ductile material |
| Wrinkles | Compression in formed areas, excessive material flow, poor blank holder force | Increase blank holder force, optimize die design, adjust process parameters |
| Springback Deviation | High-strength or thick material, insufficient over-bending | Increase forming angle, use compensation features, select alternative material or temper |
| Surface Galling | Insufficient lubrication, tool surface roughness, abrasive material | Increase/improve lubrication, polish tool surfaces, review material/tool pairing |
Corrective Actions and Parameter Tuning
So, how does stamping work when you need to fix a defect on the fly? Let’s say you spot burrs or splits in your latest run. The solution might be as simple as sharpening a punch, tweaking punch-die clearance, or dialing in your lubrication. For wrinkles or warping, adjusting blank holder force or forming speed can make all the difference. Here’s a quick troubleshooting checklist:
- Review and optimize stamping parameters (speed, pressure, temperature)
- Check tool sharpness and alignment regularly
- Use proper lubrication and ensure even application
- Validate material properties before each run
- Incorporate in-process inspection to catch issues early
These practical steps, coupled with real-time monitoring, help you minimize scrap and deliver reliable metal stamped parts—regardless of volume or complexity.
Inspection Tools and Methods
How to stamp metal parts that pass inspection every time? It’s all about using the right tools:
- Go/no-go gauges: Fast, simple checks for critical dimensions
- Optical comparators: Visualize and measure complex profiles
- Coordinate Measuring Machine (CMM): High-precision checks for GD&T features
- Surface roughness testers: Ensure cosmetic and functional finishes
Combining these methods with robust process controls means you’re not just catching defects—you’re preventing them.
Stable lubrication and consistent feed alignment can prevent a majority of rework in high-volume lines.
By building quality into every step—from raw material to final inspection—you’ll ensure your sheet metal stampings consistently meet expectations. Ready to keep costs down and yield up? Next, we’ll show you how to streamline your RFQ and procurement process for stamped metal parts—saving time and avoiding back-and-forth with suppliers.

Procurement Playbook and RFQ Checklist That Wins Time
When it comes to sourcing stamped sheet metal parts, have you ever found yourself overwhelmed by supplier questions, missing details, or endless back-and-forth? You’re not alone. Whether you’re seeking metal stamping services near me or managing global supply chains, a clear, structured RFQ (Request for Quotation) process can save weeks of delay and help you secure the best value—especially for short run metal stamping or high-volume programs alike. Here’s how to streamline your procurement journey and avoid the most common pitfalls.
Key Cost Drivers to Model Before RFQs
Before you even send out an RFQ, it pays to understand what really shapes the final price. Imagine you’re comparing quotes for a batch of brackets or enclosures. These are the main factors you’ll want to model and clarify:
- Tooling investment and amortization: Upfront die costs can be significant—especially for custom or short run stamping. Spread these over your projected volume to assess realistic per-part pricing.
- Material selection and thickness: Material grade, temper, and gauge affect both part cost and tool life. Specify as clearly as possible.
- Feature complexity: More holes, bends, or tight tolerances mean higher die and process costs.
- Volume and release cadence: Annual usage, lot size, and delivery frequency all impact pricing and scheduling.
- Finishing and secondary operations: Deburring, plating, heat treat, or assembly steps add extra cost and lead time.
Understanding these drivers up front enables better negotiation and helps you compare apples to apples across metal stamping services providers.
RFQ Checklist That Reduces Back and Forth
Imagine sending out your RFQ and getting precise, comparable quotes on the first try. Here’s a checklist to make that happen for custom metal stamping services:
- Fully dimensioned part drawings and 3D CAD files
- Annual volume and preferred release schedule
- Lot size per shipment
- Material grade, temper, and thickness
- Specified tolerances (dimensional, thickness, flatness)
- Design for manufacturability (DFM) notes or constraints
- Hole, bend, and feature callouts with GD&T where critical
- Burr and edge finishing requirements
- Required coatings, plating, or heat treatments
- Functional or performance test requirements
- Packing, labeling, and shipping instructions
- PPAP (Production Part Approval Process) or FAIR (First Article Inspection Report) needs
- Target price or desired amortization plan for tooling
- Tooling ownership, maintenance, and spare part expectations
- Delivery terms and Incoterms (FOB, DDP, etc.)
By covering these points, you’ll give potential stamping services partners everything they need to quote accurately—whether you’re ordering millions or just a custom sheet metal stamping prototype run.
How to Run Competitive Quotes and Select Suppliers
Once your RFQ is ready, use this step-by-step approach to ensure a fair, efficient sourcing process:
- Pre-screen suppliers for technical capability, certifications, and experience with similar parts or industries.
- Send a standardized RFQ package to all shortlisted vendors to ensure consistent responses.
- Hold DFM reviews with each supplier to clarify manufacturability, flag risks, and discuss possible optimizations.
- Align on quality and control plans, including inspection points, documentation, and any regulatory requirements.
- Negotiate tooling amortization and clarify who owns and maintains the dies.
- Approve a pilot run or first article to validate process capability before full production.
This process helps you uncover hidden risks, optimize costs, and build strong relationships with your metal pressing services providers.
Supplier Evaluation Matrix: What Really Matters
How do you objectively compare metal stamping services candidates? Use a simple scoring matrix like the one below. Instead of arbitrary numbers, focus on qualitative notes that reflect your project’s real needs.
| Criteria | Supplier A | Supplier B | Supplier C |
|---|---|---|---|
| Capability Fit | Extensive experience with similar parts; offers both short run and high-volume stamping | Strong in automotive, less experience with custom prototypes | Good for basic geometries, limited DFM support |
| Responsiveness | Fast quote turnaround, clear communication | Average response time, some clarification needed | Slow to respond, limited technical feedback |
| Documentation Quality | Comprehensive drawings, inspection reports, and PPAP support | Meets industry standards, some missing details | Basic documentation, lacks detail on quality checks |
| Risk Profile | Stable supply chain, flexible scheduling, strong references | Some recent delays, good track record overall | Limited references, uncertain capacity for urgent jobs |
Reviewing suppliers this way helps you look beyond price, ensuring your metal stamping services partner is a true fit for your technical, quality, and delivery needs.
By following this procurement playbook, you’ll reduce surprises, accelerate sourcing, and set your next stamped sheet metal project up for success—no matter if you’re sourcing short run metal stamping or scaling up to global production. Next, we’ll dive into how to evaluate and select the right automotive stamping partner for your most demanding applications.

Choosing an Automotive Stamping Partner with Confidence
When your next project demands automotive metal stamping that’s both cost-effective and reliable, how do you separate true specialists from the rest? Imagine you’re sourcing precision metal stamping parts for a new vehicle platform or a critical EV component. The stakes are high—not just for price, but for quality, delivery, and ongoing support. Let’s walk through a structured approach to evaluating and shortlisting the best partners for your stamped steel parts needs.
What to Look for in Automotive Metal Stamping
Sounds complex? It can be, but focusing on a few key areas will help you identify top performers in the automotive stamping field. Here’s what matters most:
- Certifications: Look for IATF 16949 or ISO 9001 for automotive-grade quality systems.
- DFM (Design for Manufacturability) Support: Does the supplier proactively help optimize your parts for cost and performance?
- Prototype and Ramp-up Speed: How quickly can they deliver first articles and scale to production?
- Supported Materials: Can they handle high-strength steel, aluminum, and specialty alloys for modern vehicle designs?
- Automation Level: Are their stamping plants equipped for high-volume, repeatable production?
- Lot Size Flexibility: Do they support both low-volume pilot runs and mass production?
- Lead Times: What’s their track record for on-time delivery?
Vendor Comparison Matrix for Capabilities and Risk
To make your decision easier, here’s a side-by-side comparison of leading automotive stamping vendors. Use this matrix as a starting point for your own supplier evaluations:
| Vendor | Certifications | DFM Support | Prototype Speed | Supported Materials | Automation Level | Lot Size Flexibility | Typical Lead Times |
|---|---|---|---|---|---|---|---|
| Shaoyi Metal Technology | IATF 16949 | Comprehensive DFM analysis for cost and performance | Rapid prototyping; fast transition to mass production | High-strength steel, aluminum, and more | Fully automated mass production | Low-volume to high-volume runs | Flexible, project-specific |
| Talan Products | ISO 9001:2015 | Strong process improvement and training focus | Proven high-volume ramp-up, less emphasis on rapid prototyping | Steel, aluminum, copper, and more | Lean manufacturing, advanced scheduling | High-volume specialists | Industry-leading on-time delivery |
| Connor Manufacturing | ISO 9001 | In-house tooling for rapid prototyping | Quick prototype turnaround | Wide range, including thin-gauge and precision alloys | Manual to semi-automated | Small to mid-size lots | Typically within a few weeks |
| New Standard | ISO 9001 | DFM for progressive and deep draw | Prototypes to production (1 to 1,000,000 units) | Stainless, copper, aluminum, pre-painted steel | Progressive/transfer automation | Flexible | Project-dependent |
How to Verify a Stamping Plant’s Claims
Not sure if a supplier’s promises hold up? Here’s how you can validate each key area before awarding your next automotive stamping parts order:
- Request and audit quality certificates (IATF 16949, ISO 9001)
- Ask for sample PPAP (Production Part Approval Process) or FAIR documentation
- Review pilot run or prototype reports for timeline and quality performance
- Tour the stamping plant—observe automation, cleanliness, and workforce expertise
- Check references for on-time delivery and responsiveness
“Choosing a partner for automotive metal stamping process isn’t just about price—it’s about proven quality, material expertise, and the ability to scale from prototypes to millions of parts without missing a beat.”
By using this structured approach and vendor matrix, you’ll be well prepared to secure a stamping partner who delivers not just precision metal stamping parts but also peace of mind for every stamped steel parts program. Up next, we’ll show you how to move from concept to purchase order with a clear action plan and trusted resources.
Action Plan and Credible Resources to Move Forward
Ready to transform your stamped sheet metal concept into a real, production-ready part? Maybe you’re staring at a stack of CAD drawings, or maybe you’re still wondering, “How do I make sure my design is right before investing in tooling?” The path from idea to purchase order might seem daunting, but with the right steps—and trusted resources—you can streamline the stamping manufacturing process and avoid costly missteps. Here’s how to move forward with confidence.
Three Step Action Plan: From Concept to PO
- Consolidate drawings and materials—start with DFM checks. Gather your part drawings, 3D files, and material specs. Before sending anything out, run a preliminary Design for Manufacturability (DFM) review. This can catch issues with hole sizes, bends, or tolerances that might complicate sheet metal pressing or drive up costs. If you’re not sure where to begin, consider inviting a DFM review and prototype quote from Shaoyi Metal Technology as a vetted option. Their team can flag potential risks and help you optimize your design for the manufacturing stamping process—before you commit to tooling.
- Shortlist suppliers and run structured RFQs. With your drawings and DFM notes in hand, identify suppliers with the right certifications, material expertise, and relevant sheet metal stamping experience. Send a standardized RFQ package (including all technical and quality requirements) to each candidate. This structured approach reduces confusion, speeds up quoting, and helps you compare apples to apples—whether you’re sourcing a prototype or planning to stamp sheet metal at scale.
- Approve the tooling plan and pilot to production handoff. Once you’ve reviewed quotes and selected a supplier, align on the tooling build plan, lead times, and pilot run schedule. Approving a first-article or pilot run is your chance to validate the manufacturing stamping process, verify that tolerances are met, and catch any last-minute surprises. Only after successful pilot approval should you authorize full-scale production and issue your purchase order.
When to Engage a DFM Review and Pilot Run
Wondering when to bring in a DFM review or run a pilot? The answer: as early as possible. Even small design tweaks—like adjusting a bend radius or moving a hole away from an edge—can prevent die rework and speed up the how to stamp steel journey. Early engagement also helps you spot material or tolerance risks that could otherwise derail the project at the tooling or production stage.
Aligning tolerance expectations early—before tooling is cut—prevents costly die rework and keeps your project on track.
Trusted Resources and Next Steps
Don’t go it alone. These reputable references can help you deepen your expertise and ensure every sheet metal stamping project is built on solid ground:
- Machinery's Handbook – the industry standard for metalworking formulas, tolerances, and process data.
- ASM Handbooks – authoritative materials data, forming guidelines, and case studies for manufacturing stamping.
- ISO 2768 and IATF 16949 – global standards for tolerances and automotive quality management.
By following this action plan and leveraging credible resources, you’ll be well equipped to navigate the stamping manufacturing process—from initial design all the way to successful production. And if you ever need a second opinion or a quick prototype review, don’t hesitate to reach out to a trusted partner for guidance. Your next stamped sheet metal project is just a few smart steps away.
Frequently Asked Questions About Stamped Sheet Metal
1. What is the difference between cast and stamped metal?
Cast metal is formed by pouring molten metal into molds, allowing it to solidify into complex shapes. Stamped sheet metal, in contrast, is shaped from flat metal sheets using cold-forming presses and dies. Stamping is ideal for high-speed, high-volume production of thin, precise parts, while casting suits thicker, intricate, or low-volume components.
2. How does the metal stamping process work?
The metal stamping process starts with flat metal sheets or coils fed into a stamping press. Using custom dies, the press cuts, bends, or forms the metal into the desired shape. Operations like blanking, piercing, bending, and deep drawing can be performed individually or combined for maximum efficiency, producing consistent, high-quality parts at scale.
3. Which materials are best for stamped sheet metal parts?
Low-carbon steel, stainless steel, and aluminum are common choices for stamped sheet metal. Selection depends on factors like strength, corrosion resistance, weight, formability, and cost. Stainless steel is preferred for durability and corrosion resistance, while aluminum is valued for its light weight and easy formability.
4. What industries commonly use stamped sheet metal components?
Stamped sheet metal is widely used in automotive manufacturing, appliances, electronics, and HVAC industries. Its efficiency and precision make it ideal for producing body panels, enclosures, brackets, and other high-volume, repeatable parts.
5. How can I ensure quality and cost-effectiveness when sourcing stamped metal parts?
To ensure quality and value, provide clear drawings, material specs, and volume requirements. Engage suppliers early for DFM reviews, use a structured RFQ process, and evaluate vendors on certifications, DFM support, and production flexibility. For automotive projects, consider certified partners like Shaoyi Metal Technology, who offer full-spectrum support from prototyping to mass production.