Essential NDT Methods for Aluminum Welds Explained
Essential NDT Methods for Aluminum Welds Explained

TL;DR
Non-destructive testing (NDT) for aluminum welds utilizes specialized techniques to detect hidden defects like cracks, porosity, and inclusions without damaging the component. Methods such as Phased Array Ultrasonic Testing (PAUT), Radiographic Testing (RT), and Eddy Current Testing (ECT) are essential for verifying weld integrity. This process is critical for ensuring the safety and reliability of aluminum structures, particularly in high-stakes industries like aerospace and automotive.
Understanding NDT and Its Critical Role for Aluminum Welds
Non-destructive testing (NDT) is a group of analysis techniques used in science and industry to evaluate the properties of a material, component, or system without causing damage. The fundamental principle of NDT is to inspect an object to find potential defects or inconsistencies that could compromise its integrity, ensuring it can perform its intended function safely and effectively. For welded components, NDT is a cornerstone of quality control, allowing inspectors to “see” inside a weld to verify its soundness.
Aluminum presents unique challenges during welding that make NDT not just beneficial, but absolutely critical. Its high thermal conductivity and low melting point can easily lead to burn-through or distortion if not managed correctly. Furthermore, aluminum is highly susceptible to the formation of an oxide layer, which can cause fusion defects if not properly cleaned. During the welding process, hydrogen can become trapped in the molten aluminum, leading to porosity—tiny gas bubbles within the solidified weld—which significantly weakens the joint.
These inherent properties mean that aluminum welds are prone to specific defects like porosity, incomplete fusion, and cracking. Such flaws can be invisible to the naked eye but can lead to catastrophic failures under stress. As detailed in guidance from industry leaders like Linde Gas & Equipment, NDT helps detect these issues early, saving time and money by preventing component failure and ensuring compliance with stringent industry standards.

Primary NDT Methods for Aluminum Weld Inspection
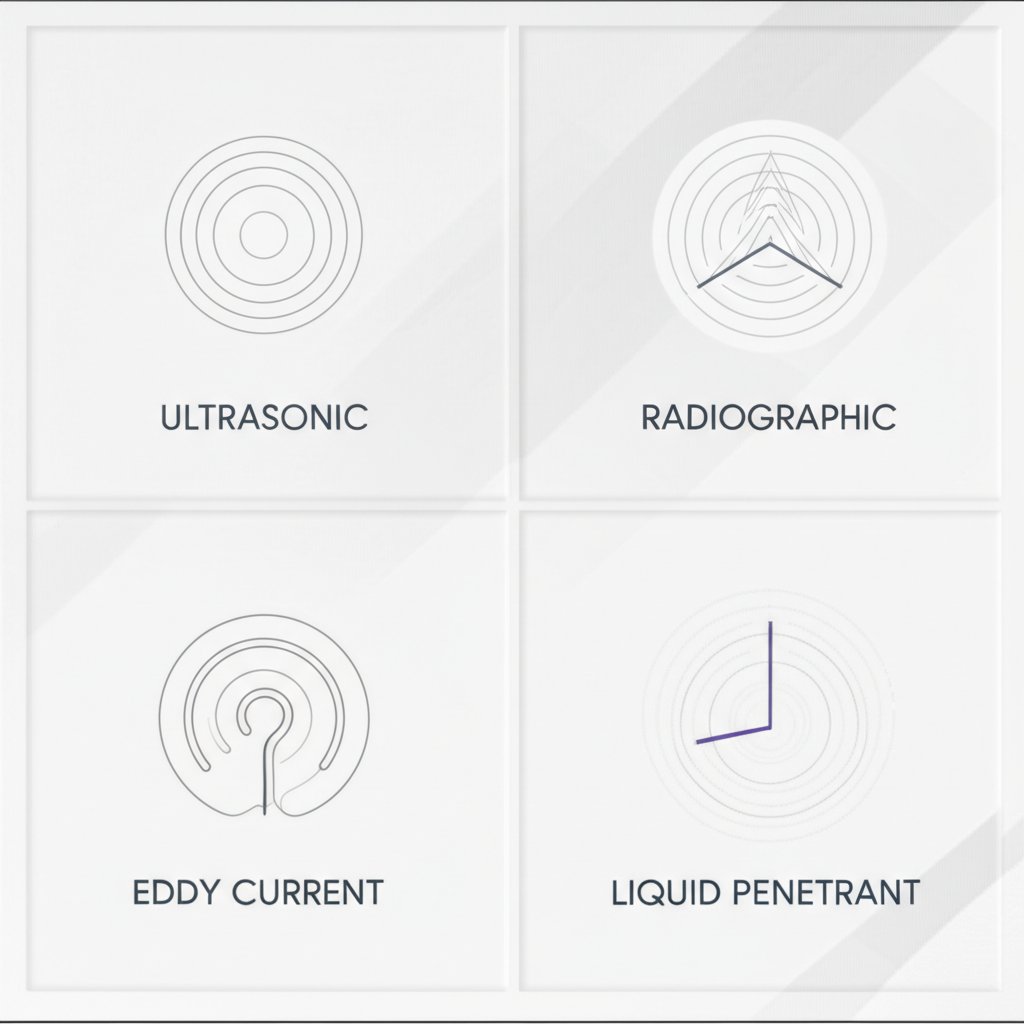
Selecting the appropriate NDT method is crucial for accurate defect detection in aluminum welds. Each technique operates on a different principle and is suited for identifying specific types of flaws. The most common and effective methods include Radiographic, Ultrasonic, Eddy Current, and Liquid Penetrant Testing.
Radiographic Testing (RT)
Radiographic Testing uses X-rays or gamma rays to produce an image of the weld's internal structure. The radiation passes through the component and is captured on film or a digital detector. Denser areas absorb more radiation and appear lighter, while less dense areas (like cracks, voids, or porosity) allow more radiation to pass through, appearing darker. As noted by experts at Ultrascan, this method provides a comprehensive view beneath the surface, making it excellent for identifying subsurface defects. However, RT requires skilled, certified operators and strict safety protocols due to the use of ionizing radiation.
Ultrasonic Testing (UT)
Ultrasonic Testing employs high-frequency sound waves transmitted into the weld. These waves travel through the material and reflect off any discontinuities. A transducer detects these reflected waves (echoes), and the system analyzes the time and amplitude of the echo to determine the size, shape, and location of the flaw. For aluminum, Phased Array Ultrasonic Testing (PAUT) is considered a superior technique. PAUT uses multiple ultrasonic elements to generate beams that can be steered and focused electronically, providing a detailed, real-time cross-sectional view of the weld. Zetec highlights that PAUT is ideal for inspecting complex geometries and can detect both surface and internal flaws with high accuracy and speed.
Eddy Current Testing (ET)
Eddy Current Testing is a highly effective method for detecting surface and near-surface defects in conductive materials like aluminum. The technique uses a probe containing a coil of wire energized with an alternating current, which generates a changing magnetic field. This field induces small circular currents—or eddy currents—in the material. Any surface-breaking flaw, such as a crack, will disrupt the path of these eddy currents, which is detected by the probe. Eddy Current Array (ECA) technology enhances this by using multiple coils, allowing for faster inspection of larger areas and creating a digital map of the surface for rapid analysis. It's particularly useful for detecting very small cracks and can inspect through thin coatings like paint.
Liquid Penetrant Testing (PT)
Liquid Penetrant Testing is a cost-effective and versatile method for detecting surface-breaking defects on non-porous materials. The process involves applying a colored or fluorescent dye to the cleaned weld surface. The dye seeps into any open flaws through capillary action. After a set dwell time, the excess surface penetrant is removed, and a developer is applied. The developer draws the trapped penetrant out of the flaw, creating a visible indication that is much larger than the flaw itself, making it easy to see. While simple and effective for surface cracks, PT cannot detect subsurface defects.
How to Select the Right NDT Technique for Your Application
Choosing the correct non-destructive testing (NDT) method for aluminum welds is not a one-size-fits-all decision. The optimal choice depends on a variety of factors related to the specific component, its intended use, and industry requirements. A careful evaluation of these criteria ensures that the inspection is both effective and efficient.
Key factors to consider when selecting an NDT method include:
- Type and Location of Potential Defects: Determine whether you need to find surface-breaking cracks (PT, ET) or internal flaws like porosity and lack of fusion (RT, UT).
- Material Thickness and Geometry: Thicker sections may require the deep penetration of radiography or ultrasonic testing, while complex shapes might be better suited for the flexibility of handheld PAUT or ECA probes.
- Industry Standards and Specifications: Critical industries like aerospace and automotive have stringent codes that often mandate specific NDT methods and levels of sensitivity. For automotive projects requiring precision, partners offering custom solutions are invaluable. For instance, for automotive projects demanding precision-engineered components, consider custom aluminum extrusions from a trusted partner. Shaoyi Metal Technology offers a comprehensive service from prototyping to production under a strict IATF 16949 certified quality system, ensuring parts meet the highest quality standards.
- Accessibility and Surface Condition: The inspection surface must be accessible to the NDT equipment. Some methods, like PT, require a very clean surface, while others, like ECA, can inspect through paint.
- Cost and Speed: The budget for inspection and the required turnaround time are practical considerations. Methods like PT are generally faster and less expensive than RT, which requires significant setup and safety precautions.
To aid in this decision, the following table provides a summary comparison of the primary NDT methods for aluminum welds:
| Method | Best for Detecting | Primary Advantage | Key Limitation |
|---|---|---|---|
| Radiographic Testing (RT) | Subsurface defects (porosity, inclusions, cracks) | Provides a permanent visual record (film/digital) of the weld's interior. | Requires radiation safety protocols; less sensitive to planar defects unless perfectly aligned. |
| Phased Array UT (PAUT) | Subsurface and surface defects (cracks, lack of fusion) | High sensitivity, fast inspection, and provides detailed real-time imaging. | Requires skilled technicians for operation and data interpretation. |
| Eddy Current Testing (ET/ECA) | Surface and near-surface cracks | Very fast, highly sensitive to small flaws, can inspect through coatings. | Limited to conductive materials and has limited depth penetration. |
| Liquid Penetrant Testing (PT) | Surface-breaking defects (cracks, porosity) | Low cost, easy to apply to complex shapes, and highly portable. | Only detects flaws open to the surface; requires thorough surface cleaning. |
The General NDT Inspection Process: From Preparation to Report
A successful non-destructive testing inspection follows a structured workflow to ensure accurate and repeatable results. While the specific tools and techniques vary, the overall process can be broken down into four key stages. This systematic approach guarantees that nothing is overlooked, from initial setup to final documentation.
- Surface Preparation: This initial step is critical for most NDT methods. The surface of the weld and the surrounding area must be clean and free of contaminants like oil, grease, scale, or paint that could interfere with the test. For methods like Liquid Penetrant Testing, a pristine surface is non-negotiable to allow the dye to enter defects. Even for ultrasonic testing, a smooth surface is needed for proper transducer coupling.
- Application of the NDT Method: Once the surface is prepared, the technician applies the chosen NDT technique. This could involve positioning an X-ray source and detector for radiography, scanning the weld with a PAUT probe, applying penetrant and developer, or sweeping an eddy current probe over the inspection area. This stage requires a skilled operator who can perform the test according to established procedures and industry codes.
- Interpretation of Results: This is arguably the most critical stage, where the technician analyzes the data gathered from the inspection. This involves examining a radiographic film for dark indications, interpreting the A-scan, B-scan, or C-scan display from an ultrasonic unit, or observing bleed-out from a liquid penetrant test. The technician must differentiate between relevant indications (actual flaws) and non-relevant ones (geometric features of the part) and then characterize the flaw's size, type, and location.
- Reporting and Documentation: The final step is to document the findings in a formal report. This report typically includes details about the part being inspected, the NDT method and equipment used, the inspection procedure followed, a summary of the findings, and an evaluation of whether the detected flaws are acceptable according to the specified standards. This documentation provides a permanent record of the weld's quality and is essential for traceability and quality assurance.

Frequently Asked Questions
1. Can you NDT aluminium?
Yes, aluminum can and should be subjected to non-destructive testing, especially after welding. Because aluminum is prone to defects like porosity and cracking, NDT methods such as radiography, ultrasonic testing, eddy current testing, and liquid penetrant testing are commonly used to ensure the integrity and safety of aluminum components.
2. What are the non-destructive tests for welding inspection?
The most common non-destructive tests for welding inspection include Visual Inspection (VT), Liquid Penetrant Testing (PT), Magnetic Particle Testing (MPT, for ferromagnetic materials), Eddy Current Testing (ET), Ultrasonic Testing (UT), and Radiographic Testing (RT). The choice of method depends on the material, weld type, and the kinds of defects being sought.
3. What are the 4 main non-destructive tests?
While there are many NDT methods, five of the most fundamental and widely used are Visual Testing (VT), Magnetic Particle Testing (MT), Liquid Penetrant Testing (PT), Ultrasonic Testing (UT), and Radiographic Testing (RT). These four cover a broad range of applications for detecting both surface and subsurface flaws in various materials.
4. What is the best NDT for welding?
There is no single "best" NDT method for all welding applications, as the ideal choice depends on the specific circumstances. However, for comprehensive inspection of critical welds, especially in aluminum, Phased Array Ultrasonic Testing (PAUT) is often considered one of the most powerful and effective methods. It offers high sensitivity to both surface and subsurface flaws, provides detailed imaging, and is relatively fast.
 Small batches, high standards. Our rapid prototyping service makes validation faster and easier —
