 Small batches, high standards. Our rapid prototyping service makes validation faster and easier —

Metal Stamping Process: 9 Steps To Cut Scrap And Lead Time
Step 1: Define Requirements and Select the Right Metal Stamping Process
Before you ever power up a press, setting a clear foundation is critical for a successful metal stamping process. Imagine designing a part without knowing how it will be used, or how many you’ll need—sounds risky, right? That’s why the first step is all about mapping out your needs, constraints, and goals, so you can confidently choose the optimal pathway for stamping and pressing your components.
Decide Between Progressive, Transfer, Deep Draw, or Fine Blanking
What is stamping, exactly? At its core, stamping meaning refers to shaping metal by applying force with a die in a press. But there’s no one-size-fits-all method. The choice between progressive, transfer, deep draw, or fine blanking isn’t just about preference—it’s about matching the process to your part’s geometry, production volume, and performance requirements.
| Process Type | Geometry Complexity | Wall Height/Depth | Edge Quality | Achievable Tolerances | Scrap Rate | Feed Style | Automation Readiness | Tooling Cost |
|---|---|---|---|---|---|---|---|---|
| Progressive Die | Simple to Moderately Complex | Low to Medium | Standard | Good | Low | Coil | High | High (amortized over volume) |
| Transfer Die | High (Large/Complex Parts) | Medium to High | Standard | Good | Medium | Blank or Coil | Medium | High |
| Compound Die | Simple (Flat Parts) | Low | Good | Excellent | Low | Blank | Low | Medium |
| Deep Drawing | Moderate to High (Cups/Shells) | Very High | Standard | Good | Medium | Blank or Coil | Medium | High |
| Fine Blanking | Simple to Moderate | Low | Exceptional (Machined-like) | Very High | Medium to High | Blank | Medium | Very High |
- Progressive Die: Brackets, clips, terminals, connectors
- Transfer Die: Large automotive panels, structural reinforcements
- Compound Die: Flat washers, gaskets
- Deep Drawing: Aluminum cans, battery cases, kitchen sinks
- Fine Blanking: Gears, sprockets, seatbelt parts, components needing burr-free edges
Link Geometry and Tolerance to Process Choice
Start by capturing your part’s functional requirements: What kind of loads will it see? Which surfaces are cosmetic? What tolerances and regulatory standards must be met? For example, a high-precision gear may demand fine blanking, while a simple bracket might be ideal for progressive stamping.
Pay attention to geometry—tall, deep, or highly contoured shapes often require deep drawing or transfer dies. If your design calls for intricate bends or multiple features formed in one shot, progressive dies shine. But when edge quality is paramount, fine blanking can achieve near-machined results without secondary finishing.
Estimate Volume to Guide Tooling Investment
How many parts do you need over the product’s lifecycle? High-volume runs (tens of thousands or more) justify the investment in progressive or transfer dies, where automation and speed cut per-part costs. For prototyping, short runs, or frequent design changes, simpler dies or staged tooling keep risk and upfront costs low.
- Simple, flat parts: Progressive or compound dies
- Tall cups/shells: Deep draw or transfer dies
- Critical edge quality: Fine blanking
- Low volume/frequent changes: Short-run or staged tooling
- Extreme tolerances: Consider secondary machining
"Choosing the right stamping process early sets the stage for cost, quality, and lead time success."
As you wrap up Step 1, you’ll carry forward these key inputs for the next phase:
- Functional and regulatory requirements
- Annual and batch volume targets
- Target tolerances and cosmetic expectations
- Material family and thickness range
- Downstream operations (tapping, plating, welding)
- Preferred process family based on your decision matrix
Understanding the stamping process—and making thoughtful choices at this stage—will help you cut scrap, control costs, and achieve reliable results throughout your metal stamping journey.
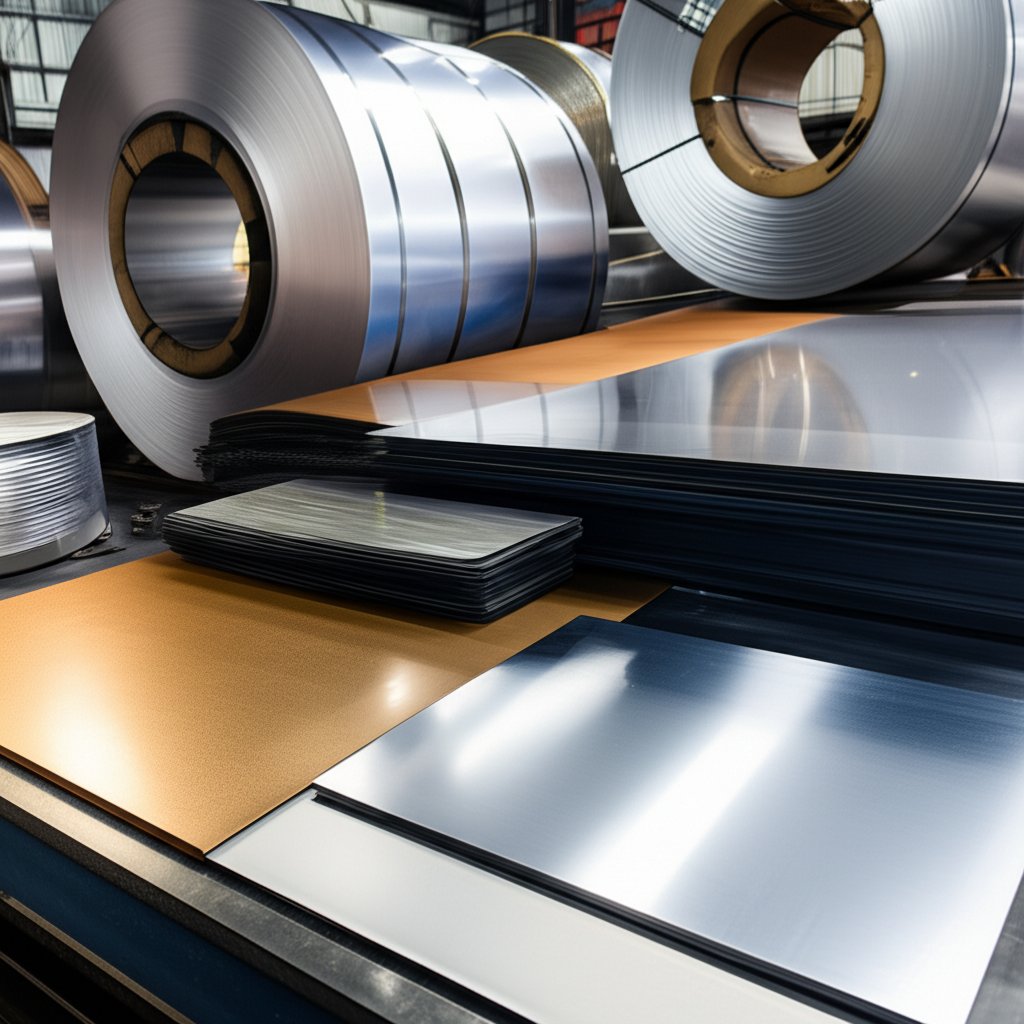
Step 2: Choose Materials and Thickness for Manufacturability
Ever wonder why some stamped parts last for years, while others crack or corrode in months? The answer often lies in the material selection phase of the metal stamping process. Choosing the right metal for stamping is more than picking a sheet off the shelf—it’s about matching alloy, temper, thickness, and finish to your part’s performance and forming needs. Let’s break down how to make smart choices that will save you from costly rework and scrap.
Match Operations to Alloy and Temper
Imagine you’re designing a bracket that needs both strength and formability. Which material should you pick? Here’s where the type of operation—blanking, piercing, bending, deep drawing, or coining—guides your choice. For example, stainless steel stamping excels in applications needing corrosion resistance and durability, but its higher work hardening rate can make deep draws tricky without careful temper selection and lubrication. On the other hand, aluminum stamping is ideal for lightweight, conductive parts and offers excellent workability for intricate shapes, especially when using softer tempers like 1100 or 3003 series alloys.
| Operation | Low-Carbon Steel | HSLA Steel | Stainless Steel | Aluminum |
|---|---|---|---|---|
| Blanking | Excellent Low burr tendency |
Very Good Moderate burr tendency |
Good May require sharper tooling |
Excellent May need tighter die clearance |
| Piercing | Excellent Low springback |
Very Good Some springback |
Good Watch for galling |
Good Risk of galling, especially in soft grades |
| Bending | Very Good Low springback |
Good Higher springback |
Fair High springback, needs larger radii |
Excellent Low springback, good for tight bends |
| Deep Draw | Good Watch for splits in thick gauges |
Fair May require annealing |
Excellent in austenitic grades Needs careful temper selection |
Excellent Best in softer alloys (1100, 3003) |
| Coining | Excellent | Very Good | Good Needs high force |
Good Best in softer grades |
Balance Strength Versus Formability
It’s tempting to reach for the strongest available alloy, but higher strength often means less formability. For instance, HSLA steels offer greater strength than low-carbon steel at similar thicknesses, making them a top pick for structural steel sheet stamping. However, they can be less forgiving in tight bends or deep draws. Stainless steels, especially austenitic types, provide excellent corrosion resistance but can work harden rapidly, increasing the risk of cracking if not properly annealed or formed at the right temper.
- Aluminum: Lightweight, corrosion-resistant, and easy to form—ideal for stamped aluminum brackets and housings. Alloys like 5052 and 6061 offer a good balance of strength and workability.
- Stainless Steel: Best for high-wear or corrosive environments, but watch for springback and galling. Lubrication and tool steel selection are key.
- Low-Carbon/HSLA Steel: Versatile and cost-effective for a wide range of metal stamping materials, from brackets to steel stamping blanks.
"Tighter bends and deeper draws generally favor higher ductility and careful temper selection."
Plan Surface Finish and Post-Processing
Surface finish isn’t just about looks—it can impact corrosion resistance and downstream operations. Aluminum and stainless often don’t require plating, but can be anodized or passivated for extra protection. If you plan to paint, powder coat, or e-coat, confirm the finish can withstand forming without cracking or peeling. For stamped aluminum, anodizing can greatly enhance corrosion resistance, especially in harsh environments.
- Choose finishes early to avoid rework.
- Check that protective films suit your feed system and die design.
- Validate coil width, thickness, and availability to ensure seamless production flow.
By aligning your material and thickness choices with forming operations, you’ll set yourself up for fewer defects, smoother runs, and a more efficient stamping process. Next, you’ll see how smart part and die design can further reduce scrap and ensure your chosen material performs as intended.
Step 3: Apply DFM Rules to Part and Die Design for Reliable Stamping Results
Ever had a part crack at the bend or holes distort during forming? These are classic pitfalls that a thoughtful stamping design can help you avoid. In the metal stamping process, applying robust Design for Manufacturability (DFM) rules at both the part and sheet metal die level is what separates smooth production from costly rework. Let’s break down how to engineer features so your parts form cleanly, repeatably, and with minimal scrap.
Design For Stamping, Not Machining
When you design for stamping instead of machining, you’ll notice some key differences. Stamping thrives on consistent radii, generous clearances, and features that work with—rather than against—the flow of metal. For example, sharp inside corners may be easy to machine, but in die stamping, they cause stress concentrations and cracking. Instead, opt for rounded features and standard radii that match available tooling.
| Feature | Recommended Range/Ratio | DFM Notes |
|---|---|---|
| Bend Radius | ≥ 1x thickness (ductile metals); up to 4x thickness for hard alloys | Use larger radii for brittle or hard alloys (e.g., 6061-T6 aluminum). Consult your manufacturer for exact tooling limits. |
| Hole Diameter | ≥ 1x thickness | Avoid small holes—risk of punch breakage and poor edge quality. |
| Hole-to-Edge Distance | ≥ 1.5x thickness | Prevents distortion, especially in thin sheet metal stamping design. |
| Hole-to-Bend Distance | ≥ 2.5x thickness + 1 bend radius | Reduces risk of hole distortion or tearing during forming. |
| Slot Width | ≥ 1x thickness | Narrower slots may not punch cleanly; increase width for reliability. |
| Emboss Depth | ≤ 3x thickness | Deeper embosses risk thinning and tearing—model geometry in CAD for best results. |
| Minimum Flange Length | ≥ 4x thickness | Shorter flanges may not form fully or may distort. |
Control Springback with Geometry and Process
Springback—the tendency for metal to elastically recover after forming—can throw off dimensions, especially in high-strength steels or stamped aluminum. To control springback, use larger bend radii, tighter die clearances, and design features like beads or stiffening ribs. For deep drawn parts, model addendum and draw bead placement during the CAD stage to anticipate springback and minimize distortion. Remember, each material reacts differently: aluminum alloys, for example, can have up to three times the springback of steel, requiring special attention in sheet metal die design.
- For angular parts, over-bend slightly to compensate for expected springback.
- Use stretch-forming or coining bending operations to lock in angles and reduce variation.
- Add beads, embosses, or ribs to increase panel stiffness and minimize warping.
Optimize Hole and Edge Relationships
Ever seen stamping examples where holes are too close to bends or edges, leading to cracks or deformed features? Proper spacing is key. Keep holes at least 2.5x thickness plus one bend radius from any bend, and 1.5x thickness from the nearest edge. For slots and tabs, follow similar guidance. These ratios help ensure clean shearing and reduce the risk of material tearing during the stamping process [reference].
| Progressive Die Feature | Design Checklist |
|---|---|
| Pilot Holes | Locate at regular intervals for accurate strip progression. |
| Carrier/Web Width | Ensure sufficient width for strip strength and die alignment. |
| Strip Layout | Optimize for material yield and minimize scrap; align grain direction perpendicular to bends. |
| Lifter/Stripper Choices | Choose based on part ejection needs and complexity of formed features. |
- Keep critical holes away from bend lines when possible.
- Standardize radii and emboss tools to reuse die inserts across multiple jobs.
- Plan burr direction so it does not interfere with assembly or mating parts.
- For deep drawn or complex parts, simulate forming to validate addendum and draw bead strategies.
Early DFM saves more cost than late-stage tolerance tightening.
By following these DFM rules, you’ll engineer parts and metal stamping dies that deliver consistent, high-quality results. Next, you’ll see how right-sizing your press and support equipment can further reduce scrap and ensure every stroke of your stamping process counts.
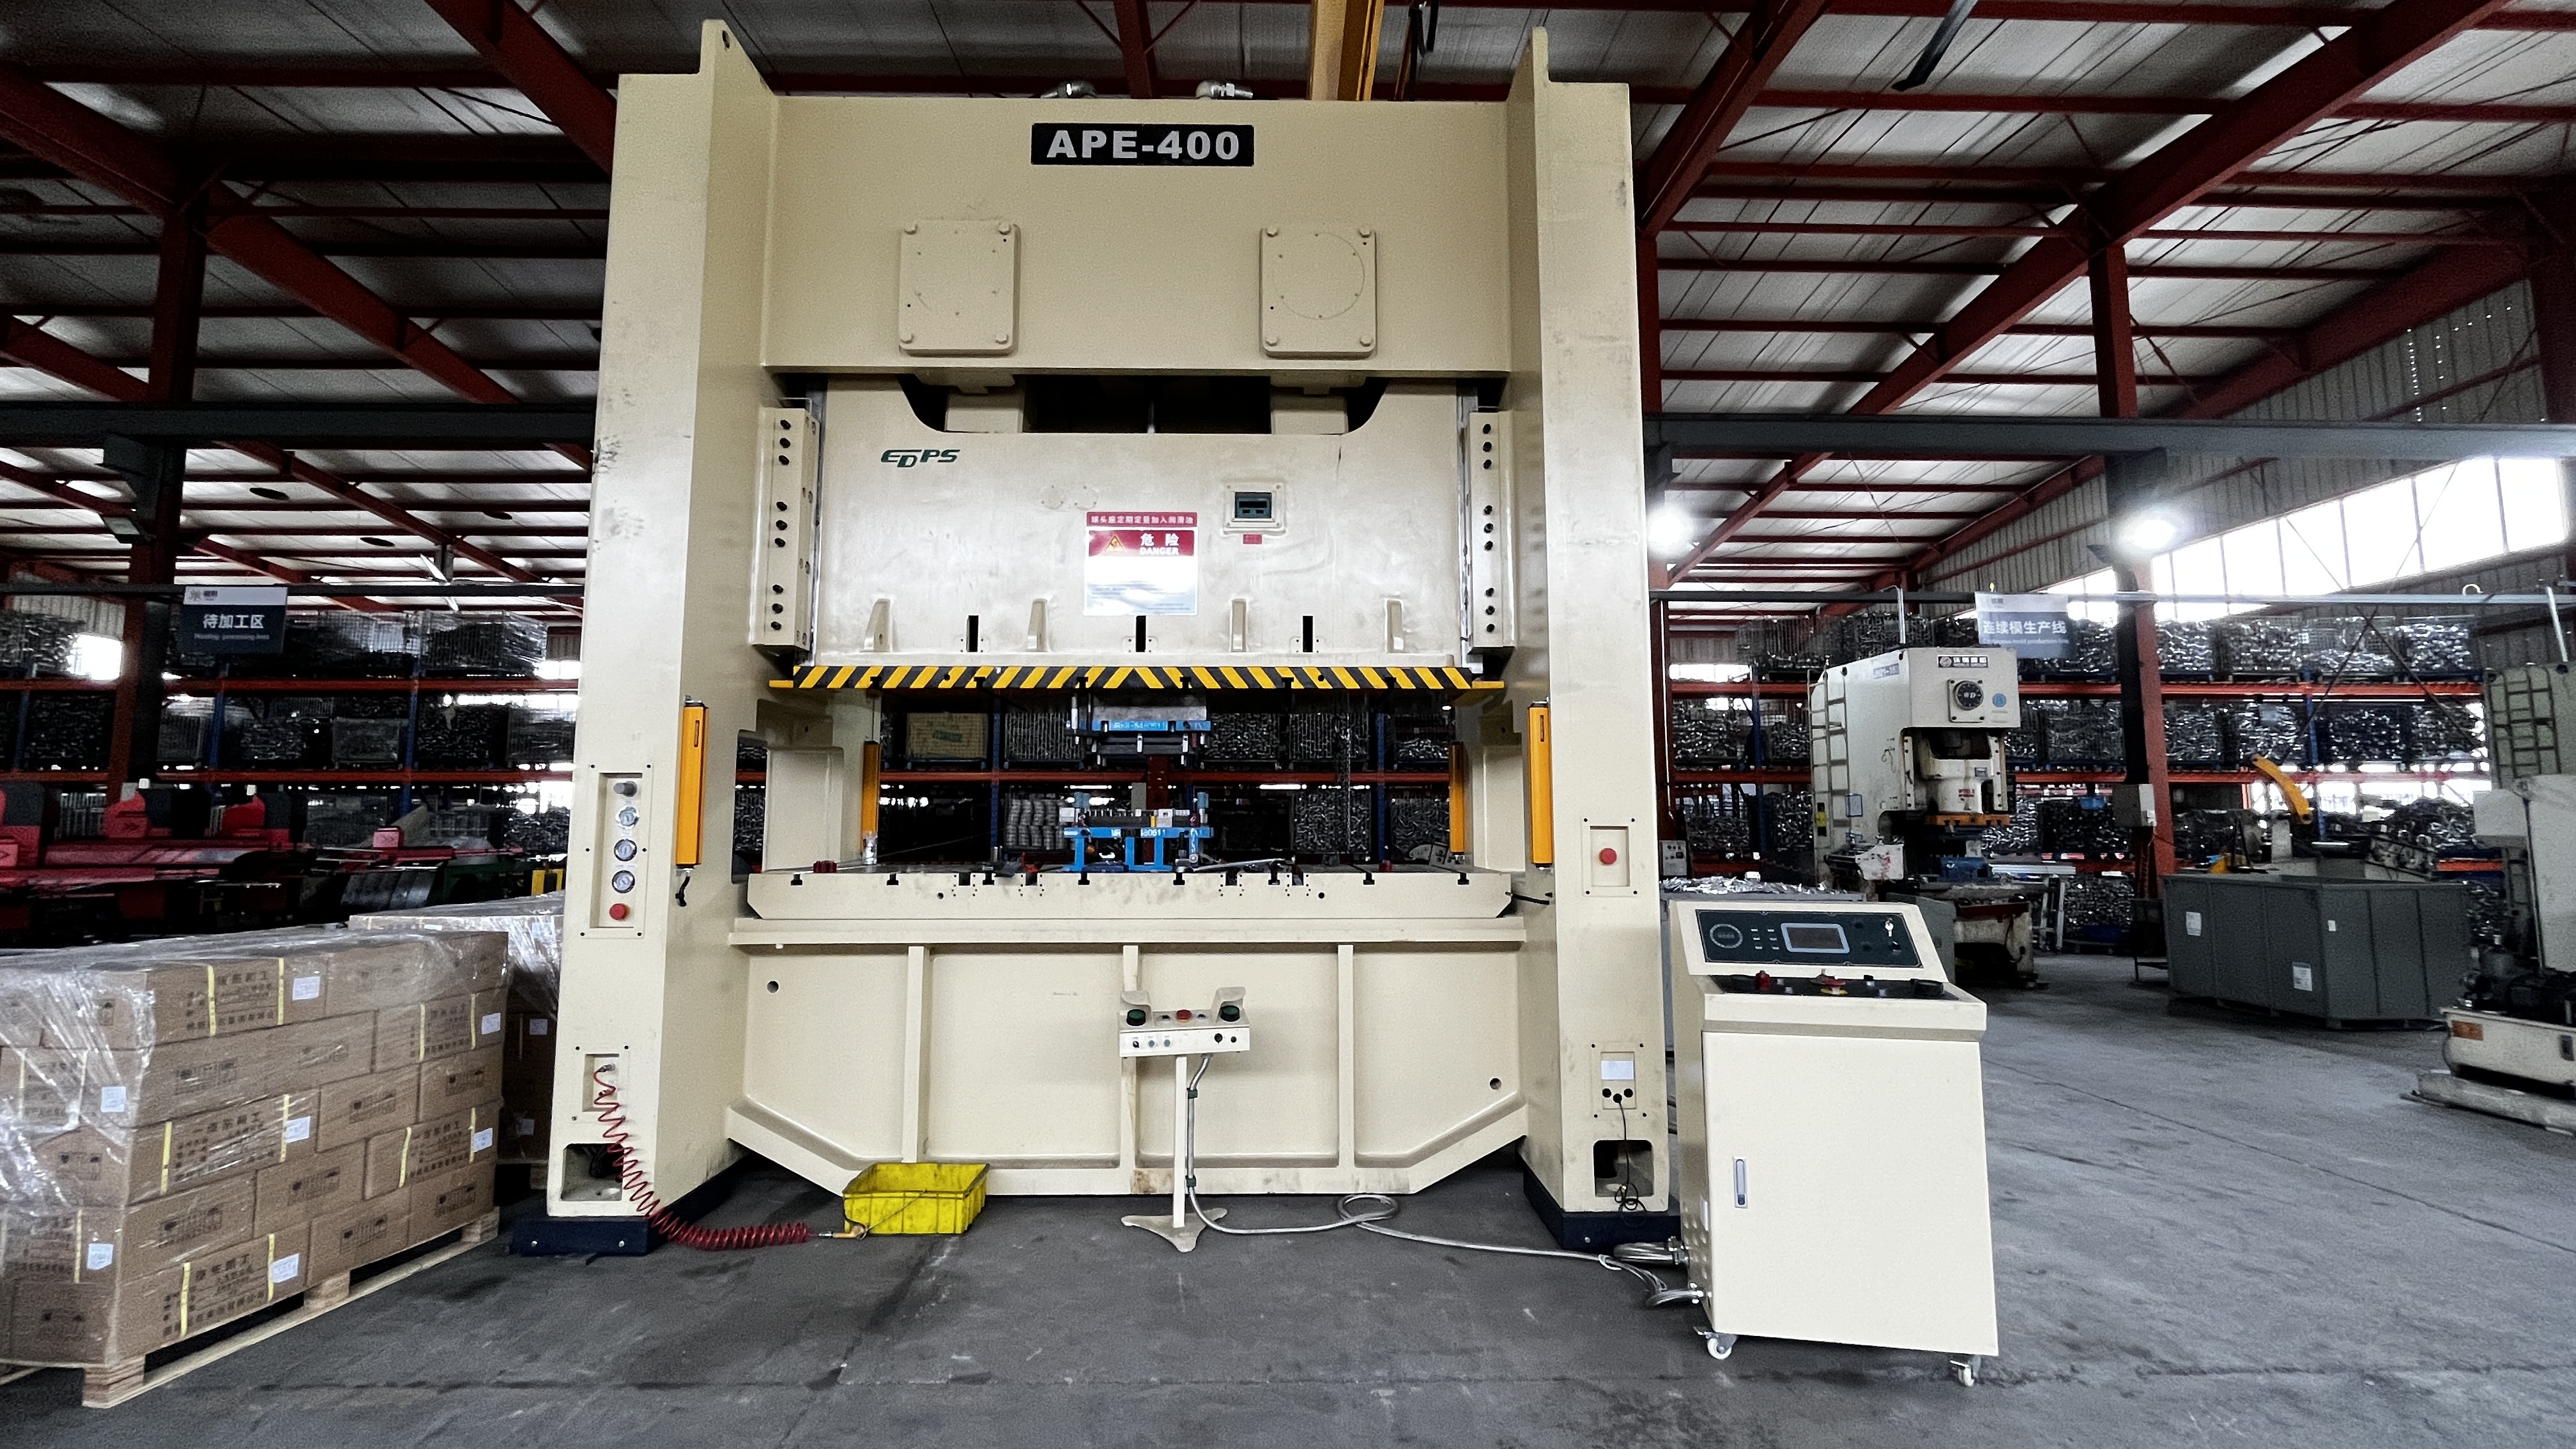
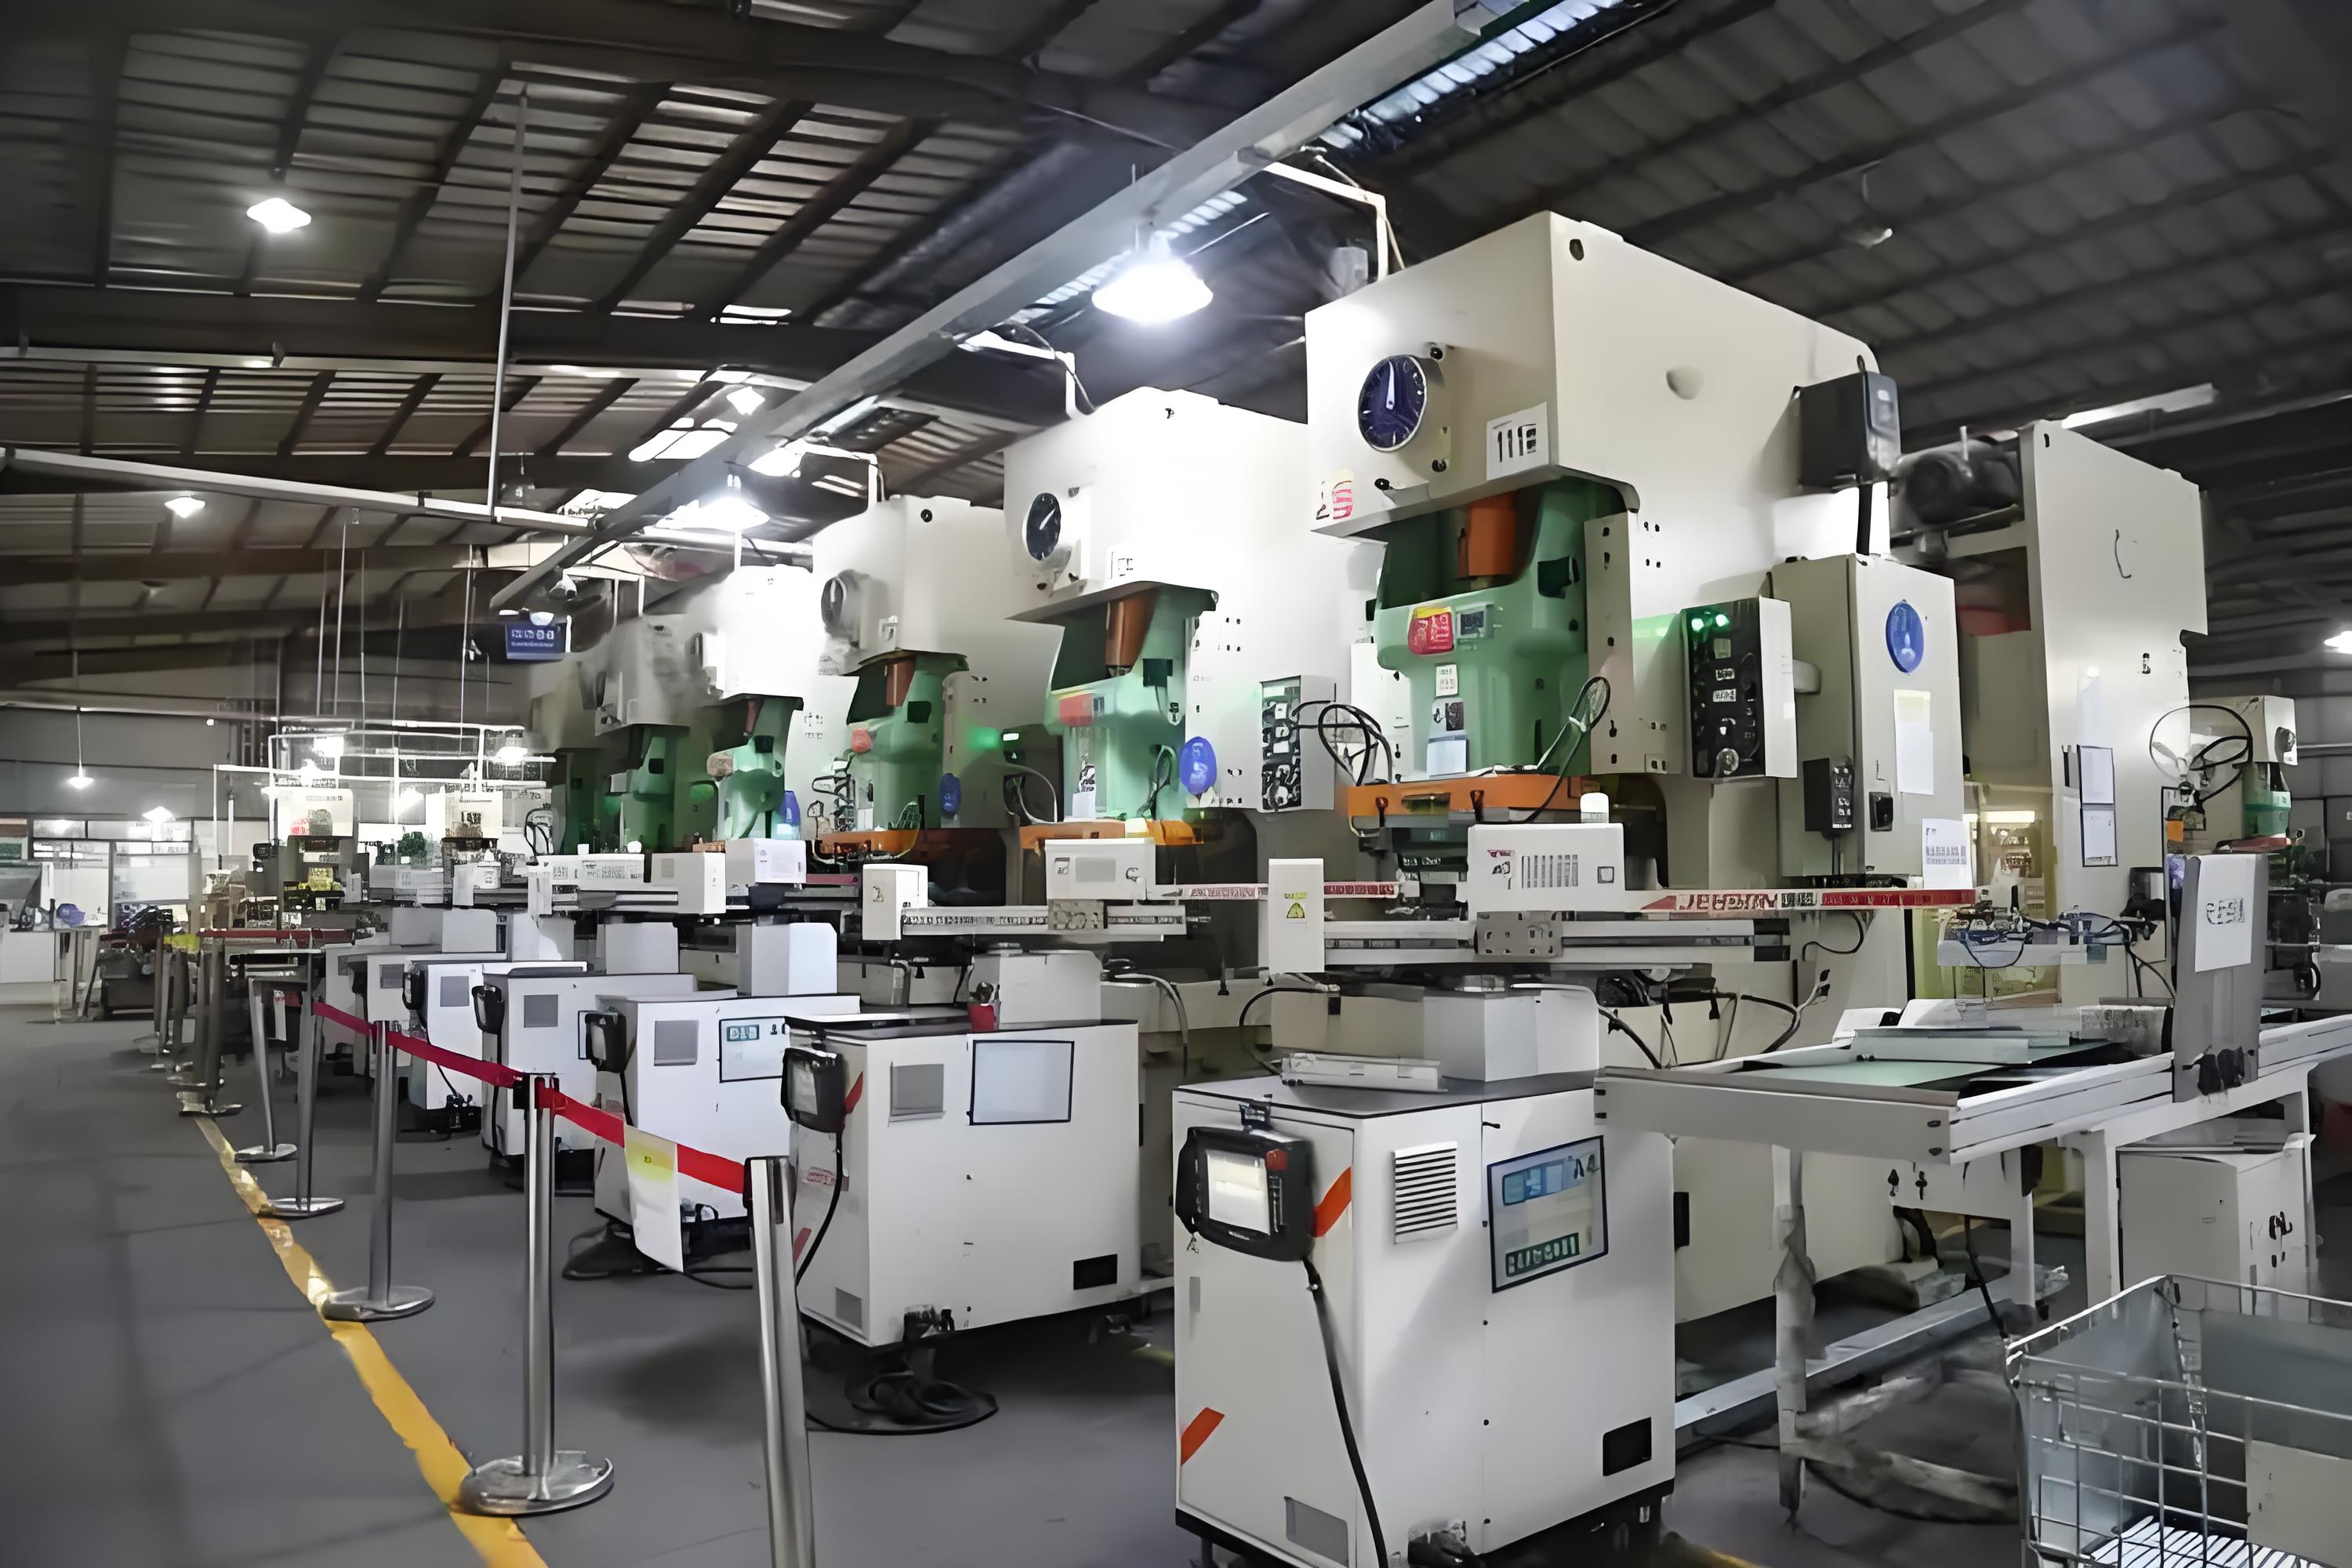
Step 4: Size the Press and Select Supporting Equipment for Reliable Stamping
Ever wondered why a perfectly designed part still fails on the shop floor? Often, the culprit is a mismatch between your tooling and the stamping press—or underestimating the forces needed for a reliable metal stamping process. Choosing the right stamping machinery isn’t just about picking the biggest or fastest press. It’s about matching press tonnage, stroke, and speed to your part, die, and production goals. Let’s break down how you can make confident, data-driven choices for your next project.
Size Your Press With a Conservative Margin
Imagine you’re ready to run your first batch. How do you know if your stamping press is up to the task? Start by estimating the tonnage required for each operation—blanking, piercing, bending, drawing, or coining. The goal: your required tonnage should always be below the available tonnage curve of the press, not just the peak tonnage rating. Here’s how to approach it:
- Estimate required tonnage using the material’s shear strength, cut perimeter, and thickness. For example, first calculate the force required for punching: Punching force (N) = circumference (mm) × material thickness (mm) × material shear strength (N/mm²). Then, convert the calculated force (in Newtons) into tons to compare with the rated tonnage of the press (for example, divide the Newton value by 9807).
- Account for forming loads (bending, drawing, coining) and add a safety margin—often 10-20% above your calculated needs to cover snap-through and reverse tonnage effects [reference].
- Check off-center and concentrated loading—ensure your die layout distributes force across at least 66% of the press bed to prevent overloading connections.
- Compare your process load curve to the press’s available tonnage curve. Remember, available tonnage varies throughout the stroke, especially in mechanical presses.
- Verify reverse tonnage and snap-through—these can spike with thicker or stronger materials and higher speeds. If needed, derate your press (use only 80% of nominal capacity for blanking) or lower the speed.
By sizing conservatively, you’ll avoid costly downtime, premature wear, and structural failures in your metal stamping equipment.
Select Drive Type for the Operation
| Press Type | Speed Range (SPM) | Energy Delivery | Accuracy | Maintenance | Best Use |
|---|---|---|---|---|---|
| Mechanical Press | Up to 1,500 | Peak energy near bottom of stroke | High repeatability | Lower, less frequent | High-volume blanking, piercing, shallow forming |
| Hydraulic Press | Up to 100 | Full force throughout stroke | High control, flexible | Higher, more frequent | Deep draw, forming, jobs needing variable pressure |
Mechanical presses are the workhorses for high-speed, high-volume stamping—think terminals, brackets, or appliance parts. Their fixed cycles and robust frames mean consistent results, especially when paired with progressive dies. Hydraulic presses, on the other hand, shine when you need variable pressure, longer dwell at the bottom, or to form deep, complex shapes. Their flexibility makes them ideal for deep draw or coining jobs but at slower speeds.
Balance Speed With Part Quality
It’s tempting to crank up the speed on your metal stamping machine, but faster isn’t always better. Higher strokes per minute (SPM) can increase reverse tonnage, vibration, and the risk of die damage. Use press capability curves to confirm you have enough energy at your desired speed—especially critical for thicker materials or complex forms. For precision jobs, consider adding die protection sensors and part-out detection systems to safeguard tooling at higher speeds.
- Shut height: Distance from the press bed to the slide at bottom dead center.
- Die height: Total height of the die set when closed.
- Feed angle and length: Adjust for optimal material progression.
- Lubrication type/flow: Ensure consistent application to reduce friction and wear.
- Cushion pressure: Set for consistent part ejection and forming control.
Record these setup parameters for every job—they’re key to repeatable quality and fast troubleshooting.
“Selecting the right stamping press and dialing in the setup is the bridge between great design and great parts.”
With your press and supporting stamping machines properly sized and configured, you’re ready to focus on tooling strategy and preventive maintenance—crucial steps for keeping production running smoothly and minimizing scrap in your metal stamping process.
Step 5: Develop a Tooling Strategy and Maintenance Plan for Stamping Success
Ever wondered why some stamping operations run for years with minimal downtime, while others struggle with frequent die failures and inconsistent quality? The secret often lies in how you approach your tooling process—from the first prototype to full-scale production, and how you maintain your metal stamping die assets along the way. Let’s break down a practical, step-by-step strategy for selecting, scaling, and sustaining your sheet metal stamping dies.
Prototype Smart Then Scale
Imagine investing in a high-end production die, only to discover late-stage design flaws or missed tolerances. That’s why experienced teams start with a staged tooling process, moving from prototypes to pilot, and finally to robust production dies. Each stage has a clear purpose and cost profile:
| Tooling Stage | Main Purpose | Lead-Time Factors | Cost Drivers |
|---|---|---|---|
| Prototype Die | Validate part geometry, basic form, and fit; enable quick design changes | Short (days to weeks); simple construction; often uses softer materials | Low upfront; minimal durability; not suitable for high volumes |
| Pilot Die | Prove process capability, assess tolerances, optimize strip layout | Moderate (weeks); more robust than prototype but not fully hardened | Medium; supports limited volumes (hundreds to low thousands) |
| Production Die | Full-rate, high-volume production with tight tolerances and durability | Longest (months); hardened tool steels, advanced features | High initial cost; amortized over large volumes; long-term durability |
This staged approach lets you catch issues early, refine your design, and avoid costly rework on your final custom metal stamping die. It’s also a core principle of modern metal stamping techniques—using iterative feedback to optimize both part and tooling before locking in expensive steel stamping dies for production.
Choose Die Components for Wear and Edge Quality
Once you’re ready to commit to production, material and component choices for your sheet metal stamping dies become critical. You’ll want to select tool steels and coatings that match your part’s material, expected run length, and finish requirements. For instance:
- Tool Steel Selection: Harder tool steels (like D2 or M2) are ideal for long runs, abrasive materials, or when edge retention is critical. Softer tool steels may suffice for short runs or non-abrasive metals.
- Surface Coatings: Consider TiN or DLC coatings for improved wear resistance, especially with high-strength steels or when running unlubricated. These help extend die life and maintain edge sharpness.
- Die Clearances: Proper punch-to-die clearance is key to achieving clean edges and minimizing burrs—adjust for material thickness and type.
Remember, the right choices here not only improve part quality but also reduce tool maintenance and replacement costs over the life of your custom metal stamping dies.
Institutionalize Maintenance
Even the best-designed die will degrade without a solid maintenance plan. Regular inspections and proactive upkeep are essential for maximizing uptime and extending the life of your metal stamping die. Here’s a practical checklist to keep your tooling in top shape:
- Inspect punches, dies, and strippers for wear or chipping
- Verify die alignment, guide post condition, and shut height
- Check sensors, springs, gas cylinders, and cushions for proper function
- Clean and relube all components; confirm lubrication delivery is consistent
- Record hit counts and schedule insert rotations or regrinds
- Confirm scrap removal and part ejection paths are clear
Routine maintenance not only prevents sudden breakdowns but also ensures consistent part quality and operator safety. As highlighted in industry practice, proactive care can extend the life of stamping dies, reduce downtime, and deliver better ROI for your tooling investment.
“A well-maintained die is the backbone of any efficient metal stamping process. Don’t let small issues become big failures.”
- Standardize inserts and retainers across dies to simplify spare parts and reduce inventory costs.
- Implement die protection sensors to catch jams or misfeeds before they become catastrophic failures.
- Document lessons learned from pilot runs and maintenance logs to lock in die revisions before scaling to full production.
By building your tooling process around proven metal stamping techniques and robust maintenance, you’ll set the stage for consistent, high-quality output. Next, you’ll see how preparing your production line and standardizing quality controls will lock in those gains and keep your operation running smoothly.
Step 6: Pilot the Line and Standardize Quality Controls for Consistent Stamping Results
When you’ve invested so much in design, materials, and tooling, how do you ensure your sheet metal stamping process delivers the same quality part—every single time? This is where piloting the line and locking in robust quality controls become your secret weapons. Imagine launching full-scale production only to discover recurring defects or unstable dimensions. Sounds stressful? Let’s break down how you can avoid those headaches and set up a repeatable, reliable manufacturing stamping process—from the very first coil to the last finished part.
Stabilize Setup Variables
Before you even run your first part, stabilizing your setup is critical for a successful stamping process in manufacturing. Think of it as setting the stage for precision stamping—where every variable is dialed in for predictable results. Here’s a practical startup checklist to guide your team:
- Coil Threading: Ensure material feeds smoothly through straighteners and feeders—no snags or misalignments.
- Die Clamping Verification: Double-check that dies are seated and clamped securely to avoid shifts during operation.
- Shut Height Confirmation: Verify press shut height matches die specs for consistent part formation.
- Sensor Checks: Calibrate all die protection and part-out sensors—catching misfeeds early prevents costly die damage.
- Lubrication Setup: Confirm correct type and flow to minimize friction, wear, and part defects.
- Dry-Cycle Inspection: Run the press without material to check for smooth motion, proper timing, and sensor response.
By documenting these parameters, you’ll create a “golden setup” recipe—making it easy to repeat quality stamping on every run.
Validate With First Articles and SPC
Ever wondered how top manufacturers catch problems before they become expensive scrap? The answer is a rigorous First Article Inspection (FAI) and Statistical Process Control (SPC). During pilot runs, FAI ensures your process produces parts that meet every dimensional, functional, and cosmetic requirement. Here’s what a thorough inspection checkpoint table might look like:
| Inspection Point | Measurement Method | Sampling Frequency |
|---|---|---|
| Incoming Material Certs | Certificate review, hardness/chemistry test | Each coil or batch |
| Blank Dimensions | Calipers, micrometers | First 5 parts, then hourly |
| Burr Height/Direction | Visual, profilometer | First article, then per shift |
| Hole Position | Coordinate measuring machine (CMM) | First article, then SPC sample |
| Bend Angle | Protractor, fixture gauge | First 5 parts, then SPC sample |
| Flatness | Surface plate, height gauge | First article, then per lot |
| Cosmetic Zones | Visual inspection, light booth | First article, then 100% critical areas |
By applying precision stamping principles—tight measurement, clear documentation, and systematic checks—you’ll catch issues before they cascade into scrap or rework. Don’t forget to implement SPC on critical dimensions: track trends, identify drift, and adjust feeds or press speed based on real data, not just gut feel.
Lock the Process Window
Once you’ve proven the process at baseline settings, it’s tempting to chase higher speeds. But remember:
Don’t chase speed until capability is proven at baseline settings.
Locking your process window means defining the safe, stable range for each variable—feed rate, press speed, lubrication, and sensor settings—where quality and yield are maximized. Record these “golden” settings and use them as a baseline for future runs. Before ramping up, validate that downstream processes (like plating or assembly) accept the pilot parts without issue.
- Calibrate sensors and vision systems before every pilot run.
- Capture and document all setup parameters for traceability.
- Update the control plan and PFMEA as new risks or learnings emerge.
- Get buy-in from all stakeholders—production, quality, and downstream partners—before moving to full production.
By following these steps, you’ll create a stable, repeatable sheet metal stamping process that delivers consistent, high-quality results. This disciplined approach to quality stamping not only reduces scrap and rework but also builds the foundation for scaling up with confidence in the next phase of your metal stamping process journey.

Step 7: Troubleshoot Defects and Refine Your Metal Stamping Process
Ever watched a run of stamped metal parts coming off the press—only to spot burrs, wrinkles, or splits that threaten your entire batch? Defects in the metal stamping process can quickly drive up scrap rates and delay shipments. But with a structured, data-driven approach, you can turn troubleshooting from guesswork into a repeatable science. Let’s break down how you can diagnose, correct, and prevent common stamping issues using practical tools and real-world examples.
Diagnose Before Adjusting: Identify and Classify Defects
When a defect appears—whether it’s on a blank stamping metal part or a complex drawn shell—your first step is classification. Is it a burr, a wrinkle, a split, or springback? Each failure mode signals different root causes, so jumping to a solution before understanding the problem can waste time and materials.
| Failure Mode | Likely Causes | Corrective Actions | Verification Method |
|---|---|---|---|
| Burrs | Dull punches/dies, improper die clearance, tool misalignment | Sharpen/regrind tools, adjust clearance, verify die alignment | Microscope edge check, burr height gauge |
| Wrinkling | Insufficient blank hold/cushion force, excess material flow | Increase blank holder force (BHF) or cushion, add draw beads, restrike | Visual inspection for draw wall waves, thickness mapping |
| Tearing/Splits | High draw ratio, sharp radii, poor material elongation | Reduce draw depth, polish radii, add draw beads, select material with better ductility | Dye penetrant check for cracks, visual inspection |
| Springback | High strength/low ductility material, insufficient overbend/coin | Increase overbend, add coining sheet metal or emboss features | Angle Cpk analysis, dimensional checks |
| Edge Fracture | Too small punch radius, excessive work hardening | Increase punch radius, optimize forming sequence | Microscopic inspection, cross-sectioning |
| Dimensional Drift | Tool wear, press misalignment, thermal expansion | Replace worn tools, realign press, monitor temperature | SPC trend charts, CMM checks |
Attack Root Causes, Not Symptoms
It’s tempting to tweak the press or add lubricant when you spot a cosmetic defect. But sustainable improvements come from mapping each problem to its true root cause. For example, persistent burrs on stamped steel parts may indicate worn tooling or incorrect die clearance—fixing these will outlast any quick patch. Use tools like Ishikawa (fishbone) diagrams or FMEA to systematically trace defects back to material, method, machine, or human error [source].
- Review material certifications for correct grade and mechanical properties.
- Audit lubrication type and flow—sometimes a switch to the right die electrical grease can reduce galling or scoring.
- Check press energy curves: is the machine delivering enough force at the right stroke?
- Analyze die protection sensor logs for evidence of misfeeds or jams.
- Track dimensional data with SPC charts to spot subtle drift before it creates out-of-tolerance parts.
Confirm Fixes With Data and Document Everything
After making a process change—like increasing blank holder force or switching to a new coining sheet metal operation—don’t assume the problem is solved. Run a short controlled trial, then measure the outcome. Are burr heights reduced? Do stamped metal parts now meet flatness and angle specs? Use objective data: microscope images, CMM reports, and SPC charts.
Once a fix is validated, update your control plan and PFMEA to lock in the lesson. This ensures that the same root cause won’t creep back in future runs or with new operators. For high-volume blank stamping or complex progressive dies, disciplined documentation is your best defense against recurring quality headaches.
"Every stamping defect is a clue—follow it to the root, solve it with data, and document the fix to build a stronger process."
By applying these troubleshooting steps, you’ll not only reduce scrap but also boost confidence in every batch of stamped steel parts you produce. Ready to see how supplier selection and partnership can further safeguard your stamping technology? Let’s move forward to the next step.
Step 8: Source and Compare Stamping Partners with Rigor
Ever feel overwhelmed by the sheer number of metal stamping companies offering metal pressing services? Choosing the right partner is more than just picking the lowest bid. The supplier you select will directly impact your quality, lead time, and even the total cost of ownership for your stamped metal parts. Let’s walk through how you can build a robust supplier shortlist and compare options with confidence—so you can avoid costly surprises and keep your stamping process on track.
Create a Complete RFQ Package
Before you reach out to any metal parts manufacturer, it’s essential to prepare a comprehensive RFQ (Request for Quotation) package. This ensures suppliers can deliver accurate quotes and helps you compare apples to apples. Here’s what to include:
- Fully dimensioned drawings with GD&T (Geometric Dimensioning & Tolerancing)
- Material specifications (alloy, temper, thickness)
- Estimated annual and batch volumes
- Surface finish and coating requirements
- Critical features and tolerance callouts
- PPAP/FAI (Production Part Approval Process/First Article Inspection) needs
- Packaging, labeling, and delivery cadence expectations
- Revision control and traceability requirements
Clear, detailed RFQs not only speed up the quoting process but also reduce the risk of miscommunication and costly errors down the line.
Score Suppliers on Capability and Fit
Sounds complex? Imagine you need custom metal stamping for an automotive bracket. Beyond price, you’ll want to know if the supplier can handle your material, volume, and quality needs. Here’s a practical comparison table to help you evaluate top contenders for automotive metal stamping and other demanding applications:
| Supplier | Capabilities | Lead-Time Factors | Tooling Strategy | Certifications | Support Services | Pros | Cons |
|---|---|---|---|---|---|---|---|
| Shaoyi Metal Technology | Custom automotive stamping, rapid prototyping, low to high volume, high-strength steel & aluminum | Fast for prototypes, scalable for mass production | DFM analysis, in-house tooling, flexible automation | IATF 16949, ISO 9001 | DFM support, mass production, global delivery | High precision, trusted by 30+ auto brands, scalable, strong DFM | Automotive focus may limit non-auto projects |
| Connor Manufacturing | Precision custom metal stamping, rapid prototyping, in-house tooling | Quick for prototypes, moderate for production | Custom tooling, progressive & compound dies | ISO 9001, IATF 16949 | Design, tooling, assembly, metrology | 100+ years experience, in-house expertise | Potentially higher costs for custom tooling |
| New Standard | Progressive/deep draw stamping, large press range | Variable, based on complexity | In-house die design/build, flexible runs | ISO 9001 | Engineering support, prototyping | Handles large/complex parts, flexible volumes | High initial setup costs for tooling |
| Custom Precision Stamping Inc. | Short/medium runs, stainless, aluminum, copper | Fast for low/medium volumes | Personalized tooling, quick changeover | ISO 9001 | Rapid response, design support | Quick to react to design changes | Limited to short/medium runs |
| Hy-Proto | Mass production, progressive & transfer stamping, assembly | Longer for first parts, fast for repeat orders | High-volume, automated lines | ISO 9001 | Full project management | Low cost-per-piece at scale, full-service | High upfront tooling costs, longer lead for new dies |
As you compare, notice how some suppliers excel at rapid prototyping, while others are built for high-volume production. Certifications like IATF 16949 or ISO 9001 signal robust quality systems—critical for industries like automotive and electronics.
Weigh Total Cost of Ownership
When evaluating custom metal stamping partners, price is just one piece of the puzzle. Consider these factors for a holistic decision:
- Tooling lifetime and maintenance costs
- Flexibility for design changes or ramping volumes
- Lead time for both initial tooling and repeat orders
- Quality assurance processes and defect rates
- Communication and DFM support throughout the project
- Ability to scale from prototypes to mass production without switching suppliers
For example, Shaoyi Metal Technology stands out by offering both rapid prototyping and fully automated mass production, with IATF 16949 certification and strong DFM analysis. This means you can start small and scale confidently, knowing your supplier can grow with you [details].
"Choosing a stamping partner is a strategic investment—look beyond price to partner capabilities, quality systems, and long-term fit."
- Prepare detailed RFQs to ensure clear, accurate quotes
- Score suppliers on technical fit, certifications, and service culture
- Review pros and cons for each option—no one-size-fits-all
- Prioritize flexibility, quality, and scalability for your metal pressing services
With your shortlist in hand, you’re ready to move forward—confident you’ve chosen a partner who will support your custom metal stamping needs from DFM to mass production. Next, we’ll discuss how to scale to high-volume production and sustain continuous improvement for lasting results.
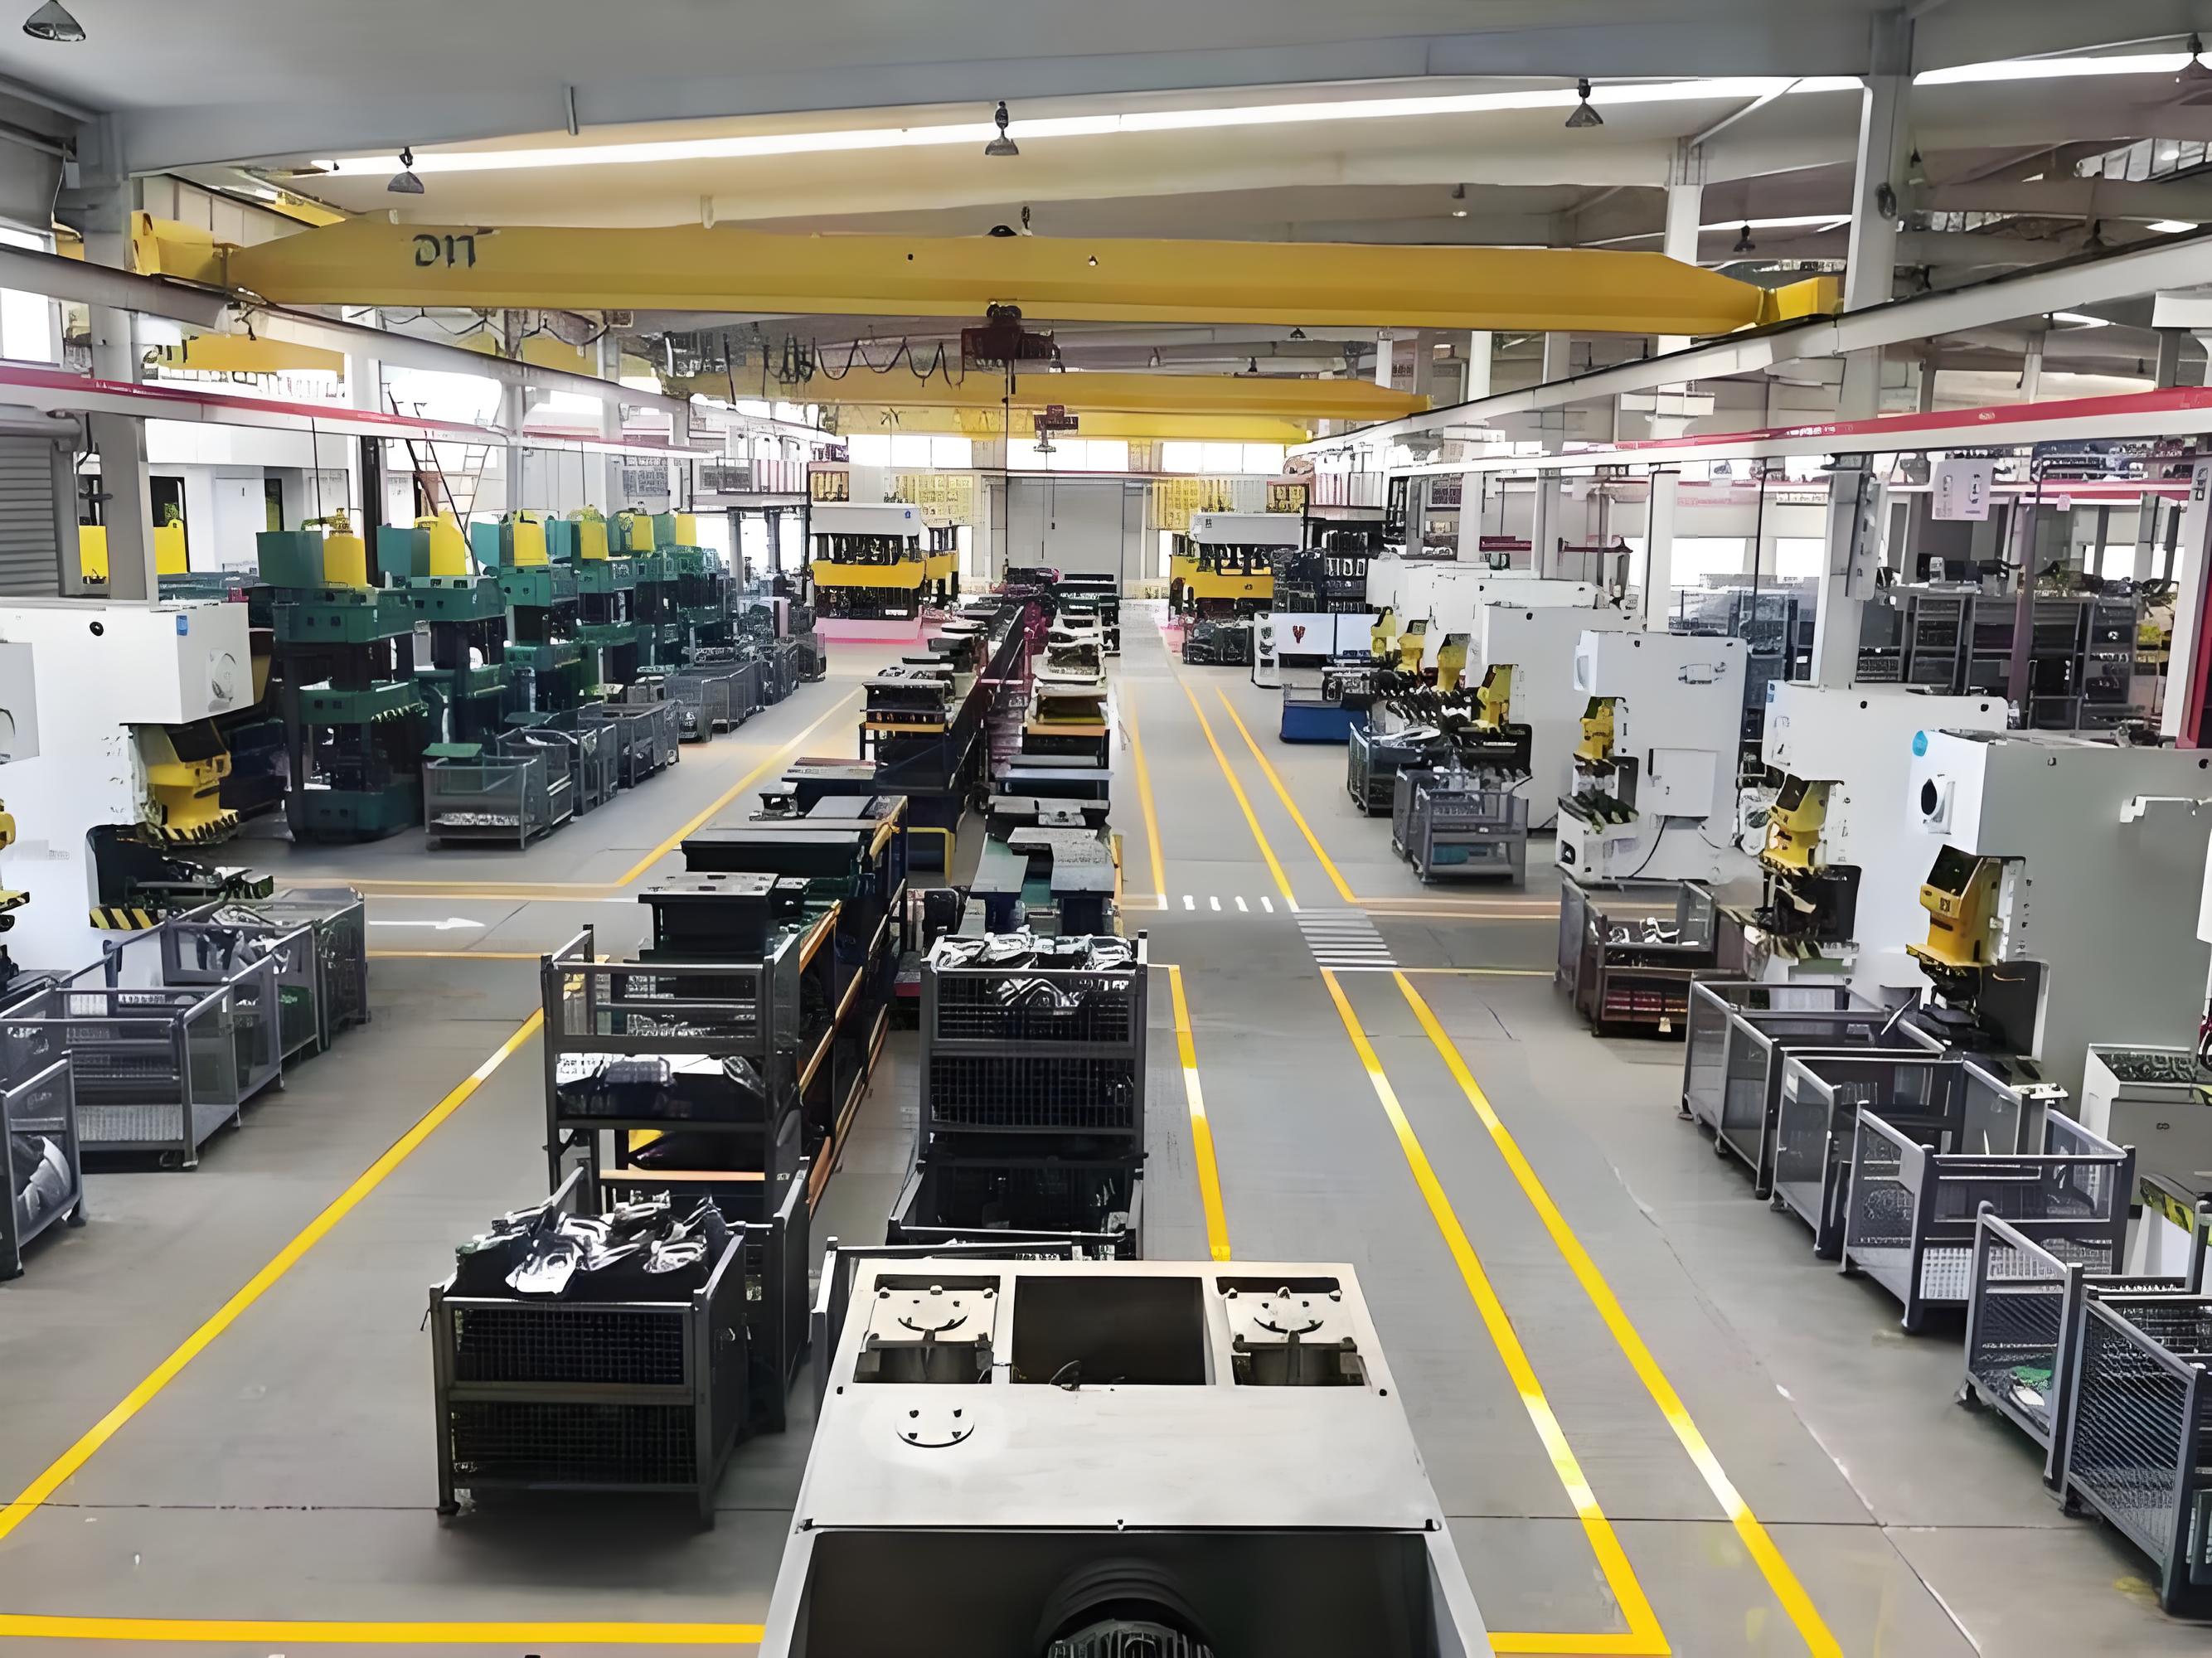
Step 9: Scale to Volume and Sustain Continuous Improvement in High-Volume Metal Stamping
Ready to take your metal stamping process from pilot runs to full-scale production? Imagine the excitement—and the pressure—of ramping up output while keeping costs down and quality rock-solid. Scaling high volume metal stamping isn’t just about running more parts; it’s about doing so efficiently, safely, and with a plan for ongoing improvement. Let’s break down how you can confidently scale your stamping plant and set the stage for long-term success.
Ramp Responsibly: Control Speed and Verify Capability
When you increase speed in production metal stamping, every change should be deliberate. It’s tempting to push your stamping presses to their limits, but without a structured change-control process, you risk introducing defects or unexpected downtime. After each speed or process change, verify capability using real production data—did scrap rates hold steady? Are dimensions still in spec? Only ramp up further when your process window is proven stable.
Don’t outrun your measurement system; speed follows capability.
Track key metrics like Overall Equipment Effectiveness (OEE), scrap rate, and cycle time. Use this data to pinpoint bottlenecks and plan improvements before increasing throughput. This approach ensures your high volume stamping operations remain predictable and cost-effective.
Automate Where It Matters: Boost Yield, Consistency, and Safety
Ever wonder how top stamping plants achieve both speed and consistency? The answer: targeted automation and smart technology. Integrate robotics and automated material handling to reduce manual errors and improve workflow. Use in-die sensors and vision systems for real-time quality checks—these tools catch defects instantly, cutting scrap and rework. Advanced systems like CNC-controlled stamping presses and IoT-enabled monitoring help you maintain tight tolerances, even as you scale up.
- Increase strokes per minute gradually, validating quality at each step
- Reduce tool changeover time with standardized setups and quick-change tooling
- Add in-die sensors and automated part-out detection to prevent costly jams or misfeeds
- Standardize maintenance kitting and routines for faster, more reliable die upkeep
Automation isn’t a one-size-fits-all solution—focus on areas where it adds the most value, such as repetitive tasks, safety-critical operations, or quality-critical inspections.
Institutionalize Continuous Improvement: Make Progress Routine
High volume metal stamping is never “set and forget.” The best stamping plants build a culture of continuous improvement, using data and team feedback to drive better results every day. Implement regular reviews of production data, maintenance logs, and quality reports. Set clear goals—like reducing scrap by 10% or cutting downtime by 15%—and involve your operators in brainstorming solutions.
- Monitor OEE and root causes of downtime or scrap
- Schedule regular preventive maintenance and predictive diagnostics
- Share wins and lessons learned across teams to spread best practices
- Invest in ongoing training for both operators and maintenance staff
By making improvement part of your routine, you’ll keep your production metal stamping operation competitive, flexible, and ready to adapt as customer needs evolve.
Partner for Scalable Success
Scaling high volume stamping is easier when you have a partner experienced in both prototyping and automated mass production. Shaoyi Metal Technology offers a practical path, supporting your transition from small batches to fully automated lines with robust DFM analysis and global delivery. As you evaluate stamping partners, use these criteria to guide your decision:
- Proven capability in both low and high volume metal stamping
- Strong track record with automation and quality systems
- Flexible support for design changes and scaling production
- Transparent data sharing and ongoing process improvement
Review your options carefully, and choose a supplier who can grow with your needs—ensuring your stamping presses deliver quality, efficiency, and value at every stage of production.
Frequently Asked Questions About the Metal Stamping Process
1. What is the metal stamping process and how does it work?
The metal stamping process involves converting flat metal sheets or coils into precise shapes using a stamping press and specialized dies. The metal is placed in the press, where force is applied to form, cut, or shape it according to the die's design. This process is widely used for parts ranging from simple washers to complex automotive components, offering efficiency, repeatability, and scalability.
2. What are the main types of metal stamping processes?
Key metal stamping processes include progressive die stamping (for high-speed, multi-step parts), transfer die stamping (for large or complex shapes), deep drawing (for deep, hollow components), compound die stamping (for simple, flat parts), and fine blanking (for parts needing smooth, burr-free edges). Each method is chosen based on part geometry, volume, and required tolerances.
3. How do I choose the right material for metal stamping?
Selecting the right material depends on your part's strength, formability, and corrosion resistance needs. Common materials include low-carbon steel, HSLA steel, stainless steel, and aluminum. Consider the forming operation, desired surface finish, and whether post-processing like plating or anodizing is needed. Always verify material thickness and coil width availability for your press and die setup.
4. What steps should I take to ensure quality in metal stamping?
To ensure quality, start with clear part requirements and robust die design, then stabilize your press setup. Run pilot builds with first article inspections, implement Statistical Process Control (SPC) on critical dimensions, and lock in process parameters. Regular maintenance of dies and presses, along with proactive troubleshooting, minimizes defects and keeps production consistent.
5. How do I select the best metal stamping supplier for my project?
Evaluate suppliers based on technical capabilities, certifications (such as IATF 16949), tooling strategy, lead times, and support for Design for Manufacturability (DFM). Compare their experience with your required materials and volumes, review their quality systems, and consider their ability to scale from prototyping to mass production. For example, Shaoyi Metal Technology offers comprehensive DFM support, rapid prototyping, and scalable production for custom automotive stamping needs.