 Small batches, high standards. Our rapid prototyping service makes validation faster and easier —

Stamped Steel Control Arm Swap: How Hard Is It Really?
TL;DR
Replacing a stamped steel control arm is a moderately complex task, best suited for a confident DIY mechanic with the right tools. The job typically takes 2 to 4 hours per side and involves challenges like separating ball joints and dealing with rusted bolts. Crucially, you must correctly identify your control arm type—stamped steel, cast iron, or aluminum—before ordering parts, as they are not always interchangeable. A professional wheel alignment is mandatory after the replacement to ensure safety and prevent uneven tire wear.
Assessing the Difficulty: Is This a DIY Job?
Deciding whether to tackle a stamped steel control arm replacement yourself is the first critical step. According to an in-depth guide from AutoZone, this is a “moderately complex task” that requires solid mechanical skills. While it's not the most difficult suspension job, it's also not a simple one. The primary challenges often come from stubborn or rusted bolts and the need to separate the ball joint from the steering knuckle, which can be difficult without a specialized tool.
A successful replacement hinges on having the right equipment and a safe working environment. You should be comfortable raising your vehicle and securing it on jack stands on a level surface. Experience with suspension components is highly beneficial. The process can take between two to four hours per control arm, depending on your experience level and how easily the old parts come off. If you're facing heavily corroded components, that time can extend significantly.
To help you decide, consider the following. Signs you can likely DIY this project include:
- You have a comprehensive set of tools, including a torque wrench and a ball joint separator.
- You have successfully completed other moderate auto repairs, like brake jobs or strut replacements.
- You are patient and methodical when faced with stuck parts.
- You understand the critical importance of safety procedures, like using jack stands.
Conversely, this is a job best left to a professional if:
- You have limited tools or experience working on vehicle suspensions.
- Your vehicle has significant rust, which will make disassembly much harder.
- You are not comfortable with the safety risks of working under a raised vehicle.
- You don't have the means to get a professional wheel alignment immediately after the repair.
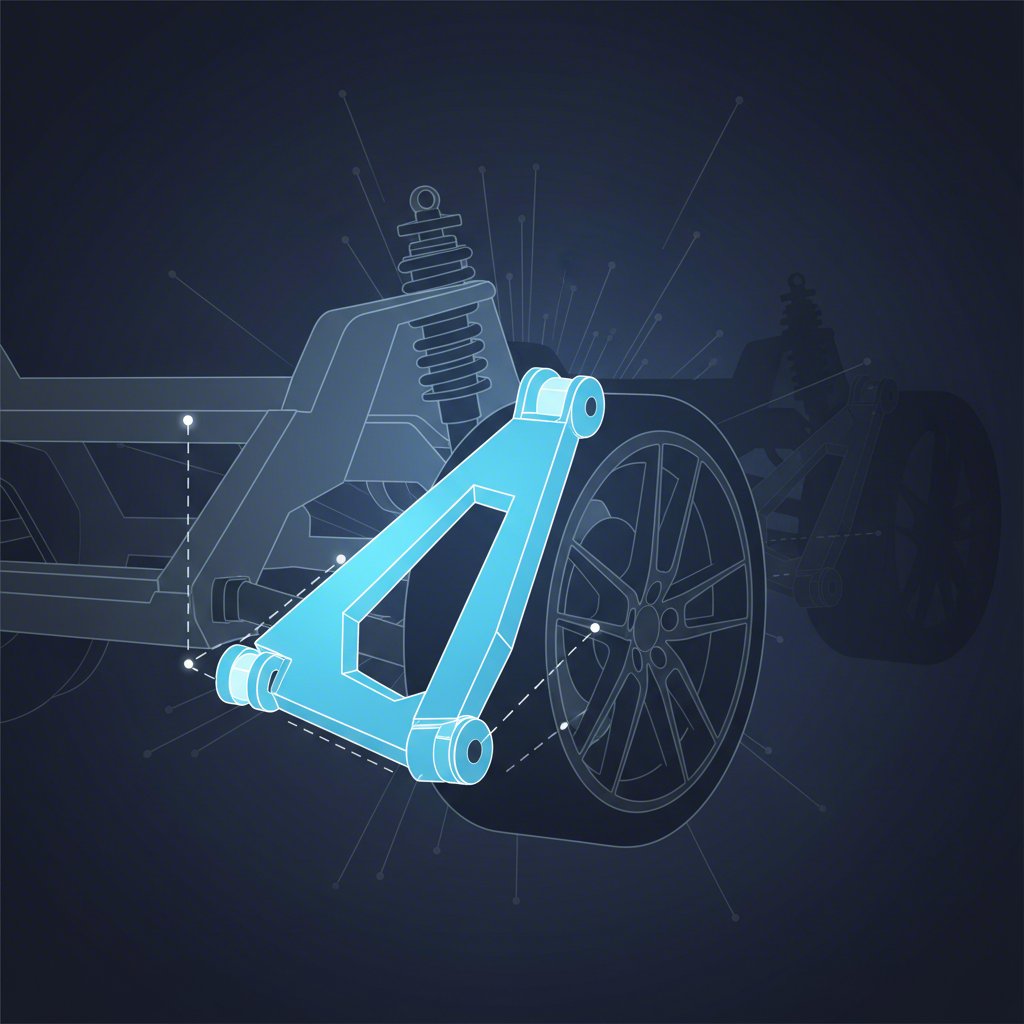
Identifying Your Control Arms: Stamped Steel vs. Cast vs. Aluminum
Before you can even think about replacement, you must correctly identify the type of control arms on your vehicle. As highlighted by experts at Maxtrac Suspension, many trucks, like the Chevrolet Silverado and GMC Sierra, used different materials—stamped steel, cast iron, and cast aluminum—that are not always interchangeable due to differences in ball joint sizes. Ordering the wrong part is a common and frustrating mistake.
Stamped steel is a common material for control arms, created through a process of shaping sheet metal under high pressure. This manufacturing technique is a specialty of industry leaders who supply precision components to major automotive brands. For instance, companies like Shaoyi (Ningbo) Metal Technology Co., Ltd. specialize in high-volume auto stamping, ensuring that parts like control arms meet strict IATF 16949 quality standards for reliability and performance.
Thankfully, identifying your control arm material is straightforward with a couple of simple tests outlined in a technical bulletin from MOOG Parts. First, clean off any dirt and grime. Then, use a magnet; if it doesn't stick, you have cast aluminum arms. If the magnet sticks, you have either stamped steel or cast iron. To tell these two apart, gently tap the arm with a hammer. A hollow, ringing sound indicates stamped steel, while a dull thud points to solid cast iron.
To make it easier, here is a quick comparison table:
| Feature | Stamped Steel | Cast Iron | Cast Aluminum |
|---|---|---|---|
| Appearance | Smooth surface, often with glossy black paint | Rough texture, dull black finish | Raw silver color, slightly rough texture |
| Construction | Made from welded sheets of steel | Solid, heavy casting | Solid, lightweight casting |
| Magnet Test | Magnetic | Magnetic | Not Magnetic |
| Hammer Test | Hollow, ringing sound | Dull thud | N/A |
Taking a few minutes to perform these simple checks will save you time, money, and the headache of returning incorrect parts. Always confirm your specific type before placing an order.
Step-by-Step Lower Control Arm Replacement Guide
Once you've confirmed this is a job you can handle and have identified and purchased the correct parts, you can begin the replacement. This is a general guide based on common procedures; always consult a repair manual specific to your vehicle's make and model for exact torque specifications and details.
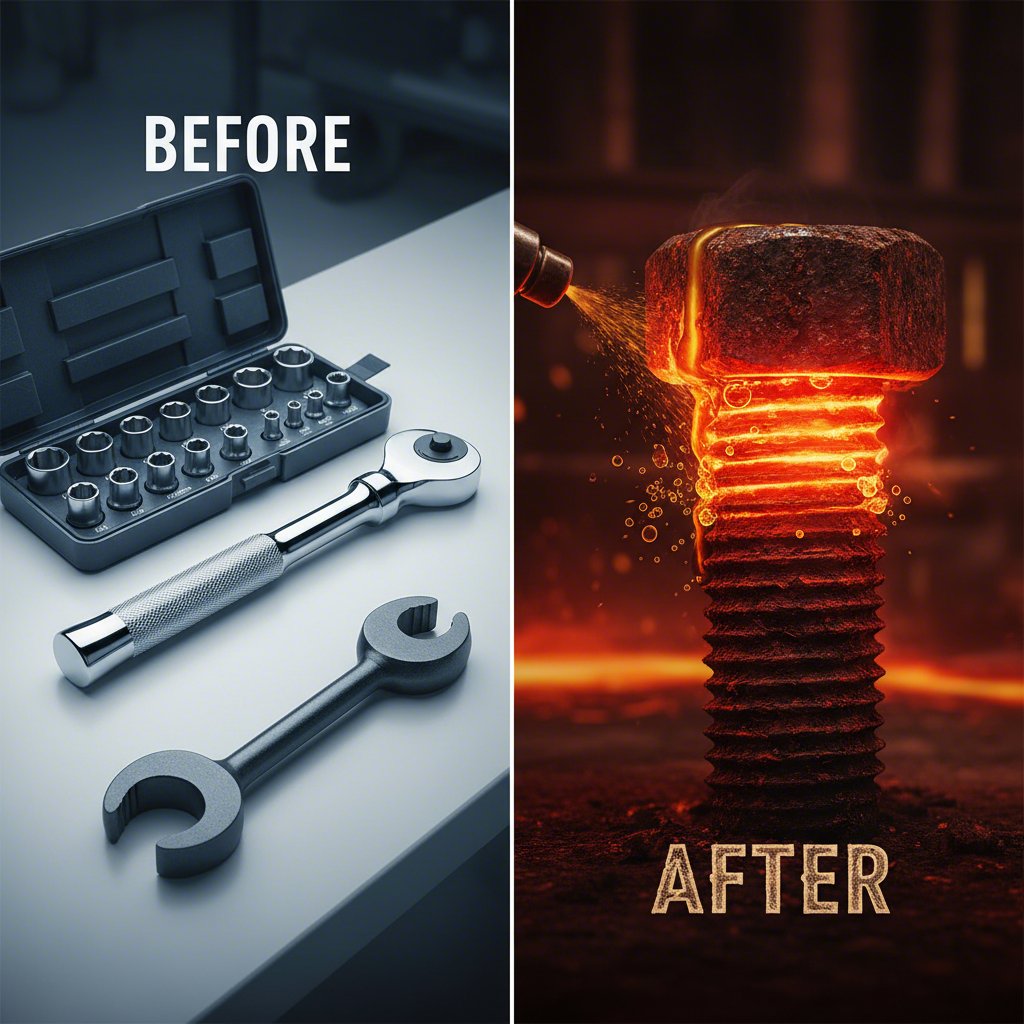
Before you start, gather your tools. You will need a floor jack, jack stands, a lug wrench, a comprehensive socket and wrench set, a torque wrench, a pry bar, and a ball joint separator (often called a 'pickle fork'). Safety glasses and gloves are essential.
- Raise and Support the Vehicle: Park on a flat, level surface and engage the parking brake. Loosen the lug nuts on the wheel you'll be working on, then use the floor jack to lift the vehicle. Securely place a jack stand under the frame rail and lower the vehicle onto it. Never work under a vehicle supported only by a jack. Remove the wheel.
- Disconnect Attached Components: The control arm is connected to several other suspension parts. You will likely need to disconnect the sway bar link and the lower shock absorber mount from the control arm. Apply penetrating oil to any rusty bolts to make them easier to remove.
- Separate the Ball Joint: This is often the most challenging step. Remove the cotter pin and castle nut from the bottom of the ball joint stud where it passes through the steering knuckle. Use a ball joint separator to pop the tapered stud free from the knuckle. This may require significant force.
- Unbolt and Remove the Control Arm: Locate the two large bolts that attach the control arm to the vehicle's frame. Remove these bolts. With the ball joint and mounting bolts free, you should be able to wiggle and pry the old control arm out of its mounts.
- Install the New Control Arm: Maneuver the new control arm into position, aligning the mounting holes with the frame brackets and the ball joint stud with the hole in the steering knuckle. Insert the mounting bolts and hand-tighten them for now. Re-seat the ball joint stud into the knuckle and tighten the castle nut to the manufacturer's specified torque. Install a new cotter pin.
- Reassemble and Lower: Reattach the sway bar link and lower shock mount. Reinstall the wheel and snug the lug nuts. Raise the vehicle enough to remove the jack stand, then lower it completely to the ground.
Pro-Tip: Do not fully tighten the main control arm mounting bolts until the full weight of the vehicle is back on its wheels. Tightening them while the suspension is hanging can preload the bushings, causing them to fail prematurely. Once the car is on the ground, use a torque wrench to tighten these bolts and the wheel's lug nuts to their final specifications. Finally, you must get a professional wheel alignment, as replacing a control arm will alter your vehicle's alignment settings.
Frequently Asked Questions
1. How difficult is control arm replacement?
Replacing a control arm is considered a moderately difficult job for a DIY mechanic. If you are comfortable with wrenches, have the proper tools (including a torque wrench and ball joint separator), and understand basic suspension mechanics, it is a manageable task. The main difficulties are often dealing with rusted bolts and separating the ball joint from the knuckle. A professional wheel alignment is required afterward.
2. What is the difference between cast iron and stamped steel control arms?
The primary difference is in their construction and material properties. Stamped steel control arms are made from sheets of steel that are pressed and welded into shape, making them relatively lightweight and producing a hollow sound when tapped. Cast iron arms are made by pouring molten iron into a mold, resulting in a heavier, solid part that makes a dull thud when tapped. They often have different ball joint sizes, so they are not always interchangeable.
3. Are stamped steel control arms magnetic?
Yes, stamped steel control arms are magnetic. A simple way to help identify your control arm material is to see if a magnet sticks to it. If it does, you have either stamped steel or cast iron. If it does not, you have an aluminum control arm.