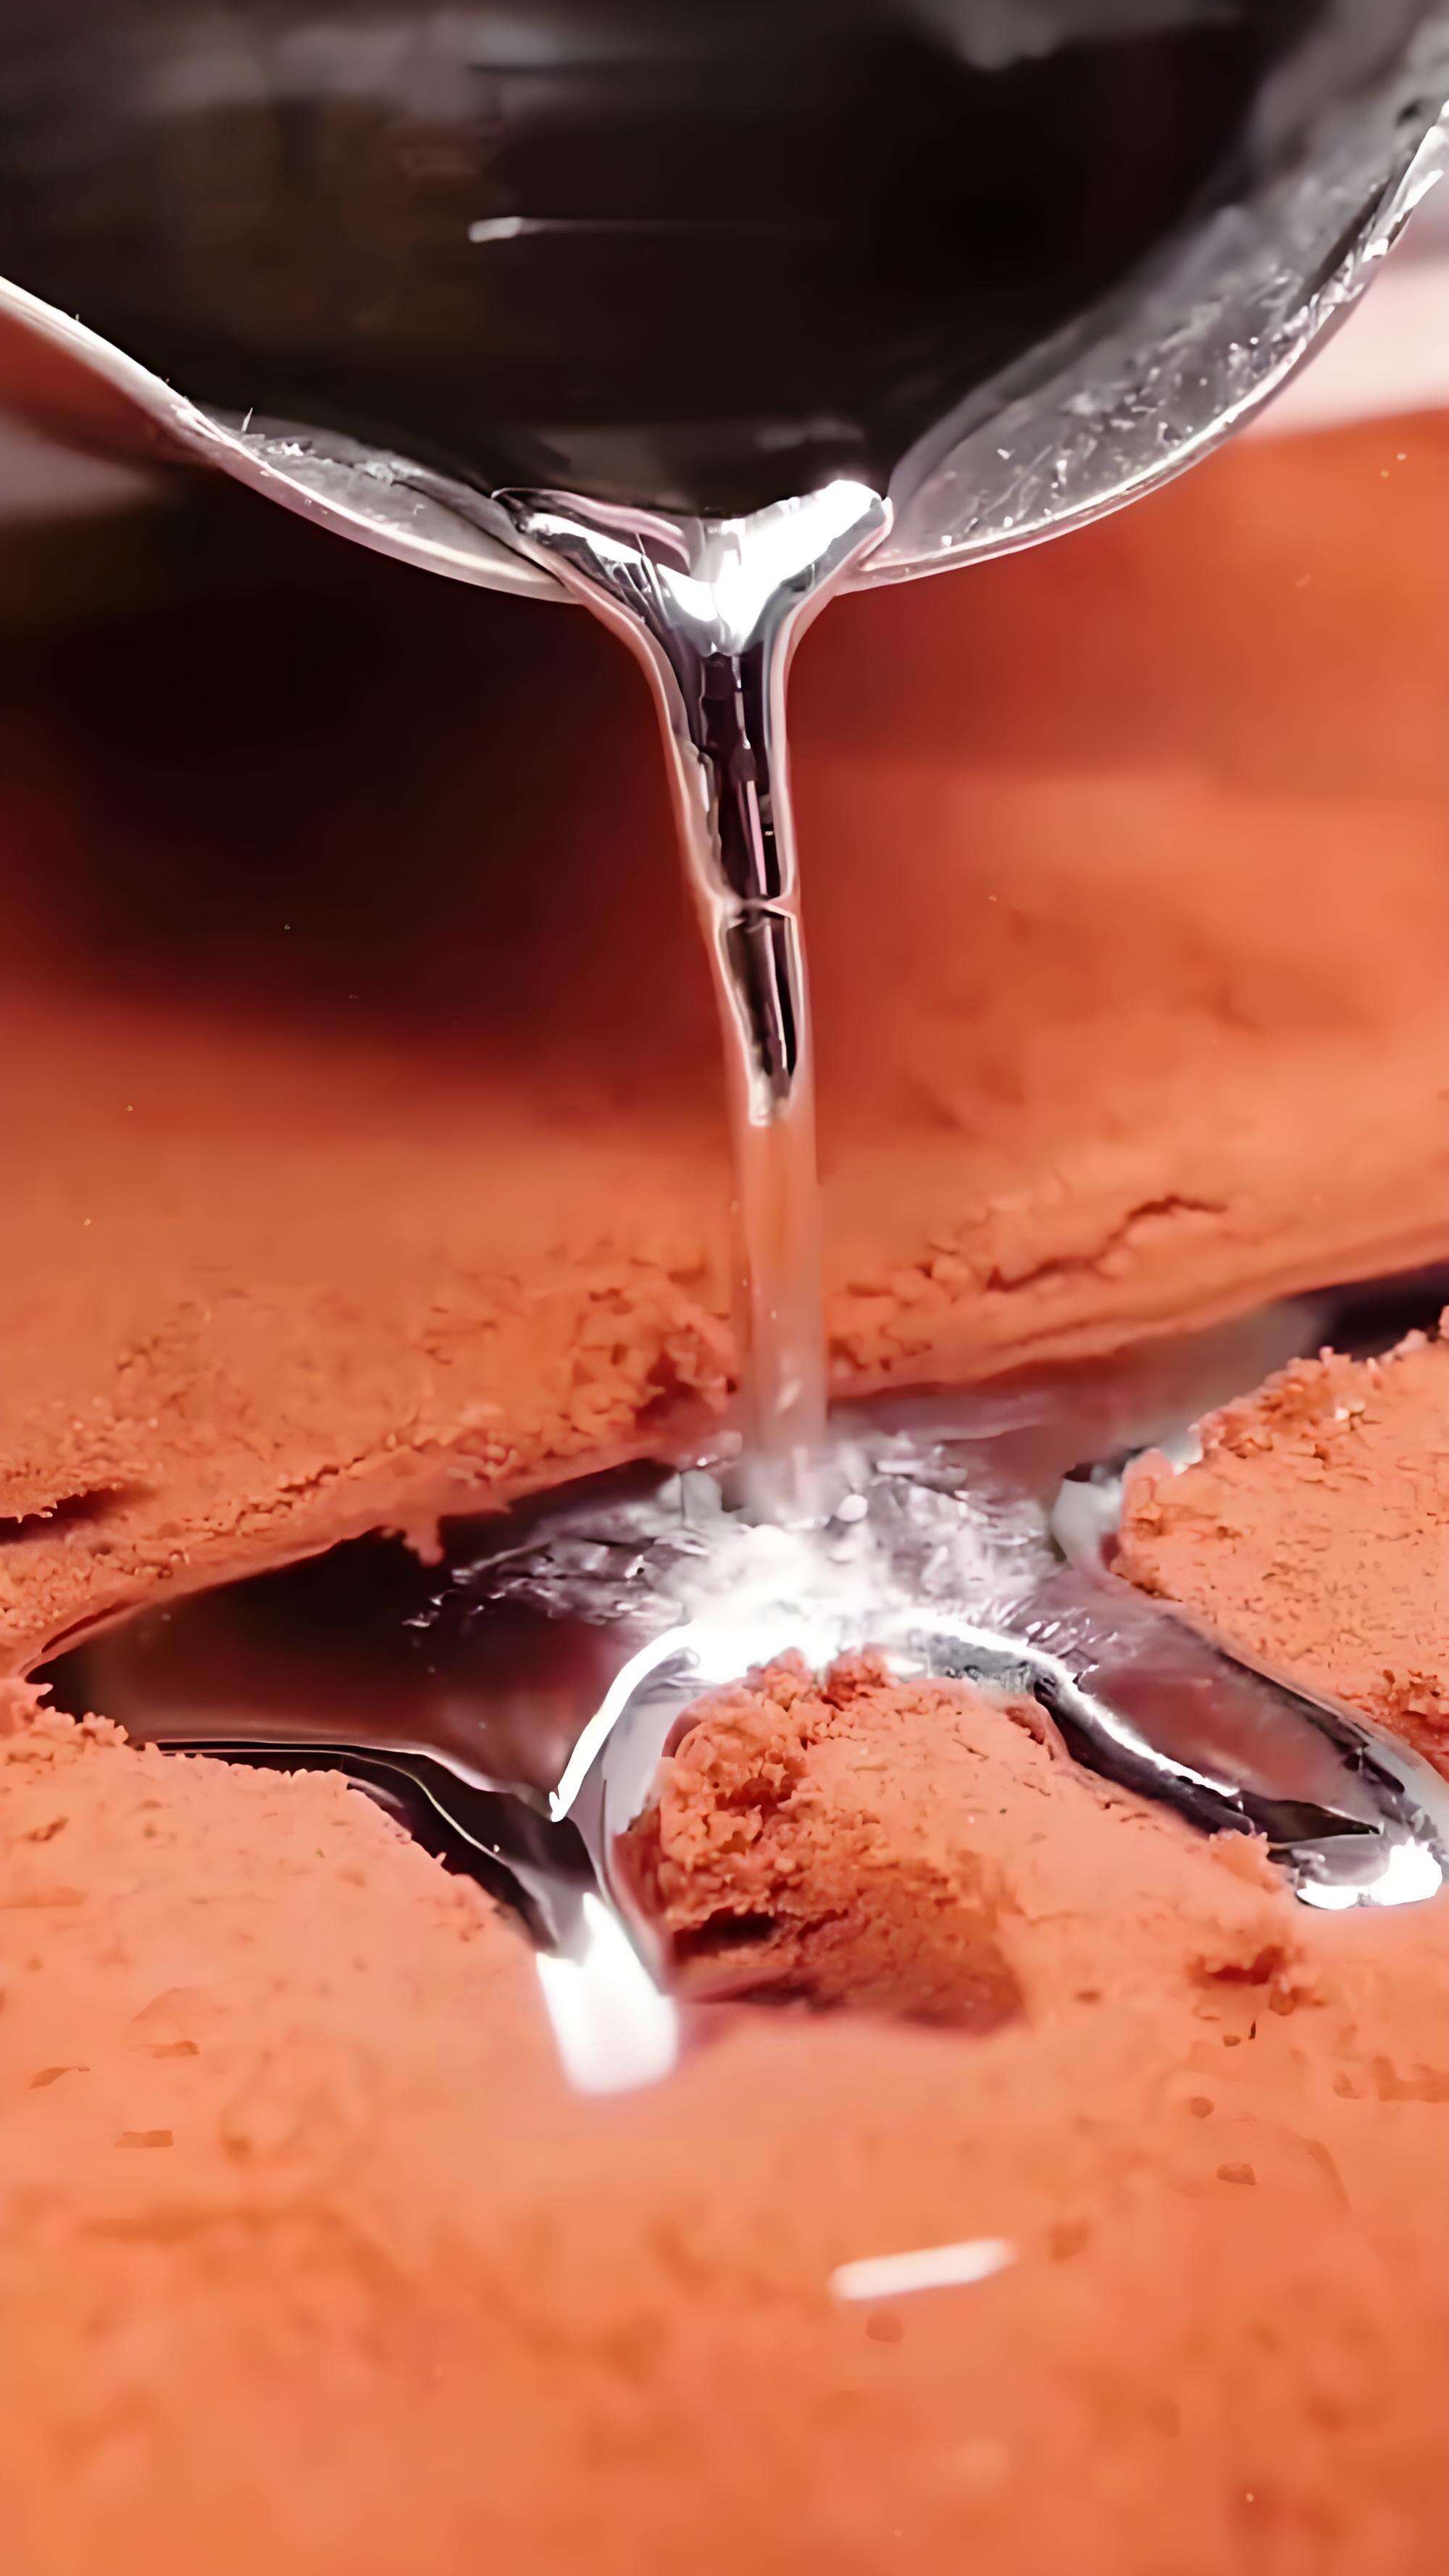
 Small batches, high standards. Our rapid prototyping service makes validation faster and easier —

Melting Temp of Aluminum Myths Shattered: Real Alloy Ranges
Understand What Melting Temperature Really Means
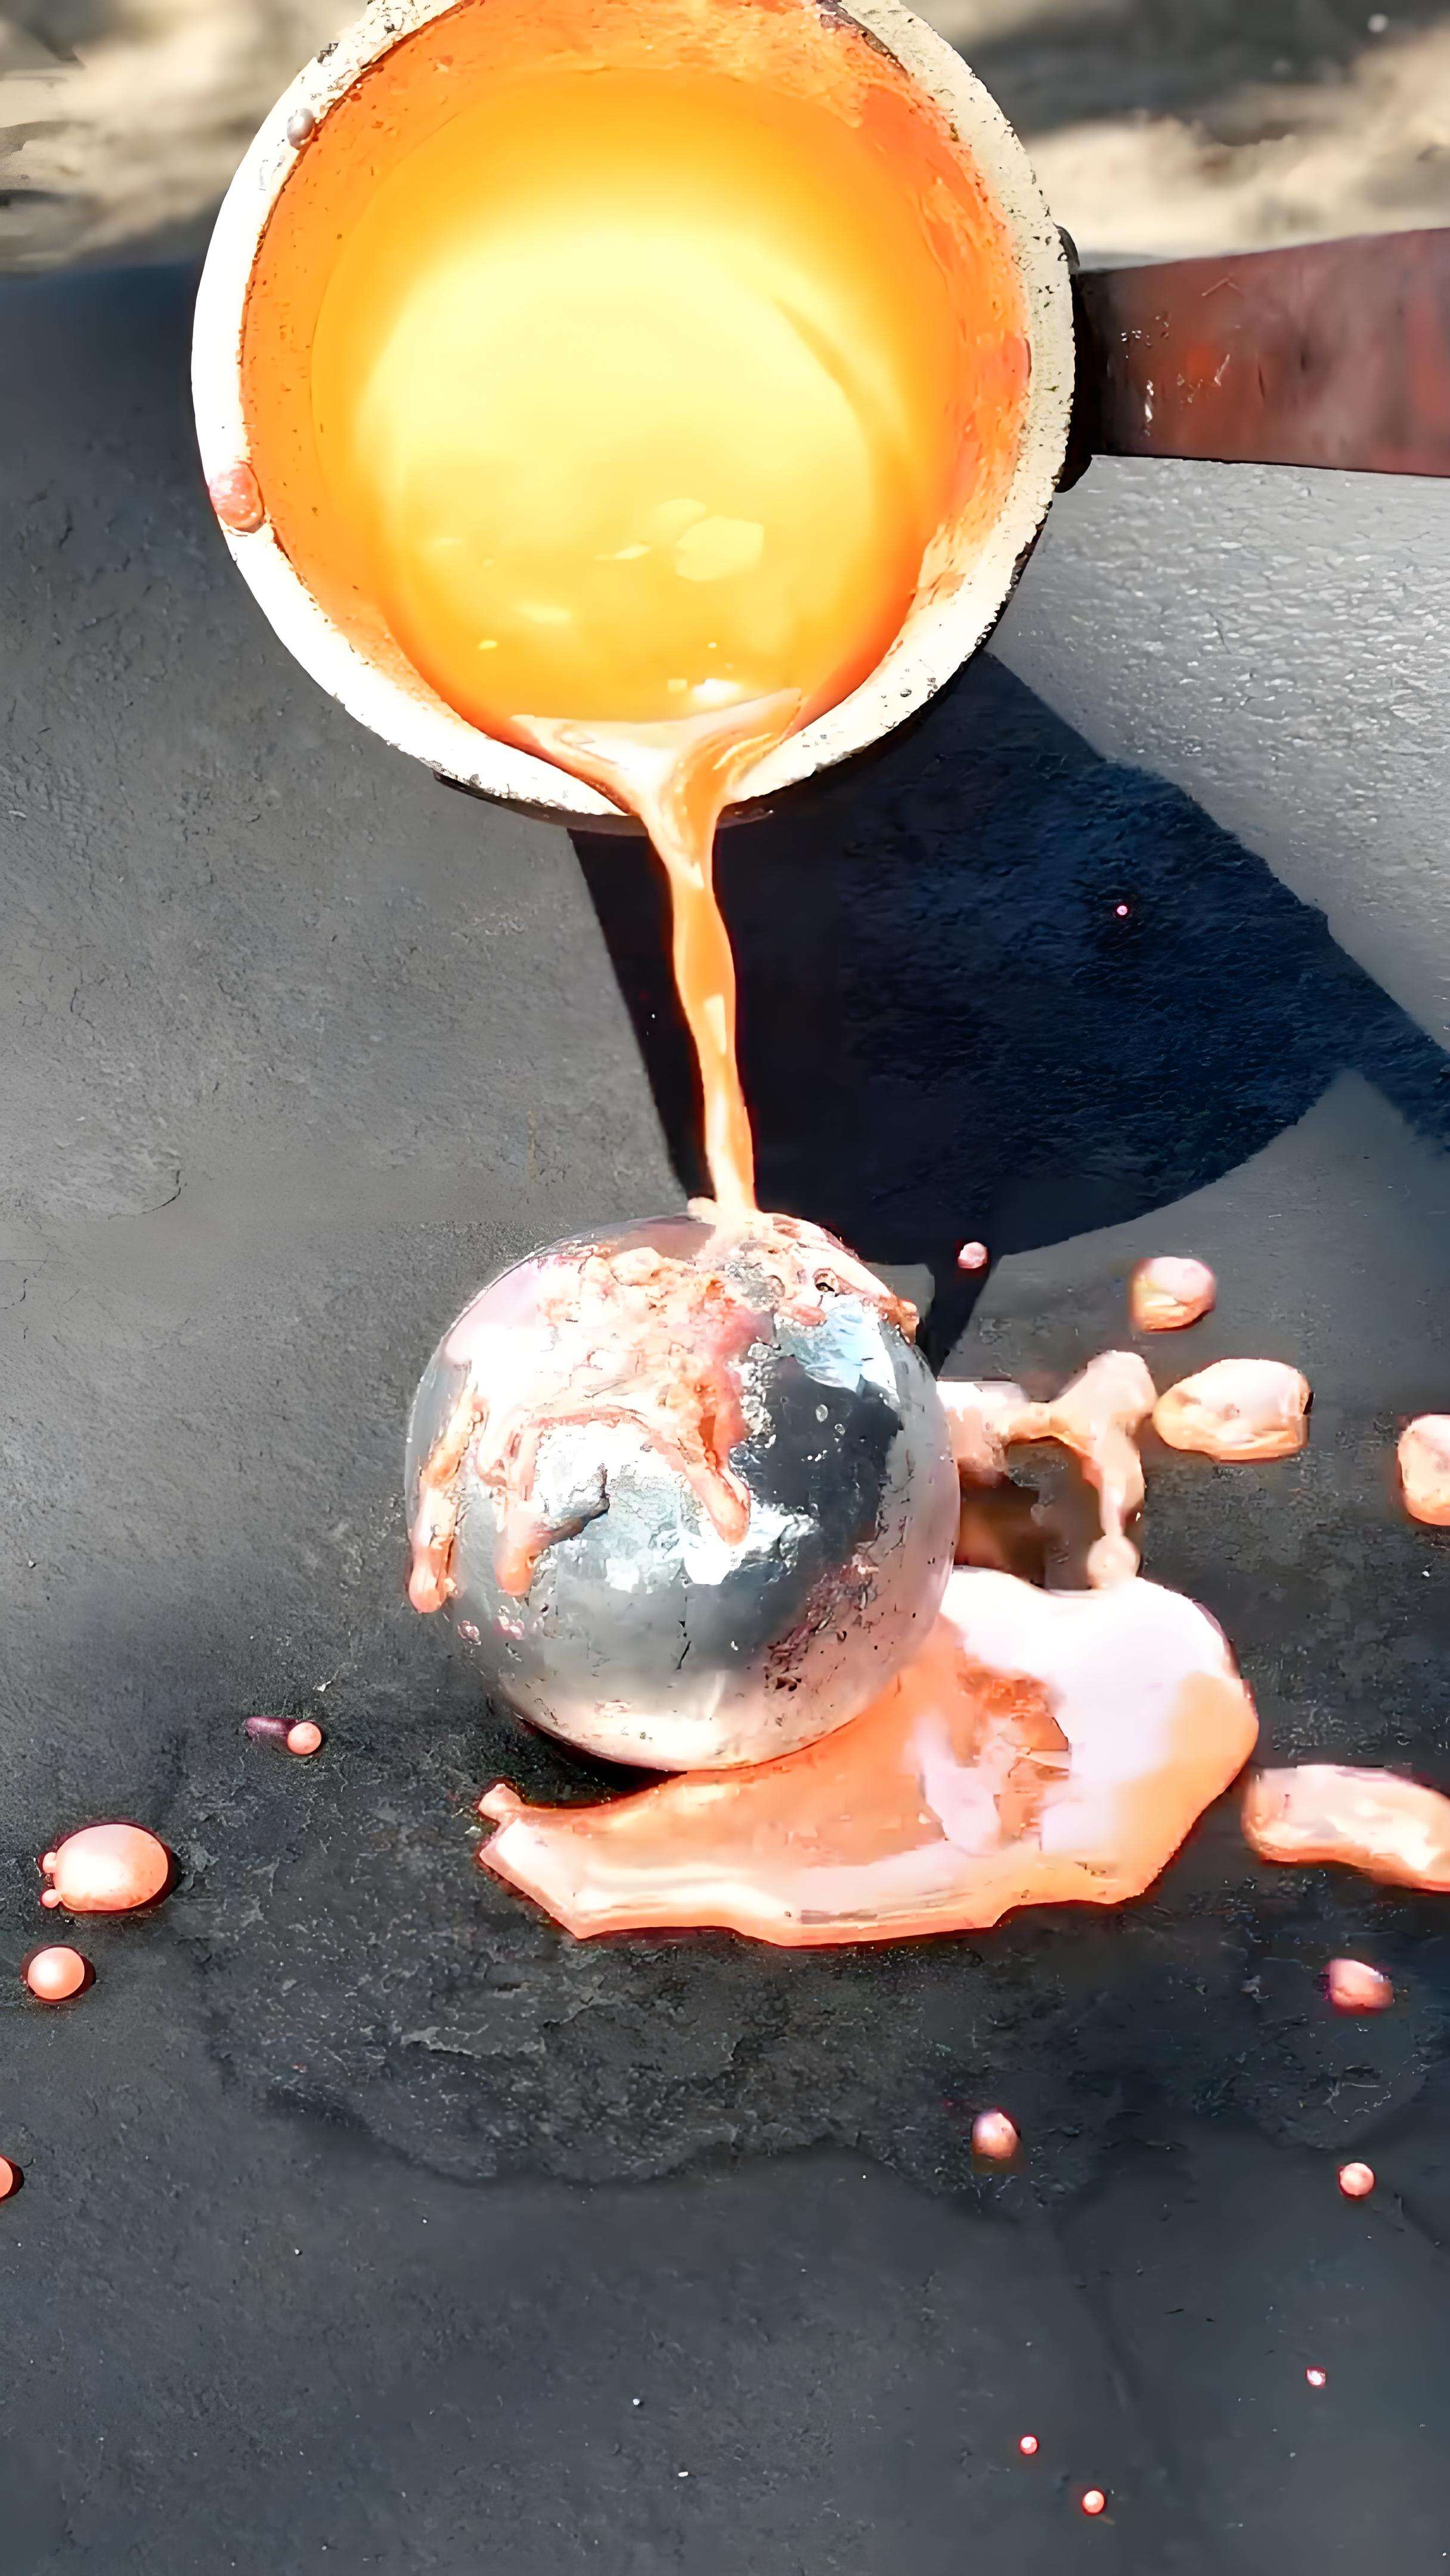
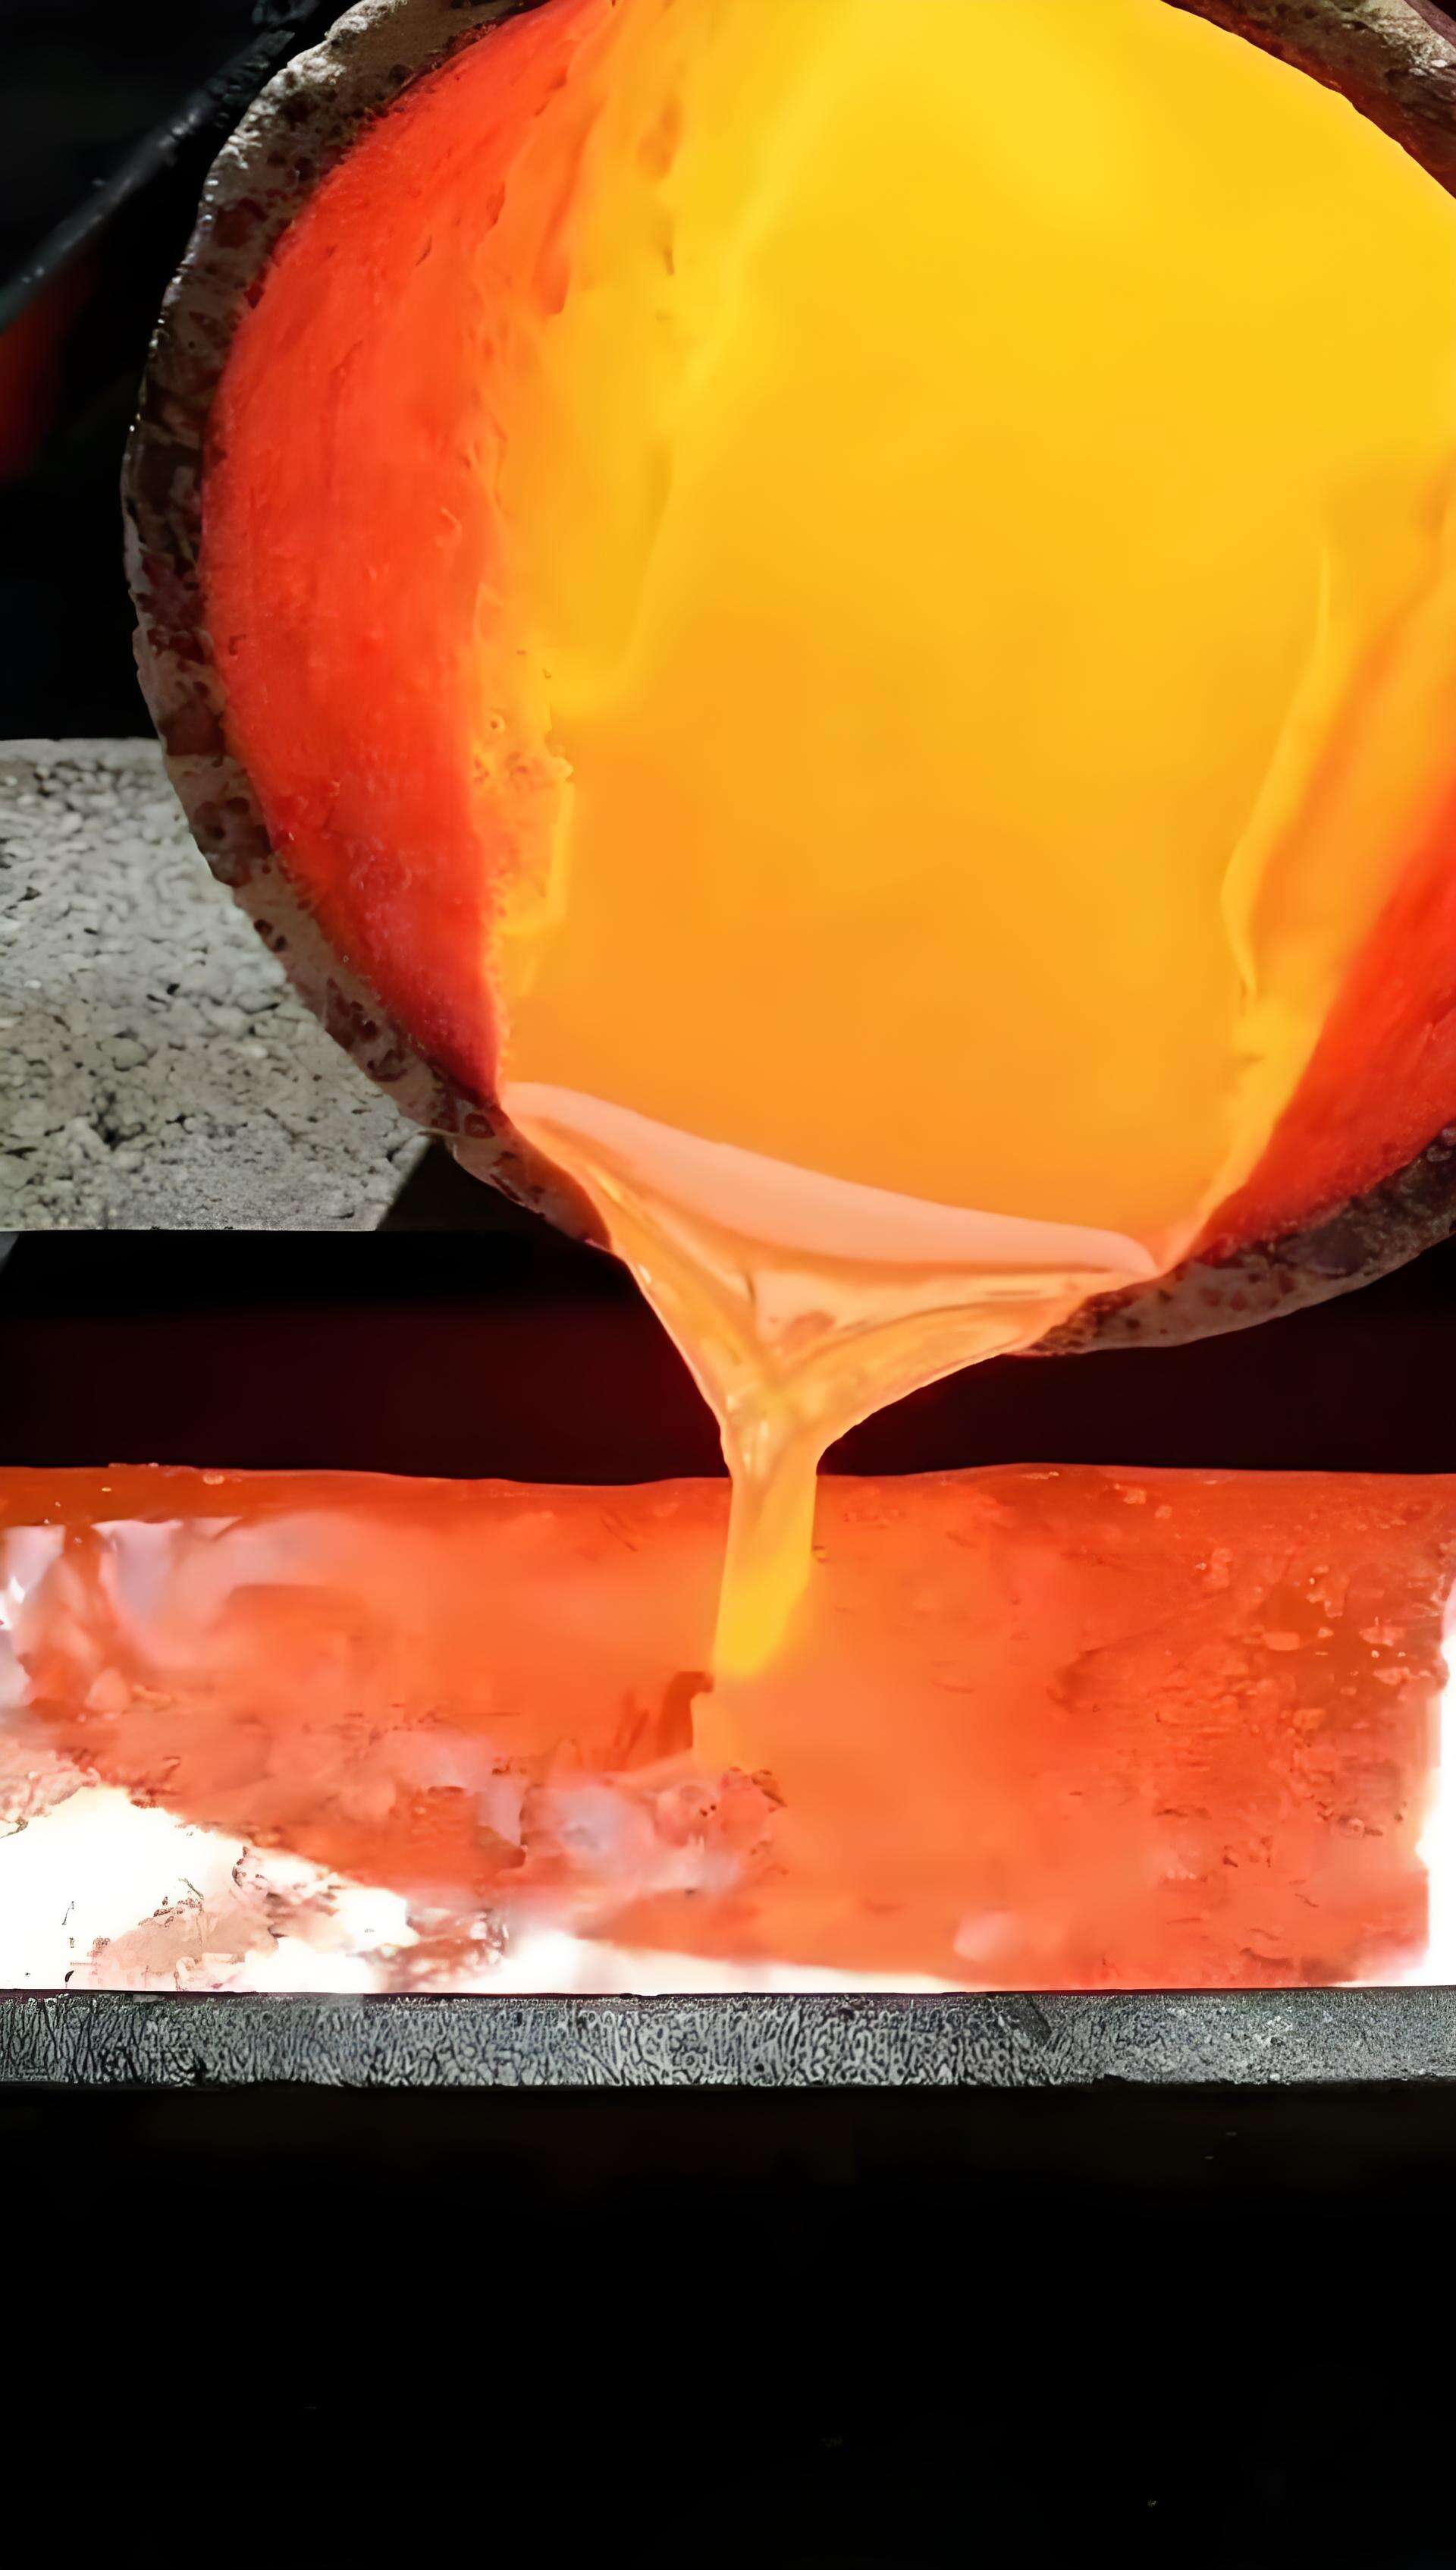
When you search for the melting temp of aluminum, you might expect a simple answer—a single, precise number. But is it really that straightforward? Let’s break down what the melting point means for both pure aluminum and the alloys you’re most likely to encounter in real-world applications. This clarity is essential whether you’re setting a furnace, planning a weld, or designing components for high-heat environments.
What metallurgists mean by melting temperature
For pure aluminum, the story is clear-cut. The aluminum melting point—also known as the melting temp of aluminum—is a specific temperature where solid turns to liquid. According to authoritative sources like the ASM Handbook, pure aluminum melts at 660.32°C (1220.6°F) (source). This is why you’ll often see the question, “what is the melting point of aluminum?” answered with this single value. This temperature is measured under controlled conditions, typically using differential scanning calorimetry (DSC) or differential thermal analysis (DTA).
Solidus and liquidus in plain language
However, most aluminum you’ll work with isn’t pure—it’s an alloy. Alloys contain other elements (like silicon, magnesium, or copper), which cause them to melt over a range, not at a single temperature. Here’s where two important terms come in:
- Melting point: The temperature at which pure aluminum transitions from solid to liquid (660.32°C/1220.6°F).
- Solidus: The temperature below which the alloy is completely solid.
- Liquidus: The temperature above which the alloy is fully molten.
- Mushy zone: The temperature range between solidus and liquidus where the alloy is partly solid and partly liquid—think of it as a slushy mix.
For most commercial alloys, the aluminium melting point is better described as a melting range—from solidus to liquidus—rather than a single value. This is why you’ll see slightly different numbers in datasheets or handbooks, depending on the alloy composition and the measurement method.
Why aluminum seems to soften before it truly melts
Ever noticed that aluminum parts can start to lose strength and deform before they visibly melt? This is because, as the temperature approaches the solidus, the alloy’s structure begins to change. In the mushy zone, the metal isn’t fully liquid, but it’s no longer fully solid either. This matters for safety: if you’re casting or welding, you need to know the melting point of aluminum in celsius (and the solidus/liquidus for your specific alloy) to avoid accidental failures.
Key takeaway: Most aluminum alloys do not have a single melting temperature—they melt over a range between solidus and liquidus. Always check your specific alloy’s data for safe, accurate process control.
So, next time you’re setting a furnace or planning a weld, remember: the melting temp of aluminum is only a single number for pure metal. For alloys, it’s a range—and understanding this distinction is crucial for safe and successful results. Always consult trusted references like the ASM Handbook or alloy datasheets for the most accurate values.
Why Alloys and Conditions Change Melting Behavior
Ever wondered why the melting temp of aluminum in your shop doesn’t always match the textbook number? Or why two batches of aluminum alloy behave differently even when you set the same furnace temperature? Let’s break down the science—and the practical realities—behind these variations, so you can confidently define melting range, set safe process windows, and avoid costly surprises.
How composition changes the melt range
When you move from pure aluminum to alloys, things get interesting. Alloying elements like silicon (Si), magnesium (Mg), copper (Cu), and zinc (Zn) change the aluminum alloy melting point in profound ways:
- Silicon (Si): Lowers the liquidus temperature and broadens the melting range—ideal for casting, but means a wider mushy zone that needs careful control.
- Magnesium (Mg): Typically lowers the solidus, making alloys more workable but also more sensitive to overheating.
- Copper (Cu): Drops both solidus and liquidus, but increases strength after heat treatment. Watch for a broader melting interval.
- Zinc (Zn): Creates some of the lowest melting ranges among commercial alloys—great for strength, but the process window is narrower.
For example, while pure aluminum melts at about 660°C, common alloy series melt over a range: 6000 series (Mg, Si) alloys have a melting range of 582–652°C, while 7000 series (Zn) can start melting as low as 477°C. This is why it’s essential to define melting temperature not just by a single value, but by the solidus and liquidus of your specific alloy.
Microstructure, grain size, and prior processing effects
Imagine two pieces of the same alloy—one cast, one wrought. You’ll notice they can start softening or melting at different temperatures. Why? Microstructure and grain size play a big role. Fine, uniform grains (often found in wrought or solution-treated aluminum) melt more evenly, while coarse, irregular grains (from as-cast or poorly controlled processes) can create local hot spots and uneven melting. Prior cold working or heat treatment also affects the aluminium melting temperature by changing how heat flows and how quickly the structure transforms in the mushy zone. As grains grow or shrink during heating, their melting behavior evolves—impacting casting quality and process control (PMC).
Oxide, pressure, and furnace atmosphere considerations
Here’s a practical scenario: you heat an aluminum part and notice it doesn’t appear to melt at the expected temperature. Often, a thin but stubborn aluminum oxide layer is the culprit. The aluminum oxide melting point (or melting temperature of aluminum oxide) is far higher than that of aluminum metal—well above 2000°C. This oxide skin acts as a barrier, delaying visible liquefaction and requiring extra superheat for full melting. In nanoparticle systems, this oxide can even compress the core, slightly shifting observed melting behavior (ScienceDirect). Meanwhile, factors like increased pressure (even inside an oxide shell) can raise the observed melting point slightly, while furnace atmospheres rich in oxygen may thicken the oxide, compounding the effect. Don’t forget: alumina melting point is much higher than any aluminum alloy, so visible melting always lags behind the actual start of liquefaction.
| Factor | Effect on Observed Melting | Practical Implication |
|---|---|---|
| Alloying Elements (Si, Mg, Cu, Zn) | Lower or widen melting range | Need precise furnace setpoints; wider mushy zone in casting alloys |
| Impurities | Can lower solidus unpredictably | Risk of early softening or hot spots |
| Grain Size & Microstructure | Fine grains = uniform melting; coarse grains = uneven melting | Better control and fewer defects with fine grains |
| Oxide Layer | Delays visible melting; increases superheat need | May require higher apparent temperature for pouring |
| Pressure/Atmosphere | Small shifts in melting temperature | Usually minor, but can matter in nanoparticles or sealed systems |
- Checklist before melting:
- ✔️ Confirm alloy identification (know your aluminum alloy melting point)
- ✔️ Ensure all surfaces are clean (remove oxide, grease, or dirt)
- ✔️ Verify dryness—wet scrap can cause explosions
Expect a wider mushy zone in Al-Si casting alloys—stirring and careful temperature ramping help maintain consistency. Always tailor your process to the actual aluminium melting temperature for your alloy, not just the number for pure aluminum.
Next, we’ll give you a quick-reference table of solidus and liquidus values for popular alloys, so you can set your furnace or welding torch with confidence.
Melt Range Quick Reference for Popular Aluminum Alloys
When you’re planning a casting, a weld, or even a repair, you need more than just a textbook answer to “aluminum melts at what temperature?” The reality is, every alloy has its own solidus–liquidus window. Imagine you’re setting your furnace or adjusting your torch—knowing the exact melting temperature aluminum range for your alloy can mean the difference between a clean job and a costly mistake.
Quick-reference melt ranges by common alloys
Below is a practical comparison table for some of the most widely used aluminum grades. These values are compiled from authoritative sources, including the ASM Handbook and alloy datasheets (ASM International). Actual numbers may shift slightly depending on composition and measurement method, so always verify with your supplier’s datasheet for critical work.
| Alloy | Product Family | Typical Solidus (°C) | Typical Liquidus (°C) | Notes |
|---|---|---|---|---|
| 1100 | Wrought | 643 | 657 | Very close to pure; excellent workability; low strength |
| 3003 | Wrought | 643 | 655 | Good corrosion resistance; weldable; moderate strength |
| 5052 | Wrought | 607 | 649 | Excellent corrosion resistance; good for marine use |
| 6061 | Wrought | 582 | 652 | Highly versatile; good weldability; 6061 aluminum melting point is critical for heat-treat applications |
| 6063 | Wrought | 615 | 650 | Preferred for extrusions; smooth surface finish |
| 7075 | Wrought | ~477 | 635 | Very high strength; limited weldability; narrow melt range |
| A356 | Cast | 557 | 615 | Common casting alloy; good fluidity; sensitive to overheat |
| 4043 | Filler (Al-Si) | 573 | 625 | Filler alloy; lowers crack risk in welds; used with 6xxx & castings |
For more information on the melting point ranges of metals, refer to HYT's Ultimate Guide to Melting Points of Metals, which includes a detailed table of melting point ranges. This information will be helpful when your project involves high-temperature challenges.
Cast vs wrought alloys at a glance
- Wrought alloys (like 1100, 3003, 5052, 6061, 6063, 7075) generally have narrower melting ranges, which simplifies temperature to melt aluminum precisely. They’re commonly used for sheet, plate, and extrusion products.
- Cast alloys (such as A356) melt over a broader range, requiring careful control to avoid partial melting or hot tearing during casting.
- Filler alloys (like 4043) are specifically engineered to have lower melt points and wider mushy zones—this helps reduce cracking during welding, especially for 6xxx series base metals.
Remember, the aluminum melting point temperature and aluminum melt temperature you use in practice should always be based on your specific alloy and process. For instance, the melt point of aluminum in 6061 is much lower than in pure aluminum, so setting your furnace or torch just above the liquidus ensures a clean melt without risking overheating.
Tip: 4043 is a popular Al-Si filler alloy for welding and repair because its melting range is below most 6xxx and cast aluminum alloys. This solidification behavior makes it a first choice for crack mitigation.
Bookmark this table for your next project—whether you’re wondering about the temperature to melt aluminum, planning a weld, or troubleshooting a cast. Up next, we’ll explore the thermodynamics behind melting time and energy, so you can move from numbers to real-world results with confidence.
Why Reaching Setpoint Isn’t Enough
Ever set your furnace to the right temperature for melting aluminum and still found unmelted chunks when you opened the lid? Or wondered why thin scraps liquefy quickly while thick ingots seem to take forever? That’s where thermodynamics steps in—and understanding it can save you time, energy, and costly mistakes in any aluminum melting operation.
Specific heat and latent heat explained simply
Let’s start with two key concepts: specific heat of aluminum and latent heat of fusion. When you heat up aluminum, you first need to raise its temperature to the solidus (the lower end of the melting range). This requires energy, measured by the specific heat—essentially, how much energy it takes to heat up each kilogram by one degree Celsius. Once you hit the solidus, simply being at the temperature that aluminum melts isn’t enough to turn it all liquid. Now, you need to supply the latent heat of fusion: the extra energy required for the phase change from solid to liquid, with no further temperature rise until everything is molten.
For aluminum, the latent heat of fusion is about 396 kJ/kg. This is a significant energy investment—often overlooked when planning melt cycles! If you skip this step or rush it, you’ll end up with partially melted metal and inconsistent results.
Why holding at temperature matters
Imagine tossing a thick aluminum plate and a handful of thin shavings into your furnace. The shavings melt almost instantly, but the plate takes much longer—even if both reach the melting temperature of aluminium. Why? Larger masses absorb heat more slowly and can have cooler centers due to thermal gradients. That’s why holding at the setpoint—sometimes called the “soak” or “dwell” time—is critical. It ensures all parts, not just the surface, fully absorb both sensible and latent heat. If you rush this phase, you risk incomplete melting, dross formation, or even dangerous eruptions when pouring.
Key insight: Hitting your furnace setpoint does not mean your entire aluminum charge is liquid. Always account for latent heat and temperature gradients—especially with thick or uneven loads.
Superheat and pour window strategy
So, how do you put this knowledge to work? After all the metal is fully molten, you typically need to superheat—raising the bath a bit above the liquidus—to improve fluidity and compensate for heat loss during transfer and pouring. But don’t overdo it: too much superheat can increase dross and hydrogen pickup, harming your casting quality. The best practice is to target a narrow pour window—just enough above the melting temp aluminum range for your alloy to ensure clean flow, but not so high that you risk defects.
- Estimate your aluminum charge mass and shape.
- Choose a target superheat window (typically 20–50°C above liquidus).
- Plan your dwell time—thicker parts need longer holds.
- Verify temperature with a probe and check fluidity before pouring.
In real foundries, this means adjusting your process for every batch: thin scrap may only need a short soak, while thick castings demand patience. Always match your melting of aluminum process to the job at hand.
Next, we’ll move from theory to practice—showing you how to set up your melting operation for clean, consistent results every time.
Practical Melting Setup and Control for Clean Aluminum
When you’re ready to melt aluminum, the difference between a smooth, clean pour and a frustrating, defect-ridden result often comes down to setup and control. Have you ever wondered why some shops get repeatable results while others struggle with dross, porosity, or inconsistent melts? The answer often lies in the details—choosing the right furnace, crucible, and process controls for your alloy and application. Let’s walk through the essentials so you can confidently answer, "what temperature does aluminum melt," and avoid the classic pitfalls.
Picking the right furnace and crucible
Not all furnaces or crucibles handle the melting temp of aluminum equally. Your selection impacts efficiency, cleanliness, and even safety. Here’s a quick breakdown of options and their practical pros and cons, based on industry guidance:
-
Electric resistance furnaces
- Pros: Even, all-around heating; precise temperature control; ideal for holding and small-batch melting.
- Cons: Slower melt rates than gas; higher energy costs if not properly insulated.
-
Gas-fired crucible furnaces
- Pros: Fast heat-up; good for large batches; flexible for different alloys.
- Cons: Less precise temperature control; can introduce combustion byproducts; more dross if overheated.
-
Induction furnaces
- Pros: Rapid, uniform heating; energy efficient; clean operation if well-maintained.
- Cons: Higher initial cost; requires matching crucible to frequency; more complex setup.
For crucibles, clay-graphite and silicon carbide (SiC) types are common for aluminum. Clay-graphite offers good thermal shock resistance and is widely used, while SiC excels in chemical resistance and durability—especially if you’re using aggressive fluxes or expect frequent degassing cycles.
Flux, dross control, and clean metal practices
Ever noticed how a little dross can quickly become a big headache? Clean metal starts with clean practices. Here’s what you need to know:
- Flux use: Fluxes help remove oxides and impurities but can be corrosive to crucibles. Choose fluxes suited for aluminum, and avoid chloride-heavy types in poorly ventilated areas to minimize hazardous fumes.
- Degassing: Dissolved hydrogen is a common culprit for porosity. Degas with inert gas or flux tablets, but remember: excessive fluxing can erode your crucible and contaminate the melt.
- Charge cleanliness: Always use dry, clean feedstock. Wet scrap or tools can cause explosive steam eruptions when they hit the molten bath.
Temperature control that avoids overheat damage
How hot does aluminum melt? For pure aluminum, the answer is about 660°C, but most alloys require you to set your furnace just above the liquidus—usually 20–50°C higher—to ensure full melting and good flow. Overheating wastes energy, increases dross, and can degrade both your metal and your equipment.
- Thermocouples: Use contact or immersion thermocouples to monitor bath temperature accurately. Avoid relying solely on furnace setpoint displays.
- Superheat window: Target a narrow superheat above the liquidus for your alloy—just enough to pour cleanly, not so much that you risk defects.
- Common mistakes: Overheating, stirring air into the bath, and charging wet scrap are leading causes of dross, porosity, and inconsistent results.
- Preheat the crucible to reduce thermal shock.
- Charge only dry, clean aluminum—never wet or oily scrap.
- Ramp temperature to just above the alloy’s liquidus (consult your quick-reference table).
- Skim dross as it forms; avoid excessive stirring.
- Degas with inert gas or approved flux tablets.
- Verify fluidity and temperature before pouring.
- Pour smoothly to minimize turbulence and air entrapment.
Safety first: Always wear PPE—face shield, gloves, and protective clothing. Never charge wet metal; moisture can cause violent explosions. Ensure good ventilation, especially when using fluxes.
So, at what temp does aluminum melt in your process? For most alloys, your temp to melt aluminum should be set just above the liquidus, not the solidus or the pure metal point. Always check your alloy’s range, use accurate temperature measurement, and focus on process discipline to achieve consistent, defect-free results. Choosing the right setup and controls is the foundation for clean melting—and sets you up for success in casting, welding, or fabrication.
Next, we’ll walk through a step-by-step guide to melting scrap 6061, putting these principles into action for real-world casting.
Melting Scrap 6061 for Quality Castings
Pre-sorting and cleaning scrap 6061
Ever wondered why some castings from scrap aluminum come out clean and strong, while others are riddled with defects? It all starts with proper preparation. Before you even think about raising the melt aluminum temperature, make sure your feedstock is up to the task. Here’s how:
- Verify alloy identity: Use an XRF scanner or supplier documentation to confirm your scrap is truly 6061. Mixing alloys can change the aluminum melting temp and final properties.
- Remove coatings and contaminants: Strip away paint, lacquers, and adhesives. Mechanical scraping or mild chemical cleaning ensures nothing unwanted enters your melt.
- Bake-dry feedstock: Moisture is your enemy—especially with melting aluminum cans or thin scrap. Bake at low heat to drive off water and oils, reducing hydrogen porosity risk.
Furnace settings and charging sequence
With your scrap clean and dry, it’s time to set up the furnace. For 6061, you’ll want to target a temperature melt aluminum just above its liquidus. According to trusted sources, 6061’s solidus is about 582°C (1080°F) and liquidus is around 652°C (1206°F) (ASM International). Here’s a practical charging sequence for safe, repeatable results:
- Preheat your crucible to minimize thermal shock and contamination.
- Charge a small amount of dry, clean 6061 scrap as a starter—this helps build a molten pool for easier melting of larger pieces.
- Gradually add the rest of your feedstock, maintaining steady temperature rise.
- Ramp the furnace to just above 652°C (1206°F)—the recommended aluminum melts at what temp for 6061—aiming for a superheat window of 10–30°C above liquidus for best fluidity.
- Skim off any early dross (surface oxides) with a clean tool.
Degassing, fluxing, and pouring best practices
Once your bath is fully molten and clean, it’s time for finishing steps that make or break casting quality:
- Gently stir the melt to homogenize temperature and composition—avoid aggressive agitation that introduces air.
- Degas using an inert gas (like argon) or approved degassing tablets to remove dissolved hydrogen. This is especially important for recycled scrap and melting aluminum cans.
- Add grain refiner if specified for your application—this helps control grain size for improved mechanical properties.
- Check melt fluidity and temperature with a calibrated probe. Ensure you’re still in the optimal range for pouring (typically 660–680°C for 6061, but always refer to your alloy datasheet).
- Pour smoothly through clean, preheated gates to minimize turbulence and prevent air entrapment.
Safety first: Always wear PPE—face shield, gloves, and heat-resistant clothing. Ensure your workspace is well-ventilated and never add wet scrap to the melt. Moisture can cause dangerous steam explosions.
Quality tip: Avoid excessive superheat and long hold times at high temperatures. Prolonged exposure above liquidus can lead to magnesium loss and increased hydrogen pickup, which harm casting quality. Gentle stirring minimizes turbulence and reduces porosity.
Sounds complex? In practice, a disciplined process makes all the difference. Here’s a quick reference sequence for melting 6061 scrap:
- Identify and sort 6061 scrap.
- Remove coatings and contaminants.
- Bake-dry all feedstock.
- Preheat crucible.
- Charge starter scrap, then add remaining metal gradually.
- Ramp furnace to just above 652°C (1206°F).
- Skim dross.
- Gently stir.
- Degas with inert gas/tablets.
- Add grain refiner if needed.
- Check fluidity and temperature.
- Pour smoothly through clean gates.
One last note: Remelting scrap—whether from plate offcuts or melting aluminum cans—can shift chemistry over time, especially if you mix different alloys or lose magnesium during high-temperature holds. Strict scrap control and careful process monitoring help ensure your castings perform as expected.
With these best practices, you’ll master the aluminum melting temp for 6061 and produce castings that are both strong and defect-free. Next, let’s connect these melting fundamentals to welding, brazing, and additive manufacturing challenges—where melt range and process control are just as critical.
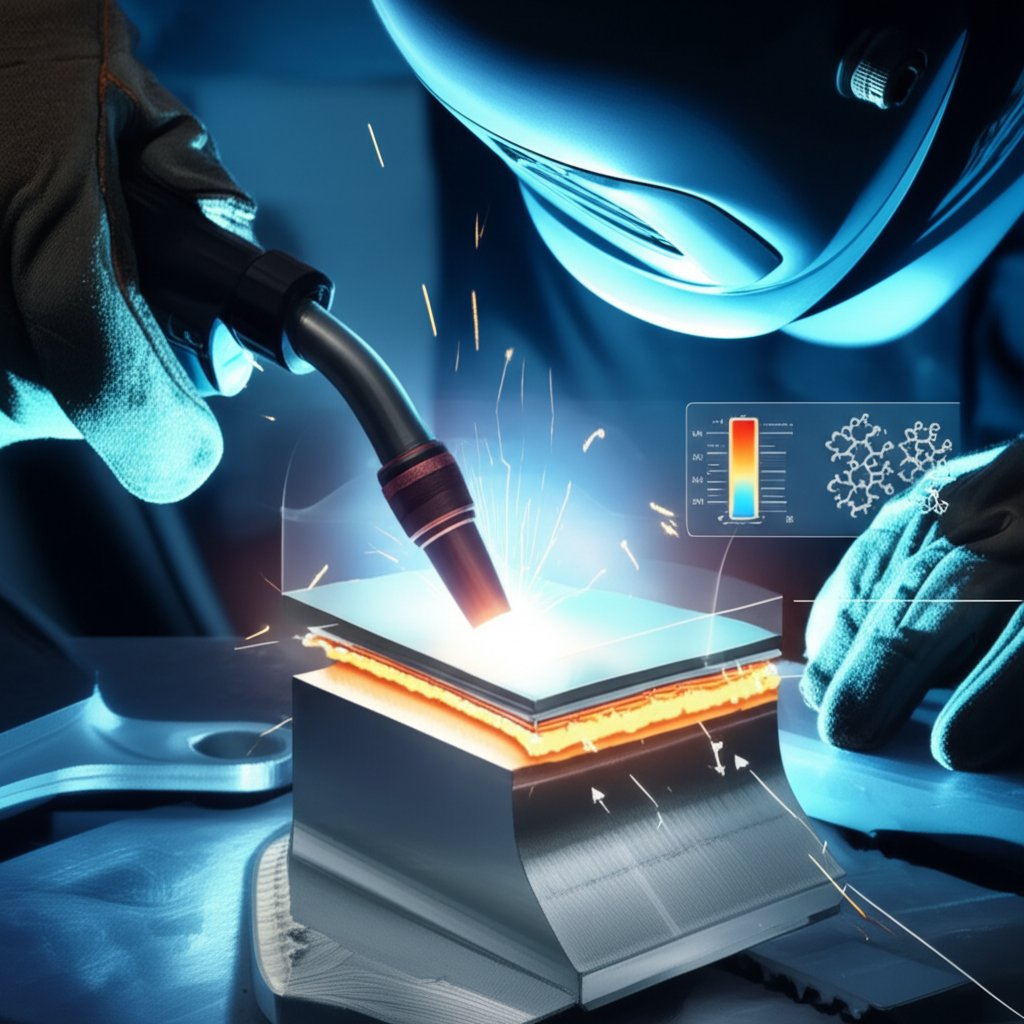
Welding, Brazing, and AM Implications of Melt Ranges
When you move from melting and casting to joining or additive manufacturing, understanding the melting temp of aluminium is only the first step. Why do welds sometimes crack, or why does a brazed joint fail to flow? Let’s break down how the solidus–liquidus range, filler choice, and oxide behavior shape your results—so you can make smarter, safer decisions whether you’re welding, brazing, or building parts layer by layer.
Solidus–Liquidus Ranges and Hot Cracking
Ever noticed how some aluminum welds are prone to cracking right down the center, while others hold strong? The answer often lies in the width of the alloy’s mushy zone—the temperature range between solidus and liquidus. Alloys with a wide melting temp of aluminium range spend more time in a partially solid, partially liquid state during cooling. This makes them highly sensitive to hot cracking (also called hot tearing or solidification cracking), especially under thermal or mechanical stress. For example, many 6xxx and 7xxx alloys are notorious for hot cracking because their mushy zones are broad and their chemistry is prone to forming weak grain boundaries (GlobalSpec).
To minimize hot cracking:
- Choose alloys and fillers with a narrow mushy zone when possible.
- Use welding techniques that minimize time spent in the vulnerable temperature range—higher travel speeds and focused heat sources help.
- Preheat thick or highly restrained joints to reduce thermal gradients.
Filler Selection and Brazing Windows
Sounds complex? Here’s a practical rule: Always select a filler alloy whose liquidus is below the solidus of your base alloy. This ensures the filler melts and flows before the base metal starts to soften, giving you a robust joint without risking base metal collapse. For welding 6xxx series (like 6061 or 6063), Al-Si fillers such as 4043 are popular because their chemistry and aluminium melt temperature create a weld bead that’s less sensitive to cracking (The Fabricator). For brazing, using a filler with a liquidus just below the base alloy’s solidus opens a safe processing window—too high, and the base alloy melts; too low, and you risk poor wetting or weak joints.
What about anodizing after welding? If you need a good color match, 5xxx fillers (Al-Mg) are preferred, but 4xxx fillers (Al-Si) offer better crack resistance. Always check the service environment and post-weld requirements before making your choice.
AM Melt Pools and Microstructure Control
In additive manufacturing (AM), such as laser powder bed fusion, the rapid heating and cooling cycles interact with the alloy’s melting range to create unique challenges. Alloys with wide mushy zones can be more prone to solidification cracking, especially if the process parameters don’t match the alloy’s melting temperature aluminium. Some grades require modified chemistries or special process controls—like preheating the build plate or adjusting scan strategies—to ensure a crack-free microstructure.
Imagine building a part layer by layer, only to find cracks or weak zones where the melt pool solidified too quickly or unevenly. That’s why AM process engineers often experiment with alloy composition and thermal management to achieve the right balance of fluidity, wetting, and solidification speed.
- Do preheat thick or highly restrained parts to reduce thermal shock.
- Do control interpass temperature in multi-pass welds.
- Do mechanically or chemically clean the oxide layer before joining.
- Don’t use a filler with a liquidus above the base alloy’s solidus for brazing.
- Don’t skip flux in brazing—proper flux ensures oxide removal and good wetting.
- Don’t neglect process adjustments in AM for alloys with wide mushy zones.
Aluminum’s oxide film has a much higher melting temperature than the metal itself—often exceeding 2000°C. That’s why mechanical or chemical cleaning, and the right flux for brazing, are essential for strong, defect-free joints.
In summary, the aluminium melt temperature you target for welding, brazing, or AM isn’t just about melting the metal—it’s about managing the process window, controlling the mushy zone, and ensuring the oxide layer doesn’t get in your way. Next, we’ll see how these principles help you design for elevated temperature service—where strength and reliability matter most.
Designing with Aluminum Near Elevated Temperatures
Why allowable temperature is far below melting
When you look up what temperature does aluminium melt at, you might see values around 660°C (1220°F) for pure aluminum, and lower for many alloys. But here’s the catch: the maximum temperature you can safely use aluminum in service is much lower than its melting point. Why? Because aluminum’s mechanical strength—especially yield strength—drops off rapidly with rising temperature, long before you reach the solidus or liquidus. That means even though the metal is still solid, it may no longer be able to carry the loads you designed for.
Imagine a structural beam made from 6061-T6. At room temperature, it might have a yield strength of 297 MPa (43 ksi). But as the temperature rises to 150°C (300°F), that strength can fall to about 262 MPa (38 ksi), and at 260°C (500°F) it’s down to 124 MPa (18 ksi) (ASM International). The takeaway? Always design for the lowest expected strength at your actual operating temperature—not the value listed at room temperature or the melting temp of aluminum.
Picking alloys for hot service environments
So, what temperature does aluminum melt at in theory versus what temperature will aluminum melt in practical design? The answer depends on your application, but the process for choosing the right alloy is consistent. For elevated temperature service, you want an alloy and temper with well-documented mechanical properties at your intended service temperature. For example, alloys like 6061, 5083, and certain castings (such as B201-T7 or D357-T6) have published data showing how their strength decreases as temperature rises. Using these curves, you can conservatively estimate safe loads and avoid surprises.
- Define your maximum service temperature. What’s the highest temperature your part will see in use?
- Shortlist alloys with documented elevated-temperature strength. Check producer datasheets or handbooks for yield/tensile strength at that temperature.
- Apply safety factors. Factor in uncertainties, load variations, and the consequences of failure.
- Check weld and braze joints. Make sure the solidus of the base or filler alloy is well above your service temperature to prevent softening or creep.
- Confirm corrosion and fatigue resistance. Elevated temperatures can accelerate corrosion and reduce fatigue life—especially in humid or aggressive environments.
- Finalize with sourcing options. Ensure your chosen alloy and temper are available in the required form (plate, extrusion, casting, etc.).
Rules of thumb with documented sources
Sounds complex? It doesn’t have to be. Here are practical reminders for every designer:
- Never extrapolate mechanical properties from room temperature to high temperature—always use published curves.
- For most structural aluminum, conservative service limits are typically set at 150–200°C (300–400°F), well below what temperature does aluminium melt at.
- Welded joints and brazed assemblies may require even lower limits due to localized softening near the fusion zone.
- For critical applications, consult the following references:
- Producer datasheets for your specific alloy and temper
- ASM Handbook: Mechanical Properties of Aluminum Alloys
- Relevant ASTM or EN material standards
Key point: The real-world service temperature for aluminum is far below its melting range. Always base your design on verified elevated-temperature properties, not just the nominal melting temp of aluminum.
By following this disciplined approach, you’ll avoid costly failures and ensure your aluminum designs perform reliably—even when the heat is on. Next up, we’ll tackle troubleshooting: how to spot and fix defects linked to temperature control and process discipline.
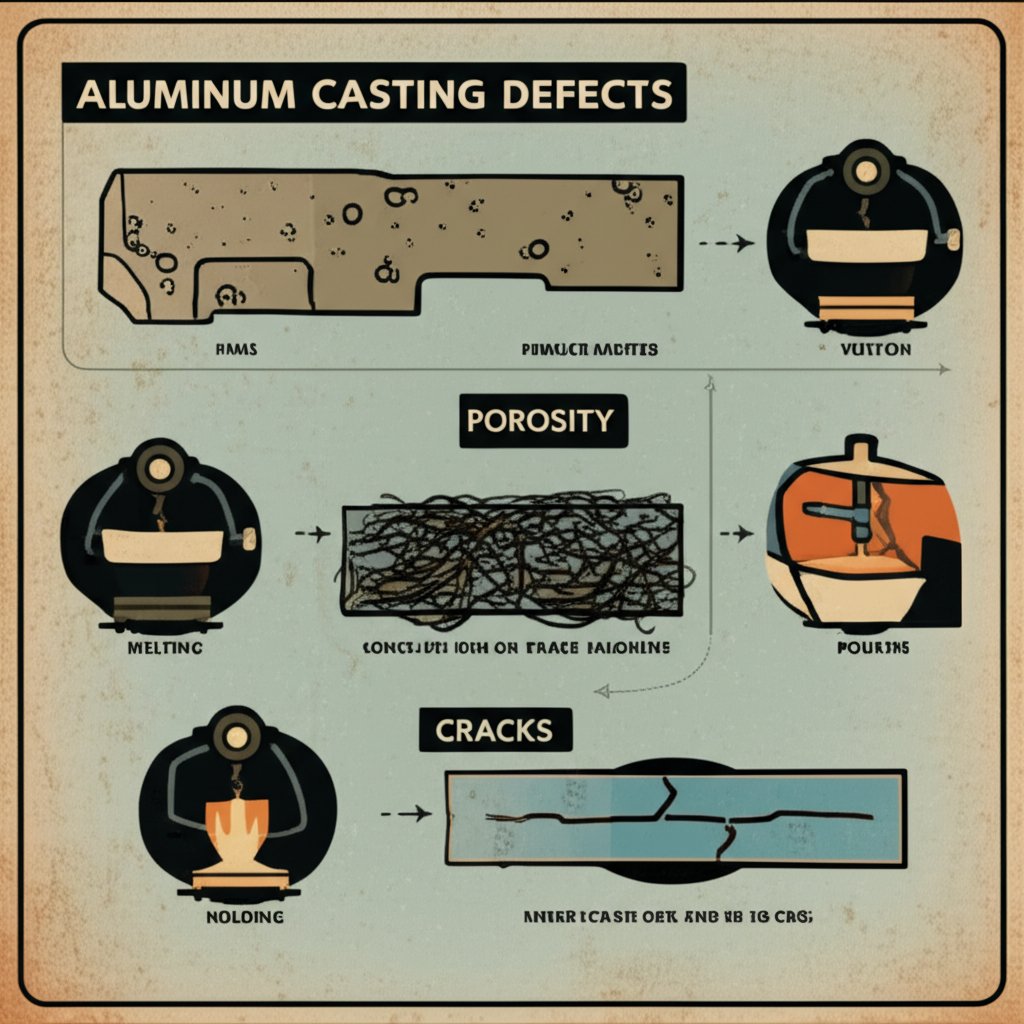
Troubleshooting Melting, Casting, and Weld Defects
When you’re aiming for flawless aluminum castings or welds, even small process missteps can trigger frustrating defects. Ever poured a batch and spotted pinholes, cracks, or rough patches? Or wondered, “what temp does aluminum melt, and why do my results vary?” Let’s break down the most common issues—porosity, dross, hot cracks, inclusions, and poor fill—and map them to root causes and proven fixes. With this guide, you’ll be able to spot problems quickly and apply solutions backed by real-world foundry and welding experience.
From Symptom to Root Cause in Minutes
| Defect | Likely Causes | Rapid Checks | Remedies |
|---|---|---|---|
| Porosity (Gas Bubbles) | Wet scrap, long hold at high temp, turbulence during pouring, inadequate degassing | Check for moisture in feedstock; perform density/immersion tests; inspect for pinholes in surface | Use only dry, clean charge; minimize superheat dwell; degas thoroughly with inert gas or tablets; pour smoothly |
| Dross / Oxidation | Overheated bath, excessive stirring, air exposure, dirty crucible | Observe gray/black scum on melt; check for excessive dross during skimming | Lower superheat; use lids or inert cover gas; avoid over-stirring; clean crucible regularly |
| Hot Cracks / Hot Tears | Wide mushy zone (alloy-dependent), high restraint, incorrect filler, rapid cooling | Inspect for cracks along welds or in castings (usually at grain boundaries) | Switch to crack-resistant filler (e.g., 4043 for 6xxx alloys); preheat thick sections; adjust cooling rate; redesign joints to reduce restraint |
| Inclusions | Oxide skin, slag, dirty scrap, worn furnace lining | Metallographic or X-ray inspection; visible specks or stringers in fracture surfaces | Use high-grade, clean scrap; flux and skim thoroughly; maintain furnace lining; filter melt if needed |
| Poor Fill / Misruns | Low pouring temp, slow fill, cold molds, poor gating design | Incomplete or thin sections; cold shuts; surface roughness | Increase pouring temperature (within safe limits); preheat molds; optimize gating; avoid slow, interrupted pours |
Preventive Controls You Can Implement Today
- Control Moisture: Always dry your charge—especially thin scrap or aluminum cans. Even a drop of water can cause explosions and severe porosity. Remember, the aluminium foil melting point is the same as bulk aluminum, but foil’s thinness makes it especially vulnerable to moisture pickup and rapid oxidation.
- Monitor Temperature Closely: Set your furnace just above the alloy’s liquidus—not the pure metal point. Overheating promotes dross and hydrogen pickup, while underheating causes poor fill and misruns. If you’re unsure what temperature aluminum melts for your alloy, refer to the quick-reference table in this guide.
- Optimize Mold and Gating Design: Smooth, well-designed flow paths minimize turbulence and cold shuts. Preheat molds to ensure metal fills completely before solidifying.
- Degas and Flux Properly: Use inert gas or degassing tablets to remove dissolved hydrogen, and select fluxes that suit your alloy and furnace type. Avoid excessive fluxing, which can introduce new impurities.
- Regular Inspection and Maintenance: Clean crucibles, replace worn linings, and inspect molds for wear or contamination. Even small inclusions can trigger cracks or weaken finished parts.
- Use Clean, Identified Scrap: Mixing unknown alloys can lower the effective melting point and introduce unpredictable melting behavior. For example, the melting point of aluminum can scrap is influenced by coatings and contaminants—always remove labels and bake-dry before charging.
Many casting and weld defects trace back to two root causes: temperature control relative to the alloy’s melt range, and cleanliness at every stage. Master these, and you’ll dramatically improve your aluminum melting results.
Still seeing surface scars, blisters, or internal voids? Sometimes, even after you’ve nailed the basics, defects persist. Advanced techniques—like X-ray or ultrasonic inspection, or hot isostatic pressing for high-value parts—can help identify and fix hidden flaws. But prevention is always more cost-effective than repair. As you hone your process, remember that even the aluminium foil melting point is not immune to process variables: thin foils oxidize and melt rapidly, so process control is just as critical as with bulk materials.
Ready to design for reliability? Next, we’ll wrap up with sourcing smarter and the best resources for aluminum melting and processing success.
Sourcing Smarter and Recommended Resources
When you’ve mastered the science behind the melting temp of aluminum, the next big question is: how do you put that knowledge into action—especially when sourcing parts or materials for demanding applications? Whether you need a custom aluminum channel for structural framing, a complex cast aluminum component, or a precision-machined aluminum plate, your sourcing choices will make or break your project’s quality, cost, and schedule.
Where to source guidance and components
Sounds complex? It doesn’t have to be. Choosing the right partner means you get more than just metal—you gain access to expertise in alloy selection, thermal windows, extrusion, and downstream machining. This is especially critical when working near the solidus–liquidus window, where tight process control protects your investment.
| Supplier/Path | Solution Scope | Best For | Strengths |
|---|---|---|---|
| Shaoyi Metal Parts Supplier | Integrated automotive extrusions and assemblies | High-precision, high-volume projects | Design-for-manufacture support, controlled thermal processes, automotive quality systems |
| Regional Job Shop | Custom fabrication, short runs, repairs | Prototyping or local support | Fast turnaround, in-person collaboration; may lack advanced quality controls |
| Global Online Marketplace | Standard shapes (aluminum channel, aluminum plate, bar, tube) | Off-the-shelf needs, small orders | Wide selection, transparent reviews; variable quality and support |
| Primary Mill Service Center | Bulk supply of sheet, plate, extrusion, and cast aluminum | Large, recurring orders | Consistent quality, traceability, but less flexibility for custom assemblies |
For engineered extrusions and assemblies, working with a supplier like Shaoyi Metal Parts Supplier ensures you benefit from expertise in melt windows, extrusion tooling preheat, and downstream joining operations. Their integrated approach to aluminum extrusion parts streamlines the path from design to production, reducing risk and improving consistency—especially for critical systems like suspension or chassis components where the melting temp of aluminum directly influences process windows and final part performance.
Choosing a manufacturing partner for aluminum parts
Imagine you’re launching a new automotive platform or upgrading a structural assembly. The difference between a successful rollout and costly rework often comes down to sourcing. Here’s what to look for:
- Thermal process expertise: Can your supplier advise on the right alloy for your target melting temperature or service environment?
- Integrated manufacturing: Do they offer extrusion, machining, and finishing in-house for better control?
- Quality systems: Look for certifications (like IATF 16949) and a track record with demanding industries.
- Proven experience: Have they delivered high-strength aluminum plate, complex cast aluminum, or custom aluminum channel components for similar applications?
For high-volume, high-precision needs, a partner with in-house melting, extrusion, and machining—plus engineering support for alloy and process selection—will help you avoid costly surprises and ensure your components meet both design and regulatory standards.
Recommended reading and standards
Want to go deeper? Here are authoritative resources to consult when specifying alloys, setting process windows, or troubleshooting issues related to the melting temp of aluminum:
- ASM Handbook (Aluminum and Aluminum Alloys): Comprehensive property data and processing guidance
- ASTM E794: Melting and Crystallization Temperatures by Thermal Analysis
- Producer datasheets: For alloys 1100, 3003, 5052, 6061, 6063, 7075, A356, and filler 4043
- Industry standards: Relevant ASTM/EN specifications for aluminum channel, plate, and cast aluminum products
- Technical articles: On aluminum melting, alloy selection, and defect prevention
Choose processes and partners that respect the alloy’s solidus–liquidus window; that’s how you avoid defects and achieve repeatable performance.
By leveraging trusted resources and experienced suppliers, you’ll move from theory to production with confidence—knowing exactly what is the melting temperature of aluminum for your chosen alloy, and how to turn that knowledge into reliable, high-quality parts.
Frequently Asked Questions About the Melting Temp of Aluminum
1. What is the melting point of pure aluminum?
Pure aluminum melts at 660.3°C (1220.6°F) under standard conditions. This value is widely referenced in metallurgy and is measured using precise thermal analysis methods. However, most aluminum used in industry is alloyed, so actual melting behavior depends on the specific alloy composition.
2. Why do aluminum alloys have a melting range instead of a single melting temperature?
Aluminum alloys contain additional elements like silicon, magnesium, copper, or zinc, which alter their melting characteristics. Instead of melting at a single temperature, alloys transition from solid to liquid over a range defined by their solidus and liquidus points. This range is crucial for setting furnace and welding temperatures safely.
3. How does the oxide layer affect the melting of aluminum?
Aluminum naturally forms a thin oxide layer with a much higher melting point than the metal itself. This oxide skin can delay visible melting and may require higher temperatures or fluxes to achieve full liquefaction. Removing or managing this oxide is essential for clean casting and welding results.
4. What precautions should be taken when melting aluminum scrap or cans?
Always ensure aluminum scrap and cans are clean and completely dry before melting. Moisture or contaminants can cause dangerous steam explosions and introduce porosity into castings. Preheating feedstock and using proper personal protective equipment (PPE) are critical for safety.
5. How do I select the right aluminum alloy for high-temperature applications?
Choose alloys with documented mechanical properties at your intended service temperature, not just based on their melting point. Consult producer datasheets or the ASM Handbook for strength data at elevated temperatures, and always apply safety factors to account for property reductions well below the alloy's melting range.