 Small batches, high standards. Our rapid prototyping service makes validation faster and easier —
  EN
EN


Automotive Metal Stamping Supplier Qualification in 5 Steps
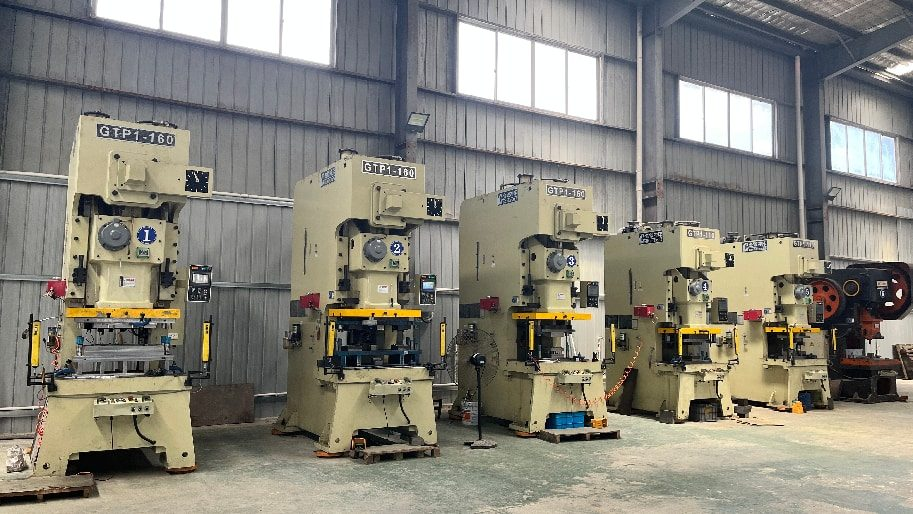
Qualifying an automotive metal stamping supplier is one of the highest-leverage decisions a procurement or engineering team makes before a program launches. Get it right, and you have a certified, traceable production partner capable of sustaining high-volume metal stamping output without quality escapes. Get it wrong, and every defect that surfaces at volume becomes a containment event — with your name on the corrective action.
This guide walks through five sequential qualification steps: verifying IATF 16949:2016 certification, auditing material traceability, evaluating tooling and burr specifications, defining PPAP requirements, and closing the qualification with a documented scorecard. Each step targets a distinct failure mode. Skipping one doesn't simplify the process — it transfers the risk to your production line.
The steps apply whether you're sourcing a new chassis bracket, a suspension control arm, or a structural welded sub-assembly. They're written for procurement managers, automotive engineers, and supply chain leads who need a technically grounded checklist — not a generic vendor scorecard.
Step 1: Verify IATF 16949:2016 Certification and Compliance
Start the audit at the certificate, not the capability deck. IATF 16949:2016 is the automotive-specific quality management standard, and it is not interchangeable with ISO 9001 — it layers customer-specific requirements, defect prevention, and variation reduction on top of the base QMS. A supplier holding only ISO 9001 has not demonstrated automotive competence. If your customer is a Tier 1, the requirement is not discretionary — Tier 1 suppliers are obliged to cascade IATF 16949 down the supply chain, and this qualification audit is how that obligation gets verified. IATF Global Oversight reported 100,592 IATF 16949 certified sites worldwide as of April 20, 2025, so the population of qualified automotive metal stamping companies is large enough that you never need to compromise on this baseline.
Work through these checks before scheduling a site visit:
- Confirm the certificate is live in the IATF database. Do not accept a PDF from the supplier's sales team. Pull the record directly, check the certification body, and confirm the expiry date and status — suspended and withdrawn certificates still circulate as PDFs.
- Read the scope statement word for word. The scope must name the processes you intend to buy. "Manufacture of metal components" is not sufficient when you need progressive die stamping and resistance welding. If stamping and welding do not appear, the certified system may not cover the line building your part.
- Match the certified site address to the production address. Multi-plant automotive stamping suppliers frequently certify one facility and quote from another. Verify the physical address on the certificate is the address that will run your tool.
- Request the nonconformance history from the last two surveillance audits. Ask specifically for findings against Clause 10.2.1 (corrective action), including the problem statement, root cause, and closure evidence.
- Request the most recent internal audit report and management review minutes. These reveal whether the system is self-policing or only reacting to external auditors. A mature system identifies its own major issues.
Where auditors actually find problems. IATF's own rolling 12-month analysis of minor nonconformities lists control plan (Clause 8.5.1.1), measurement systems analysis (7.1.5.1.1) and error-proofing (10.2.4) among the ten most frequently cited clauses. All three sit downstream of the corrective action loop — which means the failure mode you are hunting for is rarely the absence of an action, but the absence of a rigorous check that the action worked. During the audit, pick three closed 8Ds at random and trace the verification evidence. If closure rests on a training record or a one-time inspection with no subsequent effectiveness data, the quality system will not protect you at volume.
Step 2: Audit Material Test Reports (MTR) and Traceability
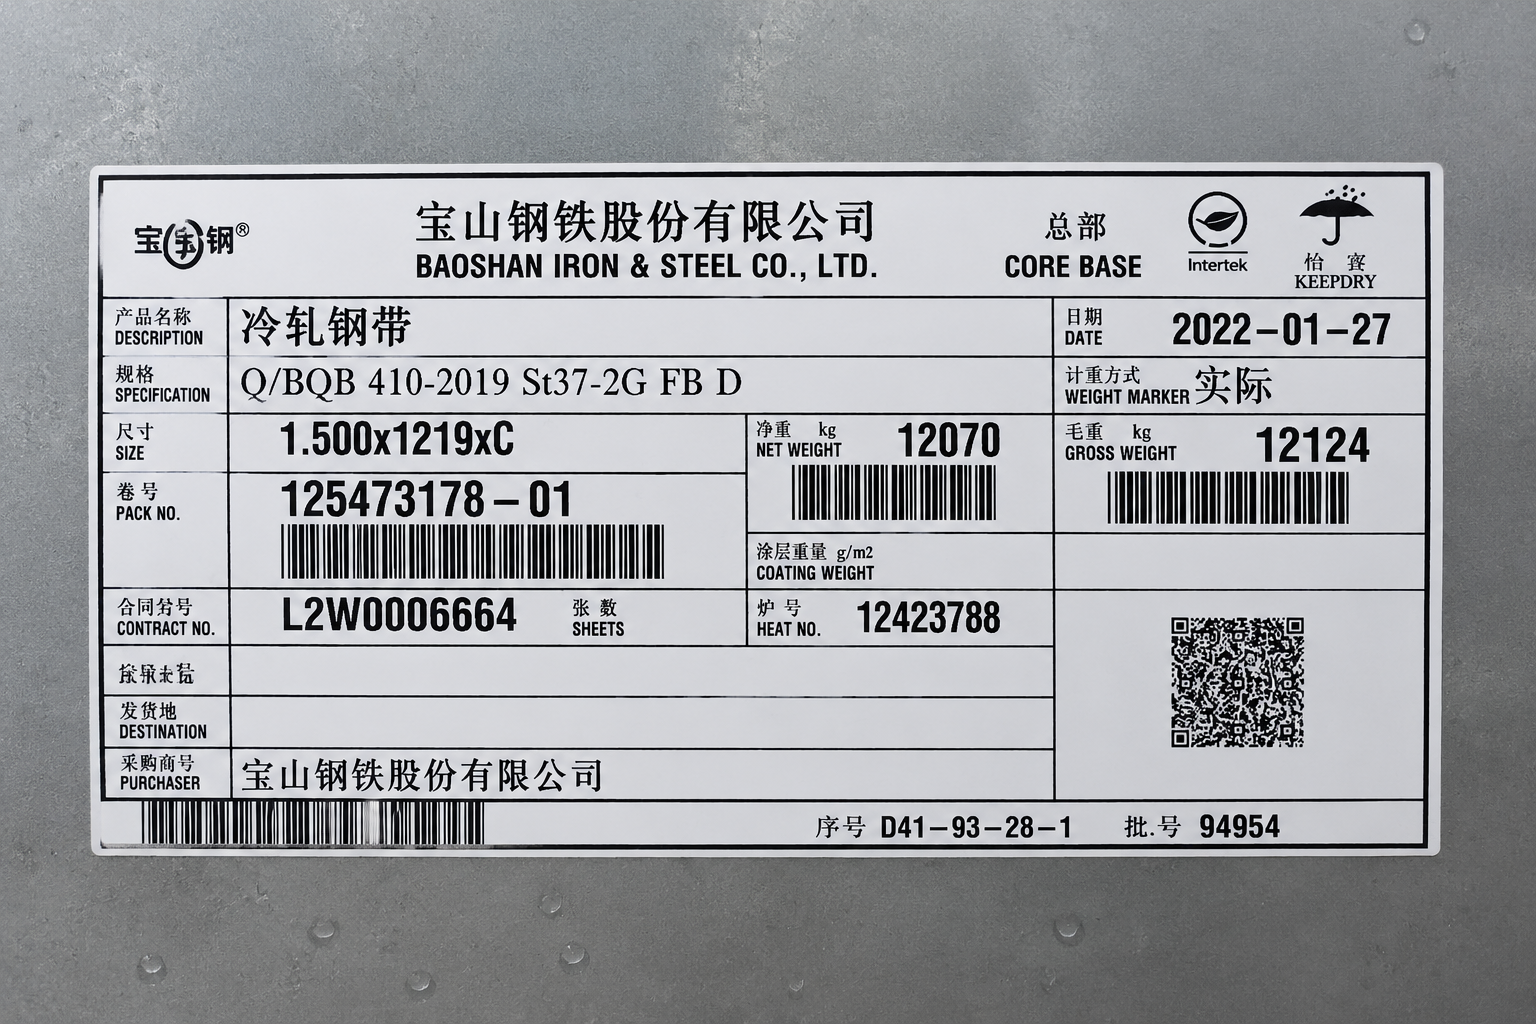
Material variation drives the failure modes that surface after launch: springback causing a hole position out of tolerance, tensile strength drifting across coil lots, and cracking at tight bend radii. The MTR audit is where you confirm the supplier can tell you, for any finished part, exactly which heat of steel it came from. Treat this as a physical walk, not a document review in the conference room.
- Select a finished part from the shipping dock and work backward. Ask the quality lead to produce the full traceability chain for that specific part: production lot, coil ID, and heat number. Time how long it takes. A capable system returns the chain in minutes; a weak one requires a day of archive digging.
- Cross-reference the heat number on the MTR against the physical tag on the raw coil. Go to the raw material rack and read the tag. The heat number is the mill's unique identifier for a single batch of molten steel, and it is the only hard link between the certificate and the metal. If tags are handwritten, illegible, or missing on staged coils, traceability becomes theoretical.
- Verify the mechanical properties listed on the MTR. Check yield strength, tensile strength, and elongation against the grade specified on your drawing. Confirm the values fall within the grade range rather than merely meeting a minimum — a lot running at the top of the tensile band will spring back differently from one at the bottom.
- Confirm the grade is appropriate for the application. Steel accounted for 76.48% of the automotive metal stamping market share in 2025, so most suppliers will have deep experience here — but verify they stock the specific HSLA or advanced high-strength grade your chassis part calls for, not a nominal substitute. Published property data for grades such as cold-rolled HSLA 340 gives you the yield, tensile and elongation window to check the MTR against before you even open the supplier's file.
- Audit FIFO discipline in the coil storage area. Look for date-stamped receiving tags, controlled humidity, and evidence that older stock is consumed first. Surface rust and degraded oiling on aged coils feed directly into die wear and surface defects.
Require lot-to-lot tensile data, not just a single certificate per order. Springback compensation in the die is tuned to a narrow material property window. When the supplier cannot show property consistency across heats, insist on a documented die-adjustment protocol for lot changeovers before approving the source.
Step 3: Evaluate Tooling, Die Life, and Burr Height Specifications
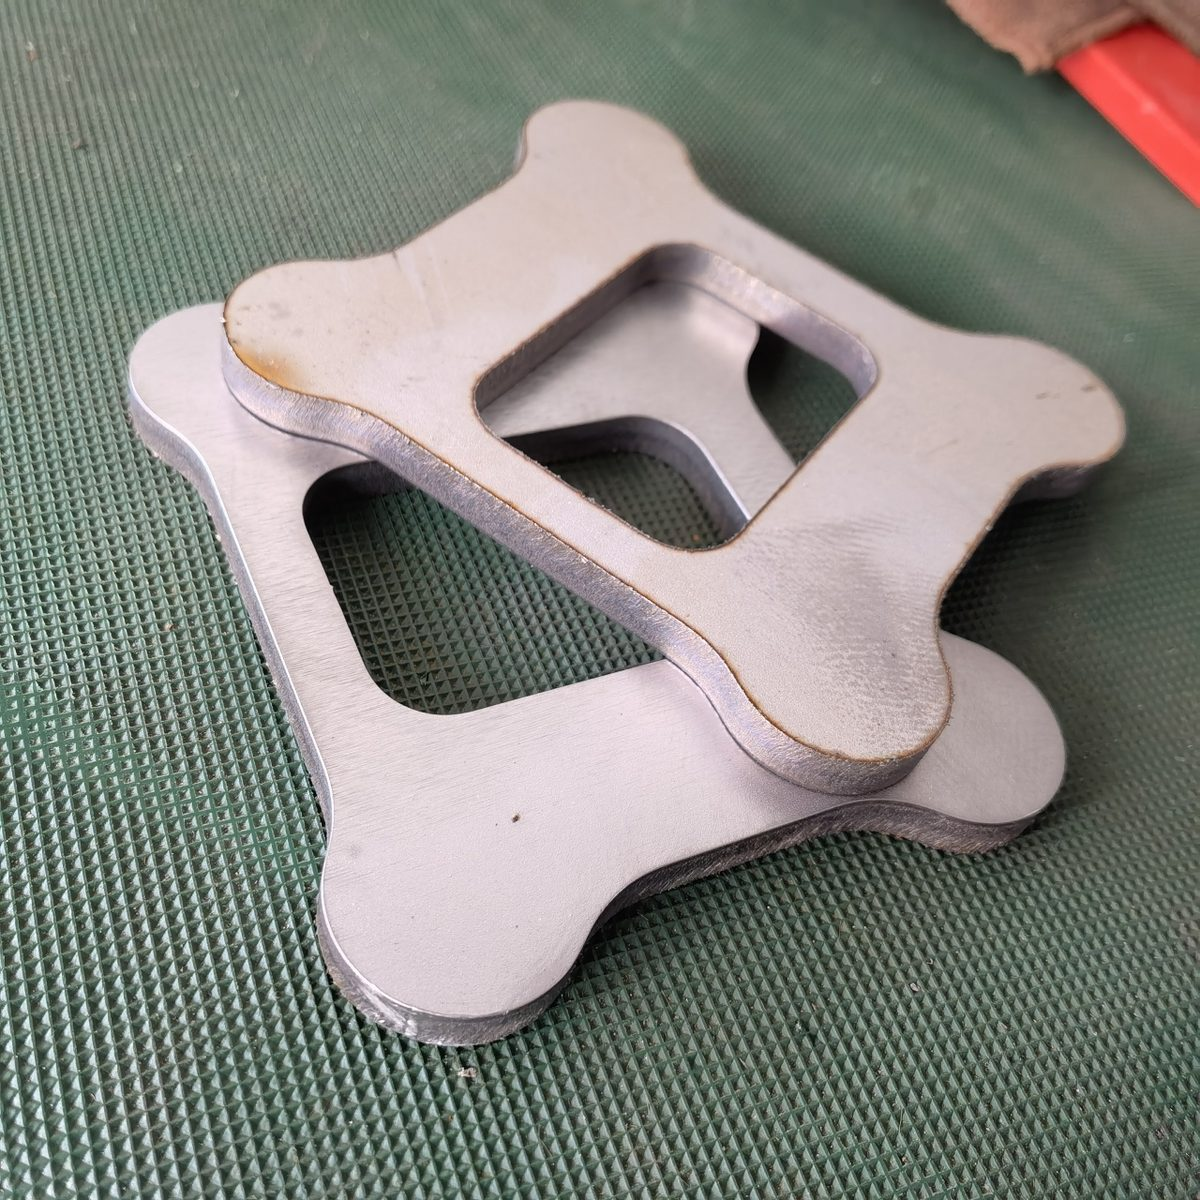
Tooling condition is the variable that separates an automotive stamping supplier who passes PPAP from one who holds tolerance through hundreds of thousands of strokes. In high-volume metal stamping, die clearance opens as punches and die buttons wear, and the first measurable symptom is burr growth on the sheared edge. A burr is not cosmetic: on a structural bracket it concentrates stress and seeds fatigue cracks; on a stacked assembly it prevents flush seating; on anything near a wire harness it cuts insulation.
Ask for the die maintenance schedule and the die life tracking record for a tool of comparable complexity to yours. You want stroke-count triggers for sharpening, documented shut height checks, and a spare punch inventory — not a reactive "we fix it when parts go bad" posture. Then inspect the tool room. Automotive stamping suppliers with in-house CAE forming simulation and die-making capabilities can model thinning and springback before cutting steel, and can correct a tool in days rather than shipping it back to a third-party builder.
Ask the supplier to commit to a number, not a promise. On our own progressive dies for chassis and suspension brackets, tooling is specified and maintained for up to 3 million strokes, with the sharpening trigger set on stroke count rather than on observed rejects. A supplier who cannot name a die life figure for a comparable tool has not been tracking tool wear, and will discover the limit on your program instead of on their own.
Write burr limits into your supplier qualification checklist as a measured characteristic with a gauge method, not a note that says "burr-free." Get this wrong and you end up paying for deburring — secondary burr removal processes are a downstream tax on a problem that is far cheaper to solve at the die. A common baseline is 10% of material thickness, tightened by application:
| Part Type | Burr Limit (of material thickness) | Criticality |
|---|---|---|
| Structural chassis / suspension bracket | ≤10%, fatigue-critical edges ≤5% | Safety-critical — crack initiation risk |
| Welded sub-assembly component | ≤10% at mating surfaces | High — fit-up and weld gap control |
| Electrical connector / terminal | ≤5%, typically deburred | High — insulation damage, short circuit |
| Non-functional cover or shield | ≤10% | Moderate — handling safety |
Specify where the burr is measured and in which direction it is permitted to project. A burr on the die-side face of a chassis bracket that seats against a frame rail behaves very differently from the same burr on an exposed free edge. Define the measurement locations on the control plan drawing. Note that the datum scheme on that drawing should follow a defined GD&T convention — ASME Y14.5 is the authoritative reference for how those datums, profile tolerances and feature-of-size controls are stated and interpreted.
Then require burr height to be checked at the start, middle, and end of each production run — this is how tool wear becomes visible before it becomes a reject. On our own lines burr height is recorded as a measured value against a gauge method, not judged by hand. On 2.0 mm HSLA-340, at the clearance we run for that gauge, recorded burr height sits at 0.06 mm across a production run. The sharpening trigger is set at 0.10 mm — which, on 2.0 mm stock, is exactly the 5% fatigue-critical ceiling in the table above. The trigger is derived from the specification, not chosen for convenience, and that is the point: ask any supplier you audit where their sharpening trigger came from, and listen for whether the answer is a number or a shrug.
Step 4: Define PPAP Level and Documentation Requirements
Specify the PPAP submission level in the RFQ, not after tool kickoff. The Production Part Approval Process defines what evidence the supplier submits to prove the production process can repeatably make conforming parts at quoted rate. The level you assign determines what arrives on your desk and what stays in the supplier's file.
| Level | What is submitted | Typical use case |
|---|---|---|
| Level 1 | Part Submission Warrant only (with appearance approval report where relevant) | Carry-over brackets, minor material supplier change, low-risk non-functional part with stable history |
| Level 2 | PSW with product samples and limited supporting data | Moderate-risk parts where you want dimensional evidence but not the full file |
| Level 3 | PSW with product samples and complete supporting data | Mandate Level 3 for every new safety-critical stamped part — chassis, suspension, seating, steering, and any component in a load path |
| Level 4 | PSW plus other requirements as defined by the customer | A non-standard combination of evidence |
| Level 5 | PSW with samples and complete supporting data reviewed at the supplier's manufacturing location | High-risk launches, or a new supplier with no proven track record with your organization |
For the full element-by-element breakdown of what sits behind each level, see our walkthrough of a complete PPAP package.
A lower PPAP level does not reduce the validation work — it only reduces what gets reported. The supplier must still complete the full PFMEA, control plan, measurement systems analysis, dimensional results, material and performance testing, and process capability study at every level. Level 1 means that evidence stays on site and is produced on request. Confirm this explicitly during qualification, because some suppliers interpret Level 1 as permission to skip the underlying studies. The wider planning sequence that produces this evidence is governed by APQP — if your supplier cannot describe how APQP and PPAP connect, they are assembling documents rather than running a launch process.
Documentation failures, not product failures, are what usually stop a submission. One of our own resubmissions was triggered by a single field. The drawing revision number entered on the PSW did not match the revision on the drawing itself. The parts were fully conformant — dimensional results, material certifications and performance tests all passed, and the physical parts met the drawing and specification in full. The submission was rejected because the documents told an inconsistent story. We corrected the PSW, re-verified the entire package against the drawing revision, and resubmitted. The lesson for a buyer is direct: when you review a sample Level 3 package, do not read the PSW for its conclusions — reconcile it against the documents it is supposed to summarize.
That reconciliation is exactly what a third-party laboratory checks when it verifies a material submission against the same AIAG-derived requirements (Intertek's PPAP verification scope lists the test categories typically involved). Before approving the source, verify the supplier can deliver a full ballooned dimensional layout against your drawing, material certifications traced to heat number, capability indices on all designated special characteristics, and a gauge R&R for each measurement system used. Ask to see a complete Level 3 package from an existing automotive program. The quality of that file predicts the quality of yours.
Step 5: Close the Qualification with a Documented Scorecard
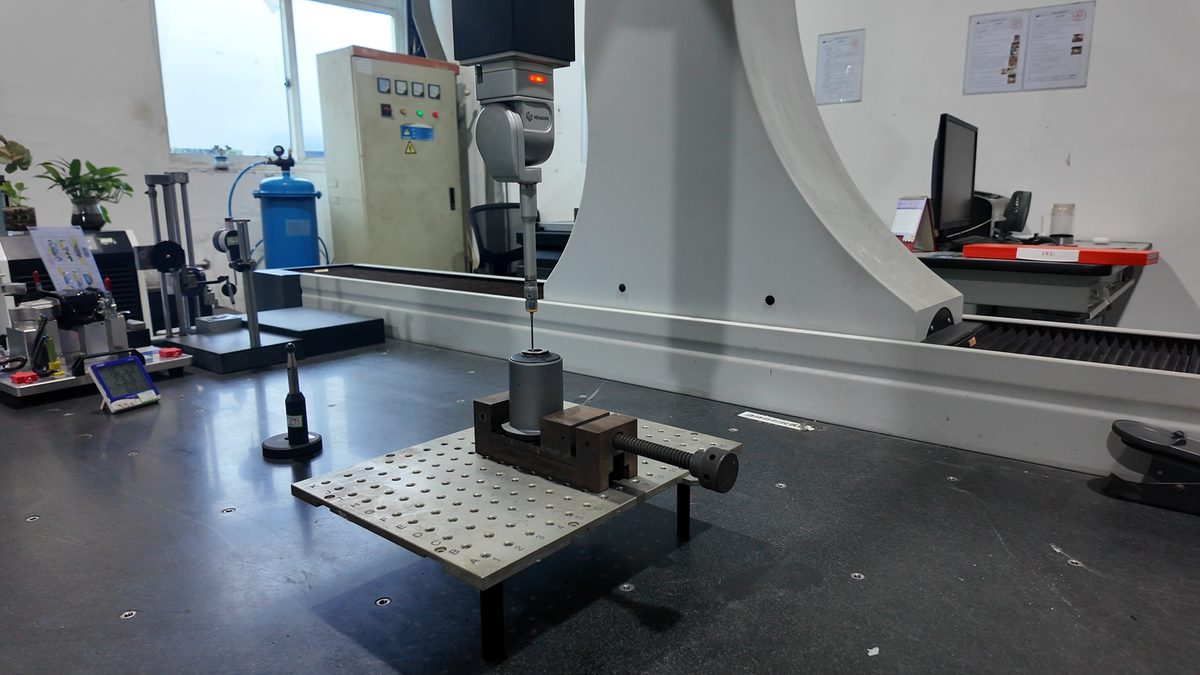
Close the qualification with a documented scorecard that ties each finding to a corrective action owner and a due date, then re-audit the open items before releasing the purchase order. A supplier who clears the certificate check but cannot trace a heat number, cannot show burr measurement across a run, or treats Level 1 PPAP as permission to skip validation is not qualified — regardless of quoted price or lead time. Technical verification at this stage is the only leverage you have before volume production makes every defect a containment event.
Key Takeaways
- Certification is the entry ticket, not the sole qualification. Confirm IATF 16949 certification status in the official database, verify the scope names stamping and welding, and audit closed corrective actions for effectiveness evidence rather than closure signatures.
- Traceability must run coil to finished part, in both directions. The supplier should produce a heat number for any shipped part, and identify every part made from any given heat, within minutes.
- Burr height is a measured characteristic with a specification, a gauge, and a sampling frequency — write it into the control plan and require checks at the start, middle, and end of each run so die wear surfaces before rejects do.
- PPAP level governs reporting depth, never validation depth. Mandate Level 3 for safety-critical stamped parts and confirm that full PFMEA, MSA, and capability studies exist at every level.
- Die life is a number, not a promise. A supplier who cannot quote a stroke-count die life for a comparable tool is not tracking tool wear.

Apply these five steps as a single sequence rather than a menu. Each one exposes a different failure mode, and a gap in any of them carries through to the production line.
Already shortlisting suppliers and want to see how these criteria play out across different stamping partners? Our comparison of automotive stamping suppliers applies the same scoring framework to named suppliers, while this guide covers the audit you run once you have a shortlist.
For parts where tool design and forming behavior drive the risk, work with a manufacturer that controls both the engineering and the press. Shaoyi provides end-to-end CAE design, in-house die design and build, and IATF 16949-certified production for stamped chassis and suspension components — certification number 0532672, valid through 22 July 2027, verifiable against the same IATF database named in Step 1 — with custom automotive stamping from prototype through volume. Our quality management system covers the full PPAP evidence chain described above.
Bring a technical drawing and a target production volume to a technical consultation to review formability, burr specification, and PPAP scope before tooling is committed — send us your drawing and our team will respond with a technical analysis.