 Small batches, high standards. Our rapid prototyping service makes validation faster and easier —

Aluminum Metal Stamping: From Alloy Choices To Zero Defects
Aluminum Metal Stamping Fundamentals Made Clear
Ever wondered how lightweight, corrosion-resistant parts in cars, laptops, or appliances are made so efficiently? The answer often lies in aluminum metal stamping—a process that transforms flat aluminum sheet into complex, functional shapes at high speed and scale. Let’s break down what is metal stamping for aluminum, why it’s different from other metals, and how you can use its strengths for your designs.
What Is Metal Stamping for Aluminum?
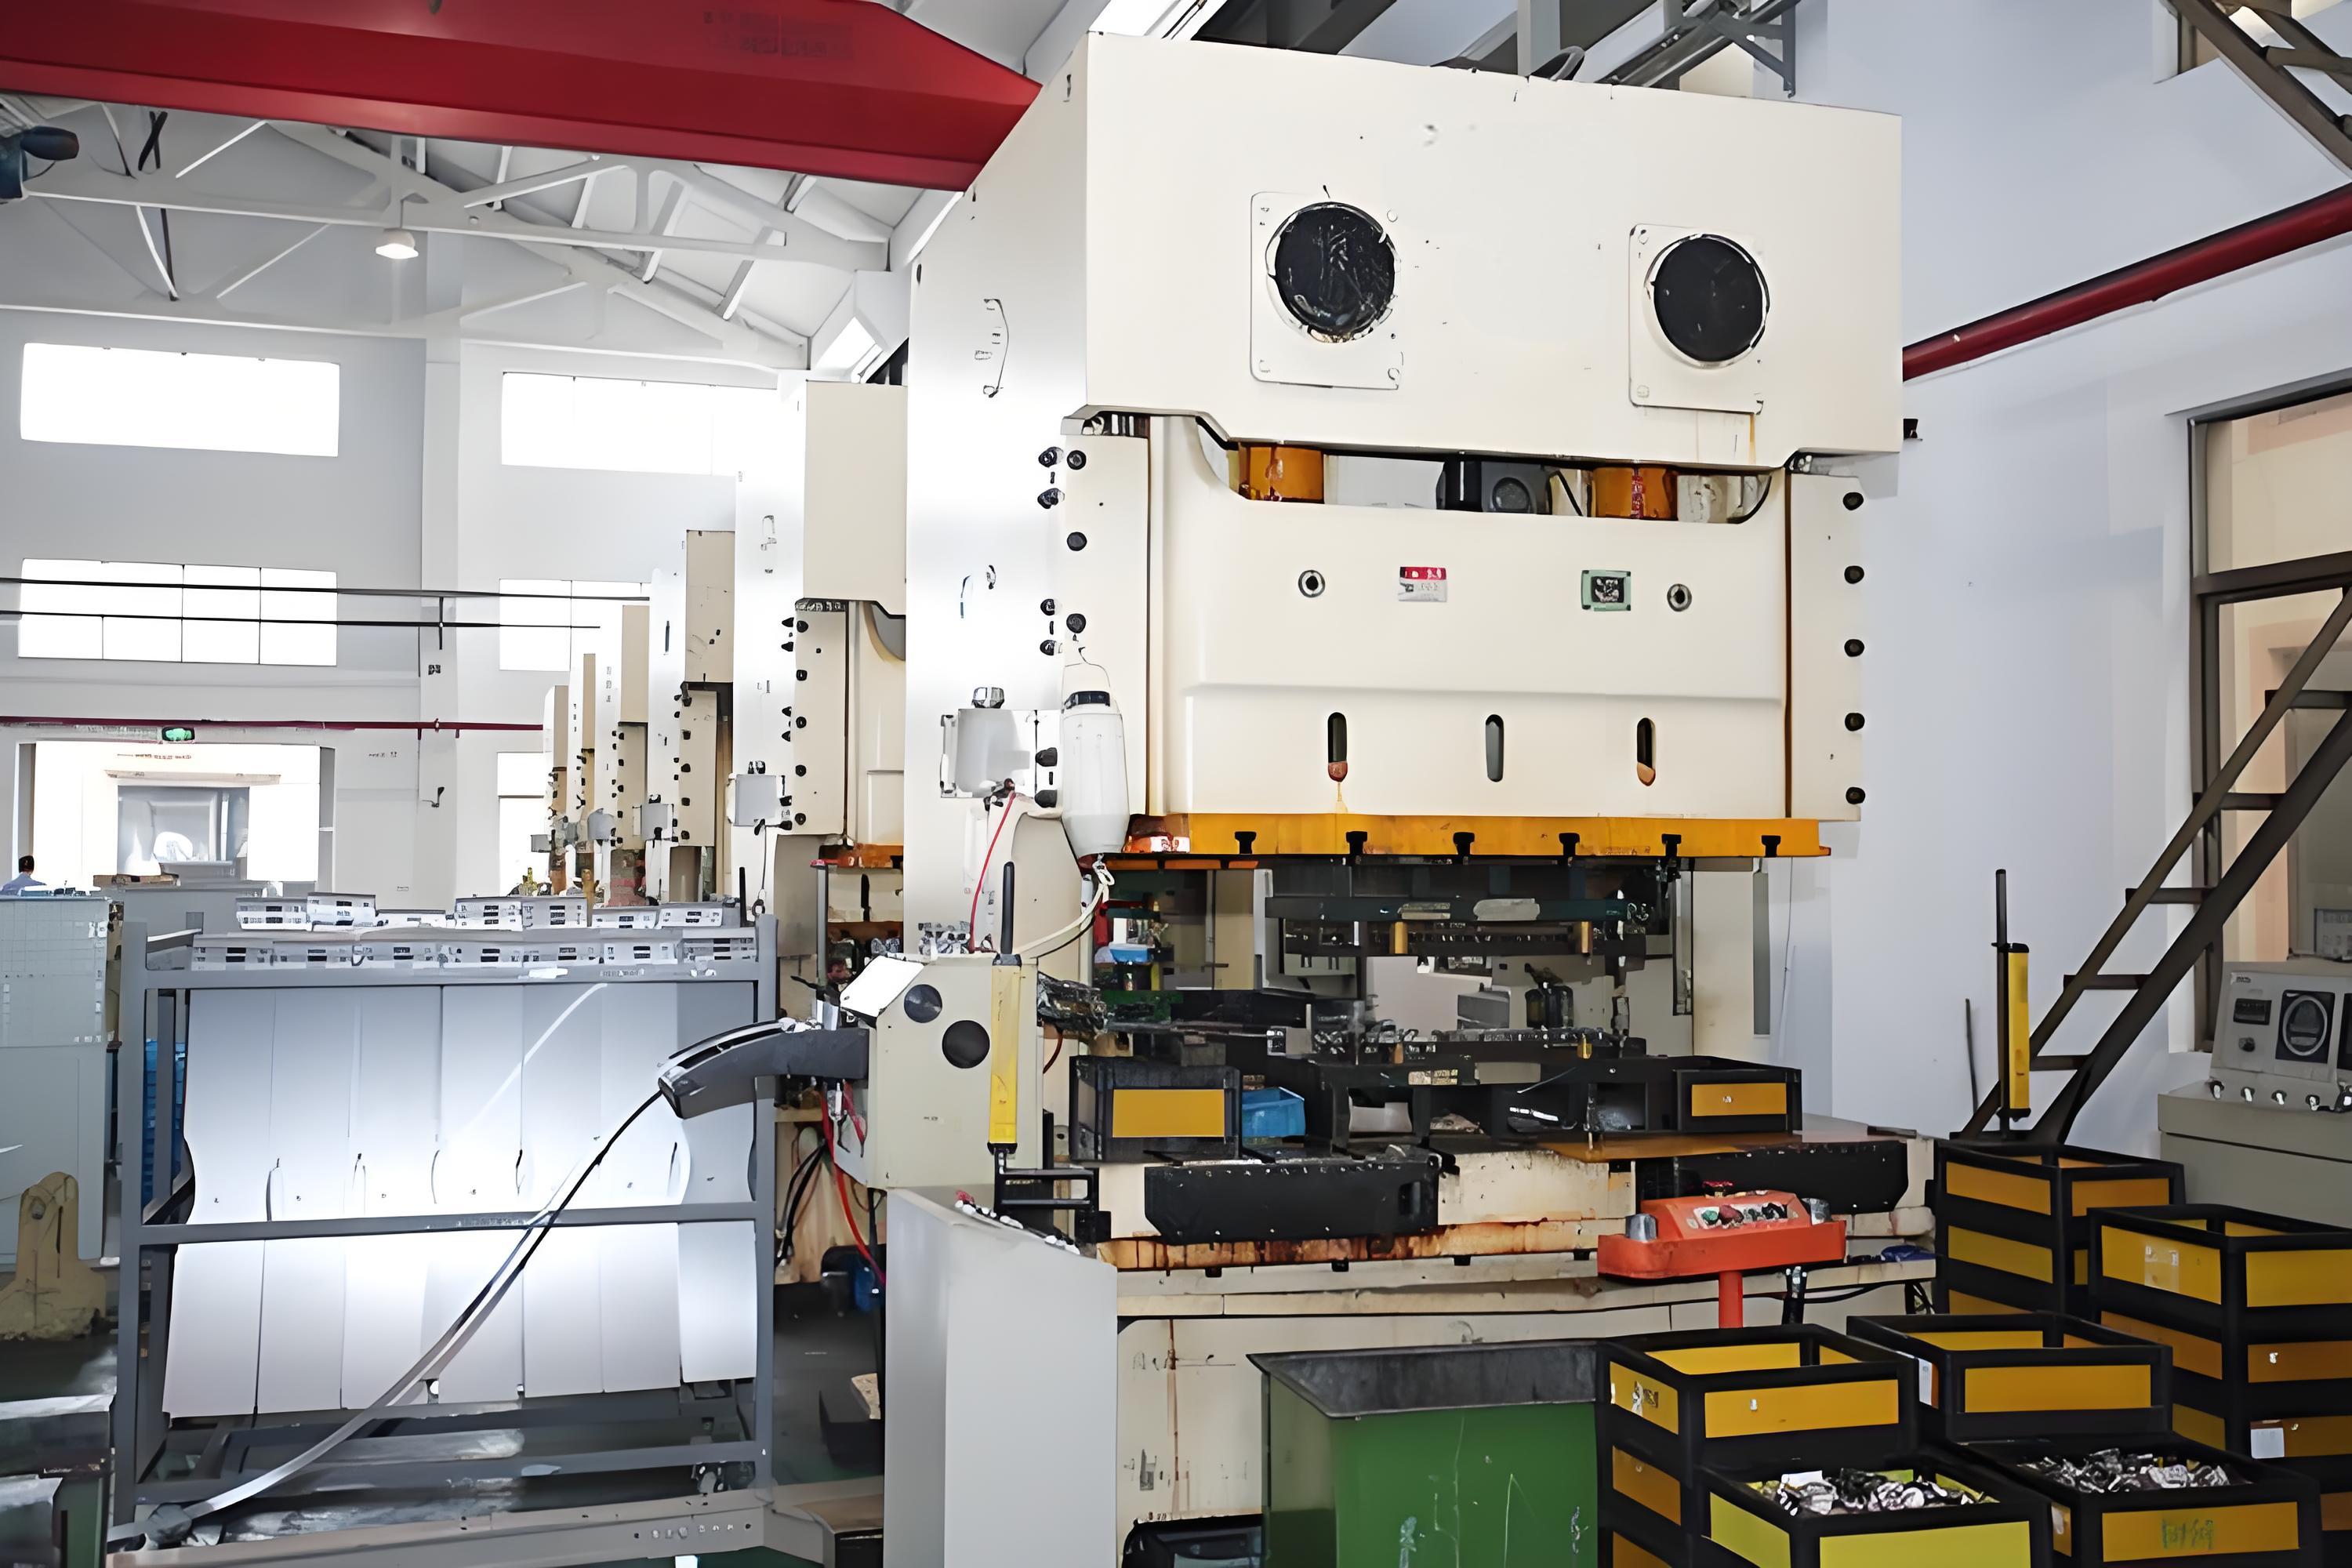
At its core, aluminum metal stamping uses high-pressure dies and presses to cut, shape, and form aluminum sheet into precise components. Unlike casting or machining, stamping is a cold-forming process—meaning no melting or extensive material removal is needed. This makes it ideal for high-volume, repeatable production of parts with consistent quality. If you’re asking, “how do you stamp metal?” the answer for aluminum involves a careful balance of pressure, die design, and material selection to account for aluminum’s unique ductility and tendency to gall (stick to tooling).
Core Operations From Blanking to Deep Drawing
To fully understand sheet metal stamping with aluminum, it’s helpful to know the main operations and how they interact with the metal’s properties:
- Blanking: Cutting flat shapes from sheet. Aluminum’s softness means burrs or rough edges can form if die clearance isn’t optimized. Press pressure must match sheet thickness for clean cuts.
- Piercing: Punching holes or openings. Aluminum’s flexibility requires careful pressure control; too much can cause deformation or cracks around the hole.
- Bending: Forming angles or curves. Aluminum’s high ductility allows tight bends, but springback (the metal returning toward its original shape) is common. A bend radius of at least 1.5× the sheet thickness is recommended to prevent cracking.
- Coining: Pressing logos or textures into the surface. This operation creates durable, detailed features without changing sheet thickness, but requires smooth dies to avoid surface defects.
- Deep Drawing: Pulling sheet into deep or complex shapes (like cups or housings). Aluminum’s formability is an advantage here, but controlling speed and pressure is key to avoid tearing or wrinkling.
Why Choose Stamped Metal for Lightweight Designs?
So, why use aluminum stamping instead of steel or other metals? Here’s where aluminum shines:
- Weight Reduction: Aluminum is about one-third the weight of steel, making it essential for fuel efficiency in automotive and aerospace applications.
- Corrosion Resistance: Its natural oxide layer protects against rust, even without coatings—unlike steel, which needs painting or plating.
- Fast Cycle Times: Stamping is rapid and repeatable, supporting high-volume production with minimal waste.
- Scalability: Once dies are made, stamping can produce millions of identical parts, from small electronics to large body panels.
However, aluminum metal stamping comes with specific design and process constraints. Aluminum’s softness makes it prone to surface scratches and edge burrs, and its ductility means springback or distortion can occur if tooling isn’t dialed in. Compared to steels, aluminum also requires different lubricants and careful cleaning to prevent galling and surface defects.
Key takeaway: The success of aluminum stamping depends on matching the right process (blanking, bending, drawing, etc.), alloy, and temper to your part’s design and performance needs. Always reference industry standards like the Aluminum Association for alloy conventions and the Precision Metalforming Association for process definitions.
Understanding these fundamentals gives you a shared vocabulary and a mental map of the process steps—so whether you’re designing, sourcing, or troubleshooting, you know exactly what’s involved when someone asks, “how do you stamp metal?”
Selecting Alloys and Tempers for Success in Aluminum Metal Stamping
When you look at a stamped aluminum part—whether it’s a sleek appliance panel or a lightweight automotive bracket—you’re seeing the result of careful alloy and temper selection. Sounds complex? It doesn’t have to be. Let’s break down how to choose the right metal stamping materials for your next project, focusing on the properties, trade-offs, and finishing options that matter most.
Common Alloys and Tempers for Stamped Aluminum
Not all aluminum is created equal. In aluminum metal stamping, the most common alloys come from the 1xxx, 3xxx, 5xxx, and 6xxx series. Each offers a distinct blend of formability, strength, and corrosion resistance. Here’s a quick overview to help you compare:
| Alloy | Typical Tempers | Formability | Strength Class | Corrosion Resistance | Typical Use-Cases |
|---|---|---|---|---|---|
| 1100 (1xxx) | O, H14 | Excellent | Low | Excellent | Decorative trim, deep-drawn parts, reflectors |
| 3003 (3xxx) | O, H14, H16 | Very Good | Moderate | Very Good | Kitchenware, HVAC fins, chemical equipment |
| 5052 (5xxx) | H32, H34 | Good | High (non-heat-treatable) | Excellent (marine grade) | Automotive panels, marine hardware, appliance housings |
| 6061 (6xxx) | T4, T6 | Fair (in T6) | High (heat-treatable) | Good | Structural parts, automotive frames, electronics |
Trade-Offs Between Formability and Strength
Imagine you need a component that’s both strong and easy to shape. That’s where understanding alloy families and tempers is key. The 1xxx and 3xxx series (like 1100 and 3003) are highly formable, making them ideal for deep drawing or complex bends, but they offer lower strength. The 5xxx series, especially 5052 aluminum stamping, strikes a balance—good formability with higher strength and exceptional corrosion resistance, perfect for marine and automotive uses. The 6xxx series (like 6061), while strong and versatile, often requires heat treatment and may not be as easy to form in the T6 temper, so it’s chosen for parts where strength outweighs the need for deep forming.
- 1xxx/3xxx: Choose for parts needing intricate shapes or deep draws.
- 5xxx: Best for moderate forming and high strength, especially in environments exposed to moisture or salt.
- 6xxx: Use when structural strength is a priority, but plan for additional forming steps or temper adjustments.
When selecting sheet metal for stamping, always weigh the forming requirements against the final strength needed in your application.
Choosing for Anodizing, Painting, or Bare Finish
Finish matters—both for looks and longevity. Some alloys, like 5052 and 6061, take well to anodizing, which enhances corrosion resistance and offers a sleek appearance. If you’re planning to paint or powder coat, surface preparation is simpler with non-heat-treatable alloys (1xxx, 3xxx, 5xxx) due to their consistent surface quality. For applications where the natural aluminum look is preferred, 1xxx and 3xxx offer a bright, reflective finish straight from the press.
- Anodizing: 5052, 6061 (after proper surface prep)
- Painting/Powder Coating: 3003, 5052
- Bare Finish: 1100, 3003
Think ahead about the end-use environment and appearance—these factors will guide your alloy and temper choice, ensuring your sheet metal for stamping delivers on both performance and finish expectations.
Key takeaway: Alloy selection isn’t just about strength—it’s about matching formability, corrosion resistance, and finish options to your exact needs. The right combination ensures your stamped part meets performance, cost, and appearance goals.
With your alloy and temper chosen, the next step is understanding the process flow and tooling that make the most of your material—let’s explore that next.
Process Flow and Tooling That Fit Aluminum
When you’re planning a new aluminum stamping process, you’ll quickly realize that every step— from blanking to final inspection— hinges on the right tooling and workflow. Imagine you’re designing a lightweight automotive bracket or an intricate electronics housing: the setup you choose will shape your part’s cost, quality, and scalability. Let’s walk through the full sheet metal stamping process for aluminum, highlight the best tooling choices, and share practical tips for avoiding common pitfalls.
Process Flow From Blanks to Finished Stampings
Sounds complex? Here’s a scannable breakdown of the typical aluminum stamping process, so you can see where each operation and tool fits in:
- Part Design & Material Selection: Define geometry, tolerances, and select the aluminum alloy and temper best suited for your application.
- Blank Preparation: Cut aluminum sheet to the required blank size, using precise blanking dies to avoid edge defects.
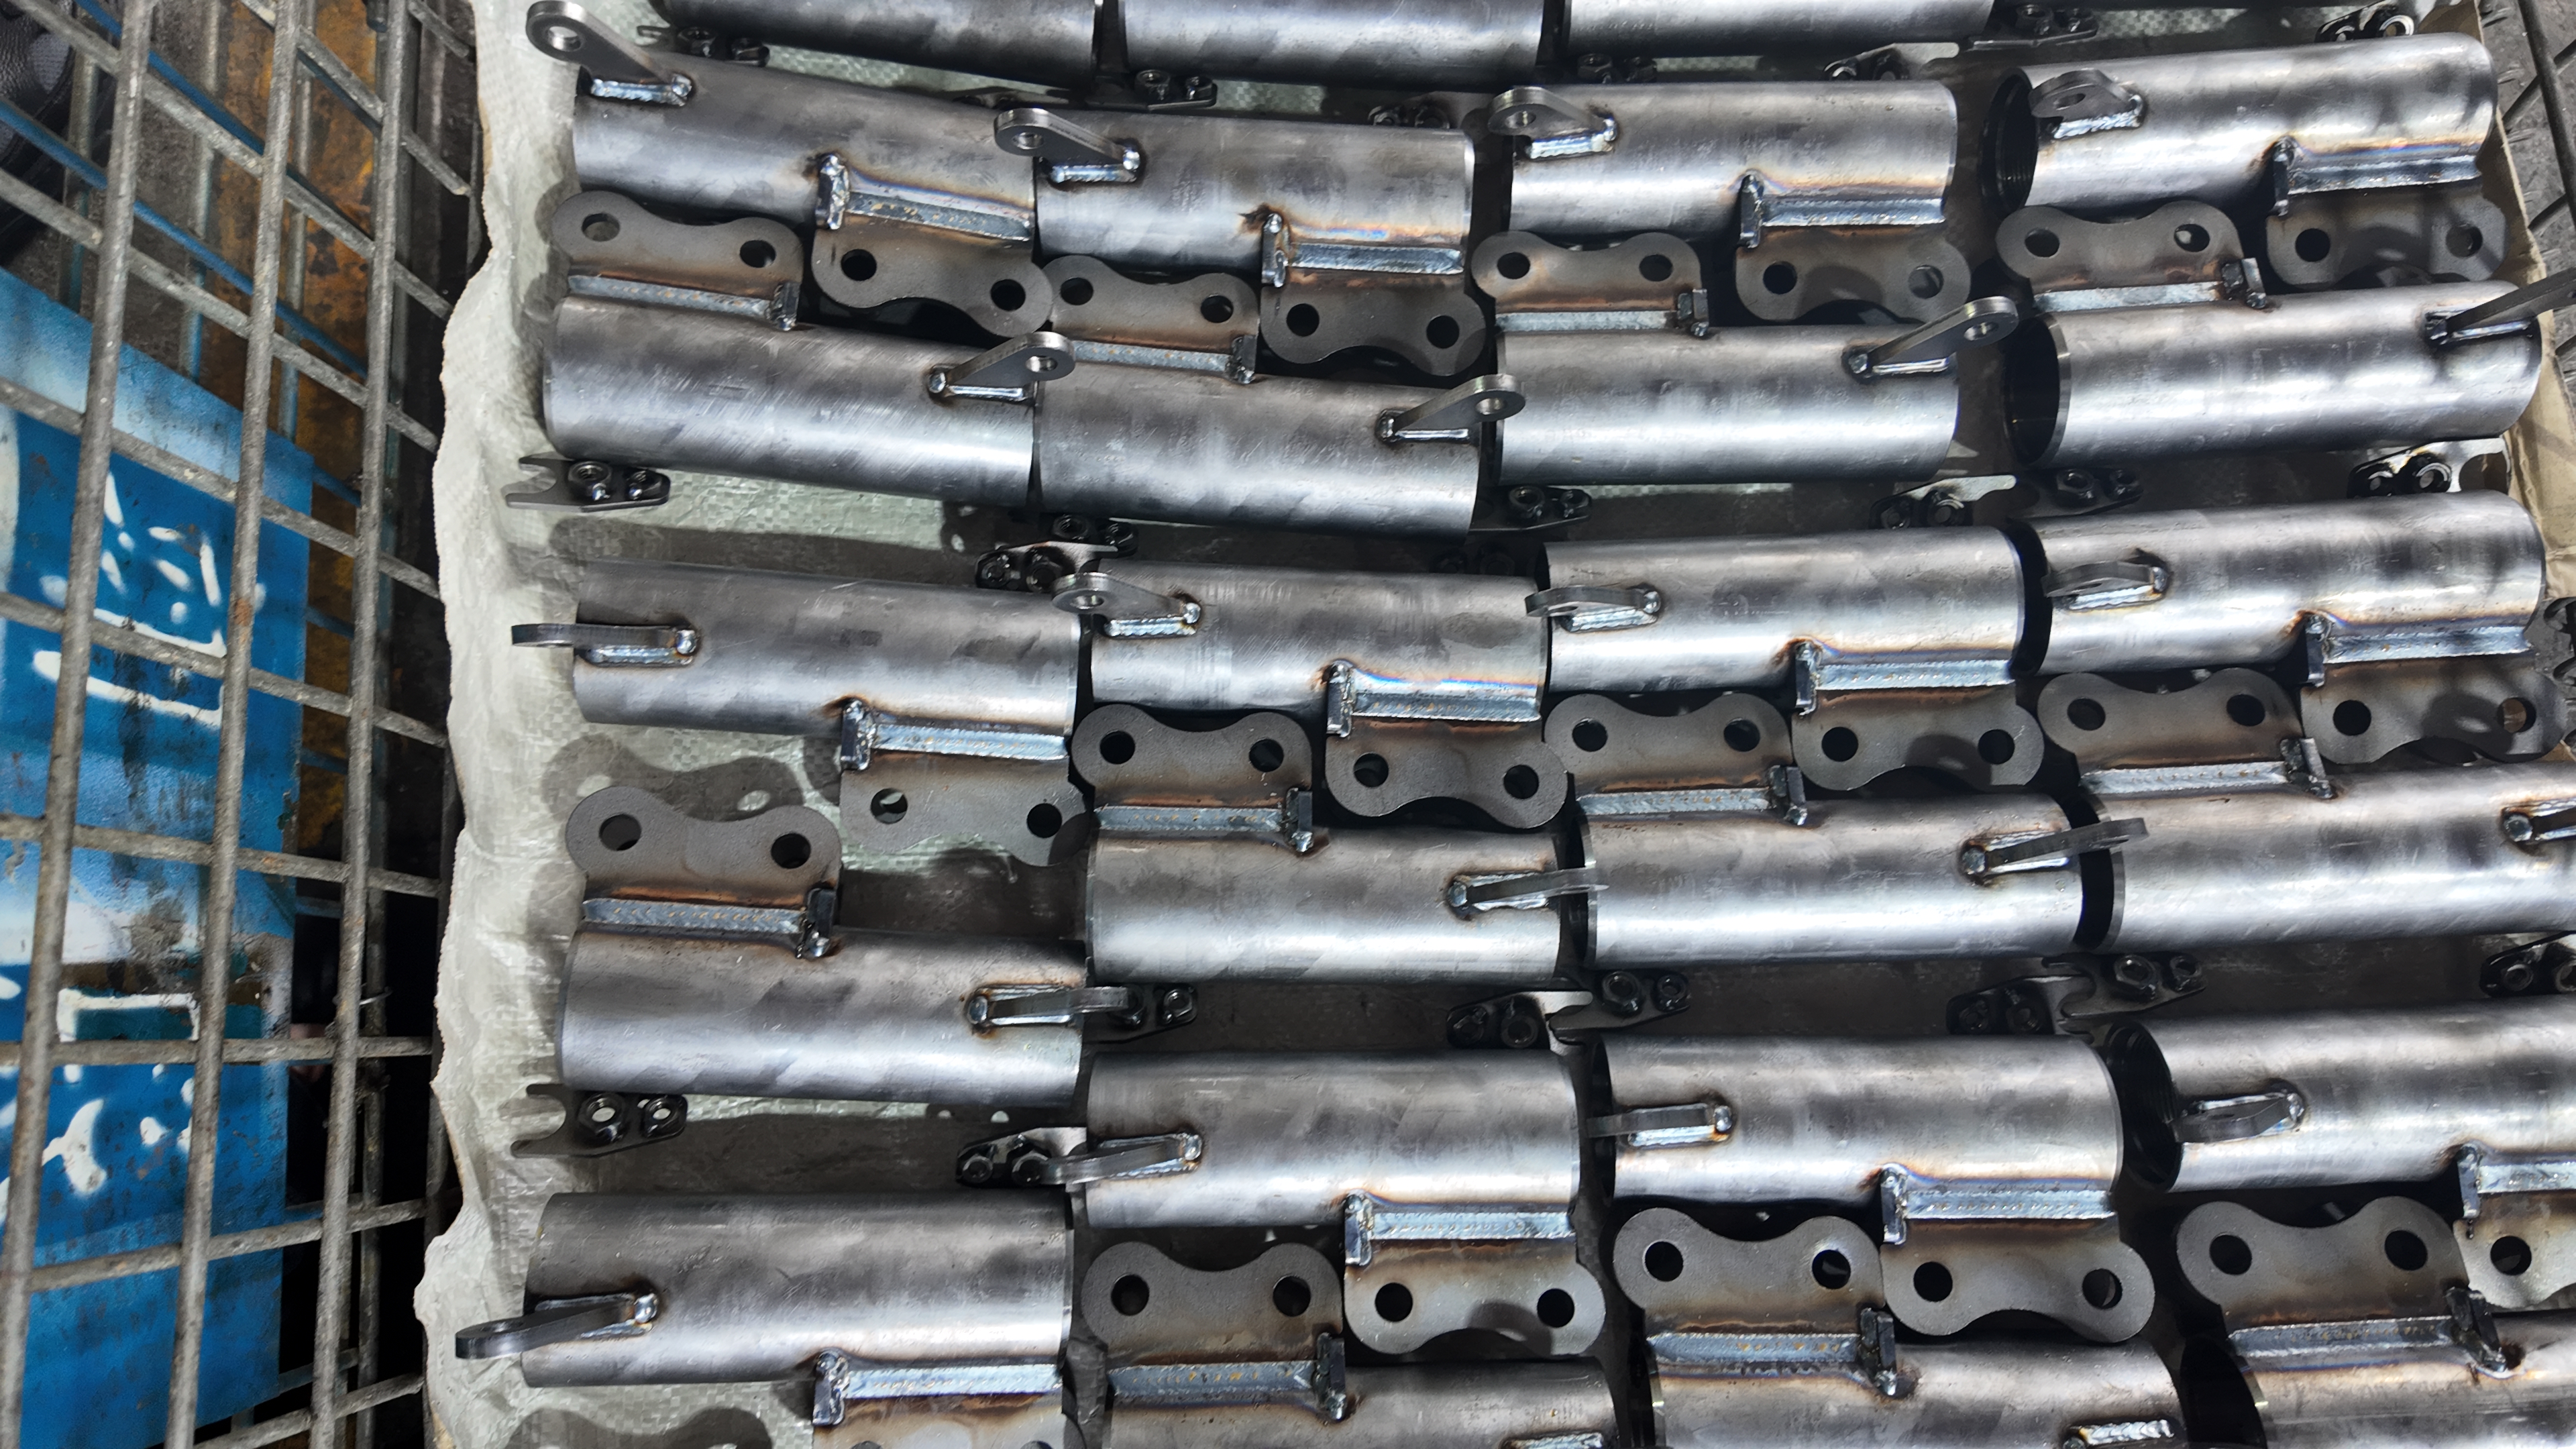
- Primary Stamping Operations: Depending on part complexity and volume, choose from progressive, transfer, line, or multislide stamping setups (see table below for details).
- Secondary Operations: Perform additional steps like piercing, flanging, or coining using specialized aluminum stamping dies and tools.
- Surface Finishing: Clean, deburr, and apply any required surface treatments such as anodizing or powder coating.
- Inspection & Quality Control: Check dimensional accuracy and surface quality before moving to assembly or shipping.
Comparing Aluminum Stamping Die Setups
How do you decide which aluminum stamping process fits your needs? It comes down to part geometry, production volume, and tolerances. Here’s a quick comparison of common die types:
| Die Type | Typical Use-Cases | Changeover Complexity | Scalability |
|---|---|---|---|
| Progressive Die | High-volume, multi-step parts (e.g., connectors, brackets) | Low (once set up, minimal changeover) | Excellent for mass production |
| Transfer Die | Large, complex parts needing multiple forming stages (e.g., automotive panels) | Medium (mechanical transfer setup required) | Good for medium to high volumes |
| Line Die | Simple or large parts, low to moderate volume | High (manual or semi-automatic part movement) | Flexible for prototyping or low runs |
| Multislide/Four-slide | Intricate, multi-bend small parts (e.g., clips, springs) | Medium to high (tooling is complex, but fast for repeat jobs) | Ideal for complex, high-volume small parts |
Choosing the right setup for your aluminum stamping process isn’t just about speed—it’s about matching the die technology to your design’s complexity and your production goals.
Die Design and Coatings to Reduce Galling
Aluminum’s softness and tendency to stick to tooling (galling) make die material and coatings critical in aluminum stamping dies. Tool steels like D2 or powdered metals are common, but coatings such as titanium nitride (TiN) or chromium can dramatically reduce friction and wear. Proper die clearance is also essential—too tight, and you’ll see galling or tearing; too loose, and burrs or poor edge quality will result. For softer alloys (like 3xxx), slightly larger clearances may be needed compared to steel to prevent edge damage.
Lubrication Strategies for Aluminum Stamping Tools
When it comes to aluminum stamping, the right lubricant can be the difference between smooth production and costly downtime. Here’s what you should look for:
- Oil-free or fully synthetic: Reduces residue and eases cleaning for post-stamping processes.
- Chlorine-free, water-soluble: Safer for operators and the environment, while still providing extreme pressure (EP) protection.
- Corrosion inhibitors: Prevent staining or pitting of the aluminum surface during and after stamping.
- Low viscosity: Promotes good sheet metal flow and minimizes galling.
For deep-draw or high-formability operations, emulsions with good boundary film properties are recommended. Always test lubricants for compatibility with your chosen alloy and any downstream finishing steps.
Press Selection and Tonnage Methodology
Wondering how to size your press for aluminum stamping? While each application is unique, the required tonnage is primarily a function of:
- Shear Area: The total length of cut multiplied by the sheet thickness.
- Alloy Strength: Softer alloys require less force; harder or thicker materials need more.
- Forming Complexity: Deep draws or multiple bends increase required tonnage.
Mechanical, hydraulic, and servo presses are all suitable for aluminum stamping—choose based on the speed, stroke control, and force consistency your part demands. Progressive and transfer dies typically benefit from high-speed mechanical presses, while deep drawing may call for the precise control of a hydraulic press.
Key takeaway: Successful aluminum stamping hinges on matching die type, tooling material, coatings, and lubrication to your part’s geometry and production scale. Investing up front in the right aluminum stamping dies and process flow sets the stage for repeatable quality and fewer production headaches.
With the process and tooling mapped out, your next step is to design for manufacturability—tuning every detail to prevent defects and ensure smooth production. Let’s dive into practical DFM rules and springback control next.
Practical DFM Rules and Springback Playbook for Stamped Sheet Metal
Ever had a stamped part that looked perfect on screen but failed on the shop floor? That’s where robust Design for Manufacturability (DFM) comes in—especially for stamped sheet metal and aluminum alloys. Let’s walk through a plant-ready checklist and practical springback strategies so your designs move smoothly from CAD to production, minimizing costly surprises.
DFM Checklist for Stamped Sheet Aluminum
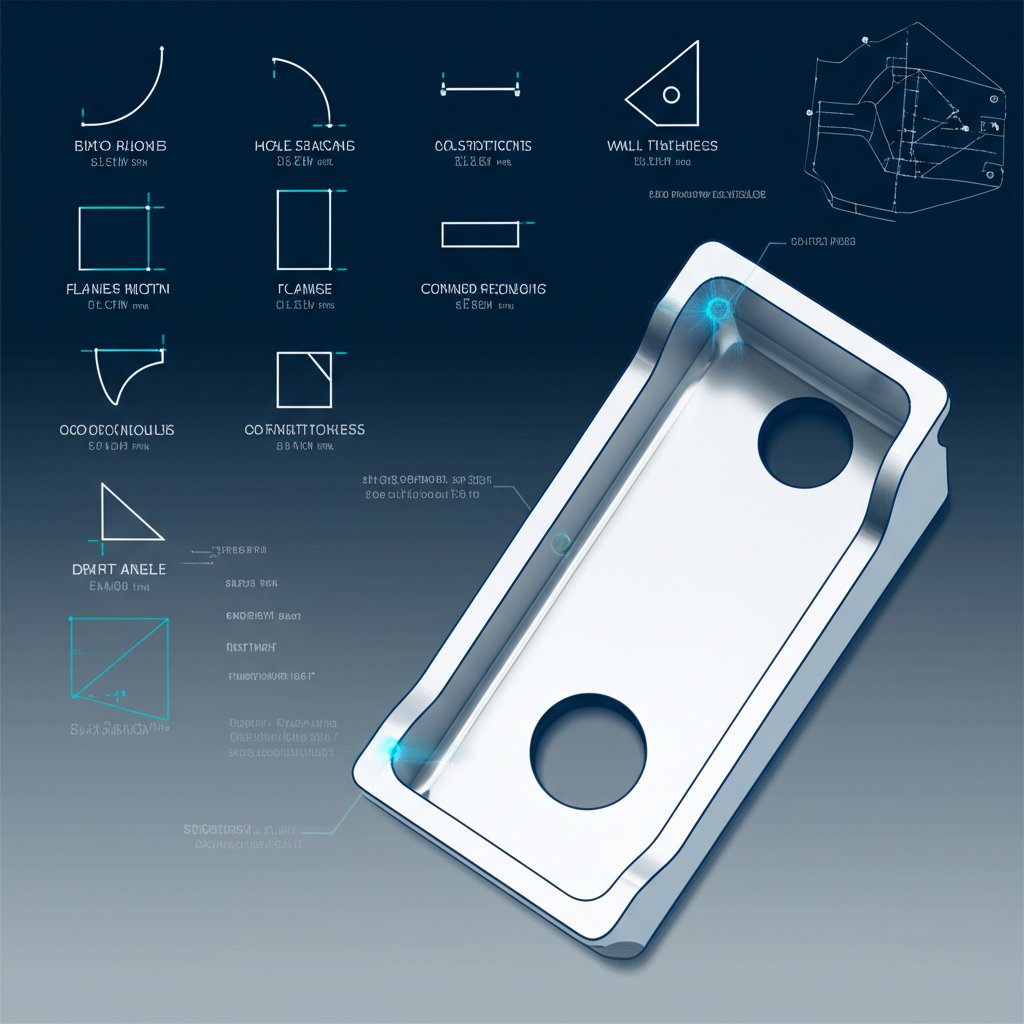
Before releasing your next stamping sheet metal design, run it through this DFM rules table. These guidelines, drawn from trusted industry sources, help ensure manufacturability and reduce trial-and-error on the shop floor. Where numeric values are provided, they’re based on reference standards—otherwise, fill in with your plant’s specifics.
| Design Rule | Recommended Value | Influencing Variables |
|---|---|---|
| Minimum hole diameter | ≥ 1.2 × sheet thickness | Alloy, temper, thickness |
| Minimum slot width | ≥ 1.5 × sheet thickness | Alloy, temper, thickness |
| Hole to edge distance | ≥ 2 × sheet thickness | Alloy, temper, thickness |
| Hole to bend distance | 2.5 × thickness + bend radius | Bend radius, thickness, alloy |
| Minimum flange width | ≥ 4 × sheet thickness | Alloy, temper, feature size |
| Recommended inside bend radius | Soft alloys: ≥ 1 × thickness; 6061-T6: ≥ 4 × thickness | Alloy, temper |
| Emboss depth (max) | ≤ 3 × sheet thickness | Alloy, feature geometry |
| Bend relief width | ≥ 0.5 × sheet thickness | Alloy, thickness |
| Feature-dependent, requires supplier consultation | Consult plant standards | Feature size, sheet thickness |
| Pilot/locator hole strategy | Use self-locating features where possible to reduce fixture costs | Assembly requirements |
Remember: these are starting points. Always consult your manufacturer for fine-tuning, especially when working with new alloys or unfamiliar processes. And don’t forget to account for coatings—powder coat and anodize can alter final part dimensions and must be factored into your tolerances and fit-ups (FiveFlute).
Springback Control and Compensation Tactics
Ever bent a piece of aluminum and watched it flex back? That’s springback—a common challenge in stamped parts, especially with ductile alloys. If you ignore it, parts may not meet spec after forming. But with the right tactics, you can design around it:
- Overbend: Intentionally bend past the target angle to allow for elastic recovery. The exact overbend depends on alloy, temper, and thickness—work with your plant to dial this in.
- Coin Relief: Use coining at the bend to locally thin and harden the material, reducing springback.
- Restrike: Apply a secondary forming operation to correct shape after initial springback.
- Draw-bead Tuning: Adjust draw bead placement and height to control material flow during forming, which helps manage springback in complex geometries.
According to industry experts, springback can’t be eliminated—but it can be predicted and compensated for by overforming and close collaboration with your manufacturer.
Feature Design Rules to Speed Tooling
Want to avoid delays in tooling and part approval? Stick to these best practices for stamped sheet metal features:
- Keep hole and slot sizes within standard punch tooling to reduce custom tool costs.
- Align features with material grain direction for better bend quality and reduced cracking—especially important for high-strength or heat-treated alloys.
- Use self-locating tabs, notches, or pilot holes to simplify assembly and reduce fixture complexity.
- Minimize tight tolerances unless functionally necessary; looser tolerances lower tooling wear and cost.
- Review for coating allowances and uncoated holding areas (for racking or grounding).
Drawing Review Gates: Your Pre-Release Checklist
- Are all feature sizes and spacings checked against DFM table?
- Is the feature sequence logical for forming and assembly?
- Are datum schemes and tolerances clearly defined?
- Have coating allowances and uncoated areas been specified?
- Is springback compensation documented in the design notes?
- Have plant-specific standards been reviewed and incorporated?
Key takeaway: Proactive DFM and springback planning up front means fewer headaches and less rework later. The more you collaborate with your stamping partner, the more robust and cost-effective your stamped parts will be.
With these DFM rules and springback strategies in hand, you’re ready to tackle tolerancing and accuracy—ensuring that every stamped part meets spec, every time.
Tolerancing and Accuracy Expectations for Stamped Aluminum Sheet Metal
When you design metal stamped parts, you might wonder: how tight can my tolerances really be? Why do some stamped aluminum sheet metal components fit perfectly, while others need costly rework? The answer lies in understanding the factors that drive dimensional accuracy at every step of aluminum metal stamping.
Tolerance Capability by Stamping Operation
Not all stamping operations deliver the same level of precision. Let’s break down typical tolerance bands by process, using qualitative ranges based on industry standards and reference data:
| Operation Type | Typical Tolerance Band | Key Influencing Factors | Recommended Controls |
|---|---|---|---|
| Blanking/Piercing | ±0.1mm to ±0.5mm | Die clearance, sheet thickness, press alignment | Precision-ground dies, routine die maintenance, tight press calibration |
| Bending/Forming | ±0.4mm to ±0.8mm (linear) ±0.5° (angular) |
Material springback, die radius, part geometry | Springback compensation, controlled bend radii, overbend strategies |
| Deep Drawing | ±0.5mm or more (complex shapes) | Material ductility, lubrication, draw depth | Optimized lubricants, gradual forming, post-forming restrike |
| Coining/Embossing | ±0.05mm to ±0.1mm (local features) | Die surface finish, material hardness | High-polish dies, tight die fit, stable press force |
Keep in mind: achieving the tightest tolerances often increases tooling costs and may slow production. For most stamped components, balance precision with manufacturability and part function.
What Drives Variation in Aluminum Stampings?
Imagine two identical designs—one comes out perfect, the other slightly off. Why? Let’s look at the main sources of variation:
- Material Properties: Aluminum’s lower elastic modulus and higher thermal expansion mean it’s more prone to dimensional changes than steel. Consistent alloy batches and thickness control help minimize surprises.
- Die Quality and Maintenance: Worn or misaligned dies introduce burrs, warping, or size drift. Regular die inspection and polishing are essential.
- Press Rigidity and Calibration: Even a small misalignment or inconsistent press force can shift part dimensions. Automated sensing and scheduled press checks keep things on track.
- Lubrication: Insufficient or inconsistent lubrication causes friction, leading to uneven flow or wrinkling. Always match lubricant type to alloy and operation.
- Springback: After bending or forming, aluminum tends to rebound slightly. If not compensated for in die design, this leads to out-of-spec parts.
- Handling and Alignment: Automated part handling and precise fixturing reduce risk of distortion after stamping.
In short, every variable—from the sheet’s initial flatness to the last die strike—can affect your final tolerances. That’s why robust process control and regular equipment checks are non-negotiable for high-precision stamped aluminum sheet metal parts.
GD&T and Datum Strategies for Repeatability
How do you ensure your metal stamped parts are measured and built the same way every time? The answer is clear datums and practical GD&T (Geometric Dimensioning and Tolerancing):
- Datum Structure: Anchor critical dimensions to stable features—like a flat edge or mounting hole—that can be consistently located during both manufacturing and inspection.
- GD&T Callouts: Use position, flatness, and perpendicularity controls where repeatable fit is crucial, but avoid over-specifying. Simpler callouts speed inspection and reduce the need for advanced CMMs.
- In-Die Sensing: For critical features, in-die sensors can provide real-time feedback, catching dimensional drift before it becomes a batch issue.
- Post-Process Inspection: Use go/no-go gauges, vision systems, or CMMs for final checks, especially on safety-critical or tight-tolerance features.
Aligning on datum schemes early—ideally during DFM review—ensures everyone from toolmaker to inspector is working from the same reference points. This cuts confusion, reduces rework, and supports smoother PPAP (Production Part Approval Process) launches.
Key takeaway: Early agreement on tolerances, datum structure, and inspection strategy prevents costly tooling changes and keeps your stamped components on schedule. For numeric tolerance bands, always reference company or industry standards like ISO 2768 or ASME Y14.5—never guess or over-tighten without cause.
With a clear understanding of tolerancing and accuracy, you’re ready to explore the finishing and secondary operations that bring your stamped aluminum parts to life—covered in the next section.
Finishing and Secondary Operations That Matter for Stamped Aluminum Parts
When you hold a sleek, corrosion-resistant piece of stamped aluminum, you’re not just seeing the result of careful design and precision stamping. The true value often lies in the finishing and secondary operations that transform raw aluminium stampings into durable, assembly-ready components. Ever wondered why some parts look flawless and last for years, while others corrode, chip, or fail at the seams? The answer is in the details—let’s break down your options.
Choosing Finishes That Protect and Look Good
Imagine you’ve just completed a run of stamped aluminum parts. What comes next? The finish you choose affects not only appearance but also corrosion resistance, wear life, and downstream assembly. Here’s a quick guide to the most common finishing options for aluminium stampings:
- Anodizing: Creates a tough, protective oxide layer. Great for wear and corrosion resistance; allows for coloring. Best for architectural, automotive, and electronics applications.
- Powder Coating/Painting: Adds a thick, decorative, and protective layer. Wide color and texture choices. Requires a clean, prepped surface for strong adhesion.
- Electroplating: Deposits a thin metal layer (like nickel or chrome) for extra corrosion and wear resistance. Often needs a zinc base coat to help it bond to aluminum.
- Sandblasting: Roughens the surface for a matte finish and improved paint adhesion. Also used for decorative texturing.
- Polishing/Brushing: Achieves a shiny or textured surface for decorative parts. Brushing is often paired with anodizing to prevent quick oxidation.
| Finish Type | Corrosion Resistance | Aesthetic Quality | Reworkability | Assembly Compatibility |
|---|---|---|---|---|
| Anodizing | Excellent | Matte or colored, uniform | Difficult to rework | Very good (no buildup in holes) |
| Powder Coating | Very Good | Glossy, textured, or matte | Can be stripped and recoated | Check fit in tight assemblies |
| Electroplating | Good to Excellent | Bright, metallic | Rework possible but costly | May affect electrical grounding |
| Polishing/Brushing | Low (unless sealed) | High gloss or decorative lines | Easy to re-polish | Best for visible, non-structural parts |
Tip: Always consult your supplier’s specifications for required coating thickness or pretreatment steps, as these can impact fit and function.
Fasteners and Joining Options for Stamped Aluminum
Once your aluminium stampings are finished, how do you assemble them? Aluminum’s unique properties mean you have several joining options—each with its own prep and finish implications (TWI Global):
- Self-clinching fasteners: Pressed into pre-punched holes, these create strong, flush joints. Surface finish must be clean; anodizing is best done after installation to avoid cracking.
- Rivets: Simple and reliable for overlapping joints. Use aluminum or compatible materials to avoid galvanic corrosion. Riveting after finishing is common, but masking may be needed to protect finishes.
- Weld nuts/studs: Welded onto the part for threaded connections. Surface oxidation must be removed before welding; welding can discolor or damage finishes, so plan sequence carefully.
- Adhesive bonding: Allows joining without holes or heat. Requires thorough surface cleaning, degreasing, and sometimes roughening or anodizing for best bond strength. Ideal for mixed-material assemblies or where appearance is key.
For strongest adhesive bonds, always remove the natural oxide layer and ensure surfaces are dry-fitted before applying adhesive. Combining adhesives with mechanical fasteners can boost both strength and sealing.
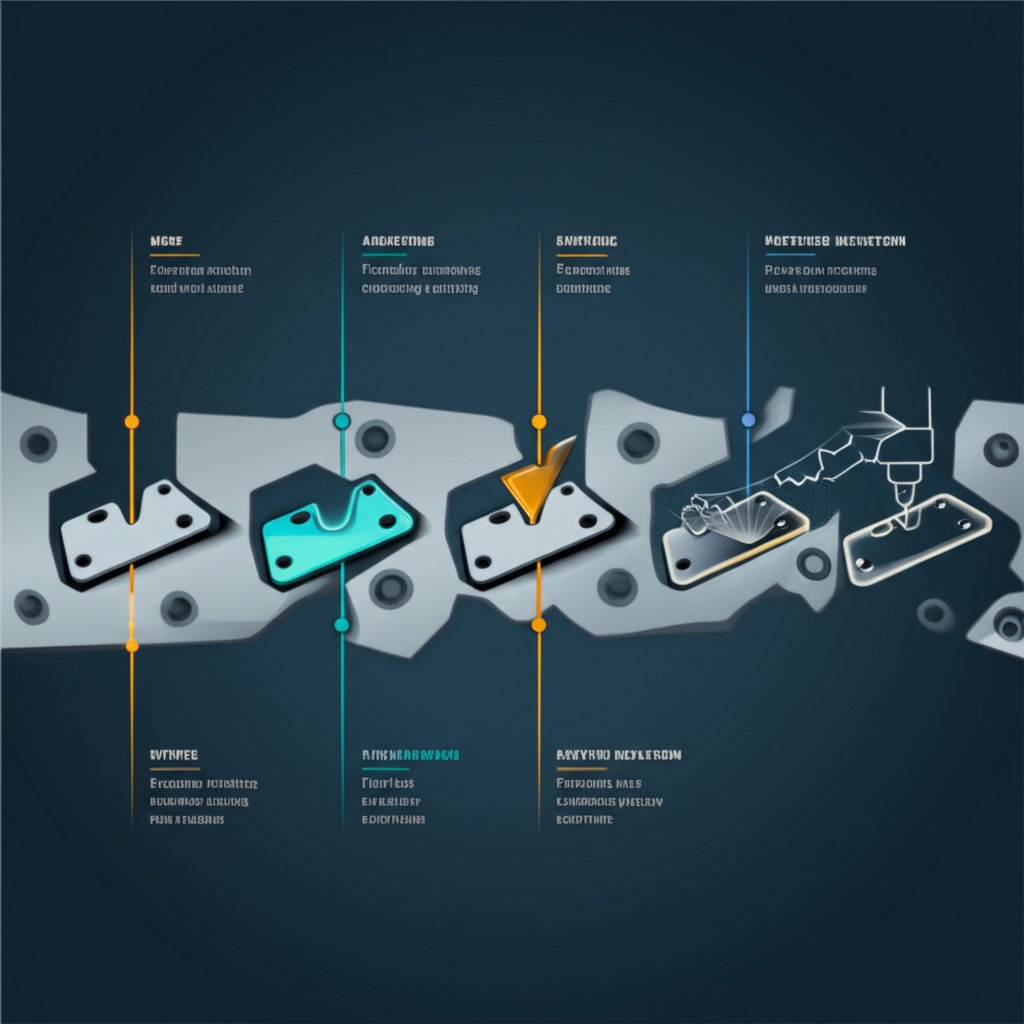
Process Flow From Press to Final Finish
Let’s visualize how a typical stamped aluminum part moves from raw sheet to finished assembly:
- Stamping: Aluminum sheet is blanked, pierced, bent, and formed into shape.
- Cleaning: Parts are degreased and cleaned to remove lubricants and metal shavings—critical for finish adhesion.
- Deburring: Any edge burrs or roughness are removed by tumbling, brushing, or manual finishing.
- Surface Pretreatment: Depending on final finish, this may include etching, sandblasting, or anodizing prep.
- Finishing: Apply chosen finish (anodize, powder coat, plating, etc.).
- Fastener Insertion/Joining: Install self-clinching fasteners, rivets, or adhesive bonds as needed.
- Secondary Forming/Restrike: If required, perform additional forming to correct any distortion from finishing or joining.
- Final Inspection & Assembly: Check dimensions, finish quality, and assemble into the end product.
Key takeaway: The right finishing and joining sequence protects your stamped aluminum parts from corrosion, ensures a flawless look, and streamlines assembly. Always plan your secondary operations with both performance and appearance in mind.
With your finishing and joining strategy set, you’ll be well-positioned to spot and solve defects before they reach the customer—a topic we’ll tackle in the next section on troubleshooting aluminum stampings.
Troubleshooting Aluminum Stamping Defects
Ever wondered why some aluminum stampings come out flawless, while others show wrinkles, tears, or stubborn burrs? Imagine running a high-volume line only to spot splits or galling halfway through your batch. Sounds stressful? Let’s break down the most common issues in stamping aluminum, link each symptom to its likely root cause, and show you how to fix them fast—before they cost you time and money.
Root Cause Playbook for Common Defects
Here’s a table to help you quickly diagnose and resolve the most frequent defects in aluminum metal stamping. Use this as your first stop when troubleshooting on the shop floor.
| Symptom | Probable Root Causes | Fast Checks | Corrective Actions |
|---|---|---|---|
| Wrinkling | Insufficient blank holder force, excessive material flow, low die clearance | Check blank holder pressure; inspect die gap | Increase holder force; adjust die clearance; add draw beads if needed |
| Tearing/Splits | Too much forming strain, sharp radii, low lubricant effectiveness | Inspect bend radii; review lubricant application | Increase bend radius; use higher-performance automotive aluminum stamping lubricants; slow forming speed |
| Galling (Material Sticking) | Poor die surface finish, inadequate lubrication, tight clearances | Check die polish; verify lubricant type and application | Polish or re-coat die; switch to water-soluble or synthetic lubricant; increase clearance slightly |
| Burr Formation | Worn or misaligned cutting edges, improper die clearance | Inspect punch and die edges; measure die gap | Regrind or replace cutting edges; Typically, the gap ranges from 5% to 15% of the material thickness. Softer alloys (such as 1xxx and 3xxx series) may require a smaller gap, while harder alloys (such as 6xxx series) require a larger gap for optimal shearing. |
| Twist/Dimensional Drift | Uneven forming forces, inconsistent lubrication, die misalignment | Check press alignment; review lube coverage | Realign tooling; ensure even lubricant application; balance forming forces |
| Orange Peel Surface | Over-forming, coarse grain structure, low-quality die finish | Inspect formed area under magnification | Reduce forming depth; use finer die finish; select finer-grain alloy if possible |
| Edge Cracking | Sharp corners, insufficient bend radius, high strain rate | Review edge geometry; check forming speed | Increase radii; slow down forming; deburr edges pre-forming |
Quick Checks Before Adjusting the Die
Before making major die changes, run through these fast checks on your aluminum stampings:
- Lubrication: Is your lubricant covering all contact areas? Aluminum needs a thin, consistent layer—especially in deep draws and bends. Switch to a high-quality, water-soluble or synthetic lubricant for best results.
- Tool Cleanliness: Are dies and press beds free of aluminum shavings and debris? Clean tools daily to prevent buildup that can cause surface dents or blockages.
- Die Edge Condition: Are punch and die edges sharp and properly aligned? Worn edges create burrs and misalignment causes drift.
- Material Prep: Is the incoming aluminum sheet clean and free of surface contamination? Dirt and oxide buildup can cause scratching, galling, and poor welds.
- Press Settings: Are pressure and stroke rates matched to the alloy and thickness? Too much speed or force often leads to splits or distortion.
When to Modify Process vs. Redesign
Sometimes, quick fixes aren’t enough. Here’s how to know when to adjust your process or rethink your part design:
- Modify Process: If defects are minor or sporadic, start by tweaking lubrication, die clearance, press speed, or blank holder force. Many issues—like galling or burrs—respond well to process adjustments or improved maintenance.
- Redesign: If you’re seeing chronic tearing, edge cracking, or unmanageable springback, it may be time to revisit your part geometry. Increase bend radii, add relief features, or switch to a more formable alloy or temper. For parts with many perforations, consider moving hole punching to a later stage or adding an extra operation.
Preventive Maintenance for Aluminum Stamping Tooling
- Clean upper and lower die surfaces daily to remove aluminum residue and shavings.
- Apply a thin layer of press lubricant before punching or blanking to aid heat dissipation and material flow.
- Inspect and regrind cutting edges regularly to minimize burrs and edge misalignment.
- Organize and clean press beds, assembly lines, and packaging areas to prevent foreign particle contamination.
- Address any signs of significant burrs or mold dents immediately—don’t let small issues escalate.
Key takeaway: Most defects in stamping aluminum can be traced to a handful of root causes: lubrication, die condition, and process parameters. Quick checks and preventive maintenance keep your line running smoothly and your defect rates low. For persistent issues, don’t hesitate to consult process handbooks or industry troubleshooting guides for deeper insights.
Armed with this troubleshooting toolkit, you’re ready to spot, diagnose, and resolve aluminum stamping defects—ensuring your next batch meets the highest standards. Next, we’ll explore how to choose the right manufacturing process when stamping isn’t the only option on the table.
Choosing Stamping Versus Alternative Processes for Aluminum Components
Imagine you’re developing a new product and weighing your options: Should you use aluminum metal stamping, or is another process—like extrusion, CNC machining, or die casting—a smarter choice? The decision isn’t always obvious. Let’s break down how to compare your options and choose the best path from sheet metal prototype to full-scale production.
When to Choose Stamping Over Alternatives
Stamped metal parts excel in high-volume, cost-sensitive applications where part geometry is relatively shallow and material thickness is consistent. But what if your design calls for thick walls, complex 3D features, or ultra-tight tolerances? Here’s how the main processes stack up for aluminum components, based on key decision factors:
| Process | Tooling Cost | Per-Piece Cost (Low/High Volume) | Design Complexity | Wall Thickness Control | Typical Tolerances | Material Options | Surface Finish | Best Use Cases |
|---|---|---|---|---|---|---|---|---|
| Aluminum Stamping | High (dies & setup) | High/Low (drops with volume) | Low to Medium (2.5D shapes, shallow draws) | Excellent for thin, uniform walls | Medium (±0.1–0.5mm typical) | Sheet alloys, limited thickness range | Good, can be anodized or coated | Automotive panels, brackets, enclosures, high-volume parts |
| Extrusion + Machining | Medium (die for extrusion, modest for machining) | Medium/Medium | Medium (constant cross-section, post-machining for details) | Excellent for long, uniform profiles | Medium to Tight (machining improves tolerance) | Wide range of alloys | Good as-extruded, excellent after machining or finishing | Frames, rails, heatsinks, custom profiles |
| CNC Machining (from Plate) | Low (no hard tooling) | High/Medium (costly at scale) | Very High (complex 3D, pockets, undercuts) | Excellent, any thickness | Very Tight (±0.01–0.05mm possible) | Almost any alloy/grade | Excellent, can be mirror-finished | Low-volume, prototypes, precision assemblies |
| Die Casting | Very High (molds & setup) | High/Low (best at very high volume) | High (complex 3D shapes, thin walls) | Good for thin, complex sections | Medium (±0.1–0.2mm typical) | Limited to castable alloys | Very good, but may need secondary finishing | Automotive housings, electronics, mass-market parts |
| Hydroforming | High (tooling & press) | Medium/Low | Medium to High (complex, deep shapes in sheet) | Good for seamless, variable-thickness forms | Medium (depends on pressure & tooling) | Sheet alloys | Good, but may need post-processing | Automotive body panels, aerospace |
| Additive Manufacturing | Low (no tooling) | High/High (slow, costly per part) | Very High (unlimited geometry) | Any (but rougher finish, porosity possible) | Loose to Medium (may need machining) | Growing range, but limited mechanicals | Rough as-printed, improved with post-processing | Prototypes, complex low-volume parts |
Design Features That Favor Each Process
- Stamped metal: Best for flat or shallow-formed parts, consistent wall thickness, and high-volume production. Think brackets, covers, or simple enclosures.
- Extrusion + machining: Ideal for long, straight profiles with uniform cross-sections—frames, rails, or heatsinks—where post-machining can add holes or slots.
- CNC machining: Go-to for intricate 3D shapes, pockets, or low-volume production where hard tooling isn’t justified. Perfect for sheet metal prototype runs or precision assemblies.
- Die casting: Choose when you need thin, complex 3D forms in high volumes, like housings or intricate covers.
- Hydroforming: Great for seamless, deep-drawn panels or parts with variable cross-sections.
- Additive manufacturing: Best for prototypes or parts with geometry impossible to stamp, cast, or machine—especially when you need it fast.
From Prototype to Scale: Choosing Smartly
Here’s a practical approach to picking the right process:
- Start with a sheet metal prototype using CNC machining or soft-tool stamping to validate form and function quickly.
- If your design is simple and volumes are high, transition to stamping metal for cost efficiency and speed.
- For complex, low-volume, or highly customized parts, stick with CNC machining or additive manufacturing to avoid tooling delays and costs.
- Always factor in finishing, assembly, and downstream needs—some processes may require more secondary operations to achieve the final product.
Key takeaway: Shallow, high-volume parts with simple geometry usually favor aluminum stamping, while thick, complex, or low-volume parts may point to die casting, CNC machining, or additive. Weigh your priorities—cost, speed, complexity, and finish—before committing to a process path. For more on process selection, see this research on aluminum process selection.
With a clear decision framework, you can confidently match your product’s needs to the best manufacturing process—ensuring quality, efficiency, and cost-effectiveness from prototype to mass production. Next up: how to evaluate and choose the right stamping supplier for your program’s success.

How to Choose the Right Stamping Supplier for Aluminum Metal Stamping
Choosing the right partner for your aluminum metal stamping project can make or break your program. Sounds daunting? It doesn’t have to be. Imagine you need custom stamped metal parts for an automotive launch, but you’re not sure which supplier can deliver the precision, scalability, and support your team needs. Here’s how to evaluate aluminum stamping companies with confidence, focusing on the criteria that truly matter for quality, speed, and long-term success.
What to Look For in Aluminum Stamping Companies
Not all aluminum stamping suppliers are created equal. You’ll want to look beyond price tags and focus on proven capability and partnership. Start your search with these key criteria:
- Certifications and Quality Systems: Does the supplier hold relevant certifications—like IATF 16949 for automotive or ISO 9001 for general manufacturing? These standards signal a commitment to process control, traceability, and continuous improvement.
- Material and Process Expertise: Can they demonstrate experience with your chosen aluminum alloy and temper? Ask about their knowledge of forming, finishing, and joining methods for custom aluminum stamping projects.
- Design for Manufacturability (DFM) Support: Do they offer proactive DFM analysis to optimize your design, reduce costs, and prevent production issues? Early DFM input is critical for complex or high-volume custom stamped metal parts.
- Tooling Strategy: Are tooling design and maintenance handled in-house? In-house tooling means faster adjustments, better IP protection, and more responsive troubleshooting.
- Inspection and Quality Control: What kind of inspection processes do they use—statistical process control, coordinate measuring machines, optical systems? Robust inspection is essential for consistent, defect-free parts.
- Lubrication and Process Controls: Can they explain their approach to lubrication, die maintenance, and process monitoring? For aluminum, these details can make the difference between smooth production and persistent defects.
- Scalability and Lead Times: Does the supplier have the capacity to handle your current needs and future growth? Ask about their average lead times and ability to ramp up quickly for new programs.
- Communication and Support: Do they provide clear, regular updates and respond promptly to questions or issues? Transparent communication builds trust and keeps your project on track.
Evaluating DFM, Prototyping, and Scale Up
Before you commit, send a Request for Information (RFI) or Request for Quote (RFQ) that covers:
- Shaoyi Metal Technology – IATF 16949 certified, trusted by global auto brands, offers full DFM support, rapid prototyping, and scalable production for custom stamped metal parts of any complexity.
- Other vetted suppliers – Look for those with a strong track record in your industry, in-house tooling, and demonstrated ability to support both prototyping and mass production.
Sample RFI/RFQ questions:
- What aluminum alloys and thicknesses have you stamped for automotive or electronics applications?
- Can you walk us through your DFM process and how you collaborate on design changes?
- What is your typical lead time for prototype and full-scale runs?
- How do you manage tooling maintenance and rapid changeovers?
- What are your inspection and quality assurance protocols for custom aluminum stamping?
- How do you handle process monitoring, lubrication, and defect prevention for aluminum?
- Can you share references or case studies of similar custom stamped metal parts projects?
Quality, Certifications, and PPAP Readiness
For automotive or safety-critical programs, look for:
- Formal IATF 16949 or ISO 9001 certification
- Proven experience with Production Part Approval Process (PPAP)
- Ability to provide full documentation—material certs, process FMEAs, control plans, and traceability records
- Commitment to continuous improvement and customer feedback
| Supplier | Capability | Quality | Cost | Lead Time | Communication |
|---|---|---|---|---|---|
| Shaoyi Metal Technology | Full DFM, rapid prototyping, scalable mass production | IATF 16949, robust inspection | Competitive, transparent | Fast prototype to launch | Responsive, regular updates |
| Other Qualified Suppliers | Industry-specific experience, in-house tooling | ISO 9001 or equivalent | Varies | Depends on location/capacity | Project-dependent |
Key takeaway: The best aluminum stamping companies combine technical depth, rigorous quality, and transparent communication. Prioritize those who offer DFM and prototyping support for custom stamped metal parts, and always verify certifications and process controls before awarding your project.
With your supplier shortlist in hand, you’re ready to move from evaluation to action—defining requirements, aligning on DFM, and launching your next aluminum metal stamping project with confidence. The next section will walk you through a practical action plan and point you to trusted resources for every step.
Your Action Plan and Trusted Resources for Aluminum Metal Stamping Projects
When you’re ready to turn a concept into a reliable aluminum prototype or scale up to mass production, the path can seem overwhelming. Where do you start? What steps ensure your sheetmetal prototype becomes a flawless, production-ready part? Let’s break it down with a clear, step-by-step plan, highlight the best resources for deeper learning, and show you where to get expert help—especially if you need advanced stamped part prototyping capabilities.
Action Plan From Design to Launch
-
Define Requirements
Clearly outline the part’s function, environment, performance targets, and critical features. Consider factors like corrosion resistance, weight, and finish early to avoid change-loops later. -
Select Alloys and Tempers
Match your application with the right aluminum alloy and temper. For deep draws or complex bends, 5xxx series (like 5052) is often ideal, while 6xxx series (such as 6061) suits higher-strength needs. Reference credible guides from the Aluminum Association for detailed alloy properties. -
Run DFM and Tolerance Reviews
Collaborate with your stamping partner to review manufacturability. Use DFM checklists to validate hole sizes, bend radii, and feature spacing. Align on tolerances and GD&T early—this step is crucial for a smooth transition from aluminum prototype to production. -
Choose the Right Process and Tooling
Decide between progressive, transfer, or multislide stamping based on part complexity and volume. Confirm die material, coatings, and lubrication strategies to minimize galling and defects. -
Validate Prototypes
Leverage stamped part prototyping capabilities—from single-cavity soft tooling to hybrid methods like chemical etching plus stamping. Test for fit, function, and finish. Make design tweaks before committing to hard tooling or full-scale production. -
Finalize Production Control Plans
Document inspection points, process controls, and quality requirements. Plan for in-die sensing, post-process inspection, and robust preventive maintenance. Align on launch timing and scalability.
Where to Find Authoritative Data
- Aluminum Association – Alloy standards, temper definitions, and technical datasheets
- ASM Handbook – Sheet metal forming fundamentals, process parameters, and troubleshooting
- Precision Metalforming Association (PMA) – Stamping process guides, DFM resources, and supplier directories
- Fotofab – Practical overviews of rapid prototyping and transitioning to mass production
Key insight: The earlier you engage in DFM reviews and process selection, the fewer change-loops, delays, and cost overruns you’ll face. Proactive collaboration and access to trusted references set your project up for success.
Getting Expert Support When It Matters
Imagine you’re facing a tight launch schedule or a complex automotive application—wouldn’t it help to have a partner with proven stamped part prototyping capabilities and deep DFM expertise? If you need rapid, automotive-grade execution, consider engaging Shaoyi Metal Technology. Their IATF 16949 certified facility offers design analysis, prototyping, and scalable production for aluminum and high-strength steel parts, trusted by over 30 global auto brands. This level of support can make the difference between a successful launch and a costly delay.
Of course, whether you’re working with Shaoyi or another qualified partner, always prioritize clear communication, early technical input, and documented process controls. The right stamping supplier will help you bridge the gap from prototype aluminum to full-scale production—while keeping costs, quality, and timelines in check.
Armed with this action plan, credible resources, and a clear path to expert support, you’re ready to move confidently from concept to launch in your next aluminum metal stamping project.
Frequently Asked Questions About Aluminum Metal Stamping
1. What is aluminum metal stamping and how does it differ from other metal stamping processes?
Aluminum metal stamping is a manufacturing process where flat aluminum sheets are formed into parts using high-pressure dies. Unlike stamping steel, aluminum’s higher ductility and tendency to gall require specialized die coatings, lubricants, and careful process control to prevent defects such as surface scratches and springback. This process enables the efficient production of lightweight, corrosion-resistant components for industries like automotive and electronics.
2. What are the best aluminum alloys for metal stamping applications?
Commonly stamped aluminum alloys include 1100 and 3003 for excellent formability, 5052 for a balance of strength and corrosion resistance, and 6061 for high-strength applications. The choice depends on the required formability, strength, and finish, with 5xxx series often used for deeper draws and marine environments, while 6xxx series may require heat treatment and careful process planning.
3. Is metal stamping expensive compared to other manufacturing methods?
The initial tooling investment for metal stamping can be high, but it is cost-effective for large production volumes due to rapid cycle times and material efficiency. For low-volume or highly complex parts, alternative methods like CNC machining or additive manufacturing may be more economical. Stamping excels when scalability, repeatability, and per-unit cost reduction are priorities.
4. How do you ensure quality and accuracy in stamped aluminum parts?
Quality and accuracy are achieved through careful selection of die materials and coatings, robust process controls, regular die maintenance, and precise press calibration. Using GD&T standards for datum and tolerance definition, along with in-die sensing and post-process inspection, ensures consistent results. Collaborating with suppliers offering DFM support and certifications like IATF 16949 further enhances quality.
5. What should I look for when choosing an aluminum stamping supplier?
Look for suppliers with industry certifications (such as IATF 16949), proven DFM and prototyping capabilities, in-house tooling expertise, robust inspection processes, and transparent communication. For automotive-grade projects, companies like Shaoyi Metal Technology provide full DFM analysis, rapid prototyping, and scalable production for custom stamped metal parts, ensuring quality and on-time delivery.