 Small batches, high standards. Our rapid prototyping service makes validation faster and easier —

OEM Automotive Parts By VIN: Torque Specs, Warranty, Zero Guesswork
OEM Automotive Parts
What OEM Actually Means
Ever wondered, what is OEM in car parts? Or why mechanics and dealerships stress using OEM automotive parts? Let’s break it down. OEM stands for Original Equipment Manufacturer. These are parts made by the same company that supplied components for your vehicle when it was brand new. They’re built to the exact specifications set by the automaker, ensuring a precise fit, reliable performance, and consistent quality every time (Car and Driver).
Genuine vs OEM vs Aftermarket vs Remanufactured
Sounds complex? Imagine you need a replacement brake pad. Should you pick the part from the dealership, an online marketplace, or a local auto store? Here’s a quick guide to common terms you’ll encounter when shopping for oem automotive parts:
- Genuine Parts: OEM parts packaged in the automaker’s branded box—think of these as the same parts your car had on the assembly line, just with the logo and a dealership markup.
- OEM Parts: Produced by the original supplier to the same spec, but sold under the manufacturer’s own branding (not the carmaker’s). Quality and fit are designed to meet the same stringent standards as genuine parts, making them functionally equivalent, but often at a lower price.
- Aftermarket Parts: Made by third-party companies, these parts may fit multiple vehicles and vary widely in quality, price, and warranty. They offer more choice, but not always the same precision or durability.
- Remanufactured Parts: Used OEM or genuine parts that have been rebuilt to meet specific standards—often a cost-effective option, but with varying levels of warranty and quality control.
- Refurbished Parts: Previously used parts that have been cleaned and repaired, but may not meet the full standards of remanufactured parts.
- OEM Parts: Original supplier, exact fit
- Genuine Parts: OEM, in automaker’s box
- Aftermarket: Third-party, variable fit/quality
- Remanufactured: Professionally rebuilt, meets spec
- Refurbished: Restored, may not meet spec
When OEM Is Worth It
Why do these distinctions matter? Imagine you’re replacing a sensor, a brake rotor, or a control arm. The difference between oem and aftermarket parts can have a big impact on:
- Fit and Compatibility: OEM and genuine parts are engineered for your specific vehicle, reducing installation issues and the risk of part failure.
- Durability and Performance: OE parts use materials and tolerances validated by the automaker, supporting long-term reliability and safety.
- Warranty Considerations: Using aftermarket or non-OE parts may void your vehicle’s warranty or lead to denied claims if a failure occurs.
For safety systems, emissions controls, and diagnostics-sensitive components, choosing OE parts or OEM makes sense. For cosmetic trim or non-critical hardware, aftermarket may be a practical alternative.
Key Takeaways: Choose OEM or genuine parts for safety systems, warranty-sensitive repairs, or where precise fit and calibration matter. Aftermarket works for non-critical, cosmetic, or budget-driven repairs—but always check quality and fit.
When shopping, look for:
- Automaker or supplier markings
- Consistent packaging and labeling
- Supplier identity (cross-check with official diagrams or catalogs)
Think beyond brand names—focus on specification compliance and validated testing. In the next sections, you’ll find practical comparisons, sourcing tips, and inspection checklists to help you reduce ordering errors and get the right fit, every time.
OEM vs Aftermarket
Brake Systems Fit and Heat Management
When it comes to your vehicle’s stopping power, the type of brake rotors and pads you choose can make all the difference. Ever wondered why some cars develop squeaks or pulsation after a brake job? Much of it comes down to the fit, material quality, and heat management of the parts you install. OEM brake rotors and pads are engineered for your exact model, with metallurgy and friction formulas designed for consistent, quiet stops and long life. Aftermarket options range from budget-friendly to high-performance, but fit and longevity can be inconsistent depending on the brand.
Suspension Geometry and NVH Control
Ever replaced a control arm, ball joint, tie rod, or sway bar link and noticed new vibrations or steering quirks? That’s because suspension parts must match the original geometry and bushing durometer to maintain ride comfort and handling. OEM suspension components are designed to minimize noise, vibration, and harshness (NVH) while ensuring precise alignment. Aftermarket parts may offer more choices or lower prices, but small differences in mounting points or material stiffness can lead to premature tire wear or reduced ride quality. For safety-critical items like a control arm or ball joint, OEM often delivers peace of mind you can feel on the road.
Engine Sensors and Calibration Sensitivity
Modern engines rely on sensors—like the mass air flow sensor, ignition coil, and throttle position sensor—to keep everything running smoothly. Did you know that even a tiny variance in sensor output can affect fuel economy and emissions? OEM sensors are calibrated to work seamlessly with your vehicle’s engine management system. Aftermarket sensors may fit, but signal tolerances or connector quality can cause check engine lights or drivability issues. For diagnostics-sensitive repairs, sticking to OEM helps avoid frustrating troubleshooting down the line.
Electrical Reliability and Connector Integrity
From wiring harnesses to relays, electrical components are the nervous system of your car. OEM parts use connectors, seals, and wire gauges specified by the automaker, supporting long-term reliability and weather resistance. Aftermarket electrical parts might use universal connectors or different materials, increasing the risk of intermittent faults or corrosion—especially in harsh environments. If you’re replacing an ignition coil or sensor, double-check that the connector matches OEM specs to ensure a secure, trouble-free installation.
| Category | OEM Benefits | Aftermarket Trade-Offs | Warranty Impact | Common Failure Modes |
|---|---|---|---|---|
| Brakes (rotors, pads) | Exact fit, validated metallurgy, low noise, consistent performance | Broader options, possible performance upgrades, but variable fit and quality | OEM preserves warranty; aftermarket may void if failure is linked | Noise, pulsation, premature wear if spec is off |
| Suspension (control arm, ball joint, tie rod, sway bar link) | OEM geometry, NVH-optimized bushings, precise alignment | Lower cost, but risk of fitment issues and increased NVH | OEM maintains coverage; aftermarket may risk claims if related damage occurs | Tire wear, vibration, alignment drift |
| Engine Sensors (mass air flow sensor, ignition coil, throttle position sensor) | Calibrated signals, software compatibility, proven reliability | Price advantage, but possible signal variance, check engine lights | OEM ensures warranty compliance; aftermarket may cause diagnostic headaches | No start, rough idle, emissions failures |
| Electrical (connectors, relays, wiring) | Factory-sealed connections, corrosion resistance, OE wire gauge | Universal fit, but risk of poor sealing or mismatched pins | OEM upholds coverage; aftermarket can complicate claims | Intermittent faults, shorts, water intrusion |
Key Takeaways:
- For brakes, OEM ensures quiet, reliable stopping—especially important for ABS-equipped vehicles.
- OE suspension geometry is crucial for control arms, ball joints, tie rods, and sway bar links to keep ride quality and alignment intact.
- Engine sensors like the mass air flow sensor and ignition coil demand calibration accuracy—OEM parts reduce the risk of diagnostic headaches.
- Electrical integrity starts with factory-matched connectors; mismatched pins or seals can mean big trouble later.
Before you buy, match your part choice to your needs—daily driving reliability, track performance, or budget repairs. Remember, braking and safety systems are especially sensitive to spec variance, so sticking with OEM can prevent squeal, pulsation, or ABS malfunctions. Next, we’ll show you how to decode part numbers and cross-reference like a pro, so you always get the right fit and finish.
How to Confidently Source the Right OEM Part
Decoding OEM Part Numbers
Ever felt lost staring at a wall of parts, each with a different number? Finding the right oe part for your vehicle starts with understanding your OEM part number. This unique identifier is your shortcut to getting the exact fit—no more guesswork or costly returns. But how do you actually use it?
- Identify Your VIN: Your Vehicle Identification Number (VIN) is the foundation. You’ll find this 17-digit code on the dashboard (driver’s side, visible through the windshield), inside the driver’s door jamb, or on your registration/insurance documents. The VIN unlocks your car’s exact build info, eliminating confusion over trim or mid-year changes.
- Locate the OEM Part Number: Check your owner’s manual, factory service manual, or a reputable online standard ecatalog. These resources often include illustrated diagrams and part numbers for every system. Many automaker and supplier websites now offer VIN-based lookup for even greater accuracy.
- Run an OE Number Search: Enter the part number in multiple databases or a standard ecatalog to cross-check availability and compatibility. This step helps you find exact matches, potential supersessions (updated part numbers), and confirms you’re not ordering an obsolete or incorrect component.
- Confirm Production Dates & Supersessions: Some parts change mid-year or get replaced with newer versions. Always check the production date range and any notes about superseded numbers in the catalog before clicking “buy.”
- Review Connectors, Hardware, and Finishes: For items like oem sensors or electronic modules, inspect connector shapes, pin counts, and mounting hardware. Even a single pin difference can make a part incompatible.
Cross-Referencing Without Mistakes
Sounds tedious? Imagine ordering a visually identical part that doesn’t fit your car’s wiring harness or mounting points. That’s where parts cross reference automotive tools come in. These resources allow you to enter your original equipment number and instantly see all compatible oe replacement parts, including high-quality alternatives if the OEM number is discontinued.
- Use cross-reference tools on supplier sites or within a standard ecatalog for real-time compatibility checks.
- Bookmark or screenshot catalog pages and fitment notes—especially for drivetrain, trim, or emissions-specific parts.
- Always double-check part numbers, especially for fast-moving items like oem sensors or modules.
Pro Tip: Cross-referencing prevents costly mistakes—don’t rely on looks alone. A part that seems identical may not function or fit due to minor differences in connectors, mounting, or calibration.
Finding Torque Specs and Service Limits
Once you’ve found your part, don’t overlook installation details. Factory manuals and technical bulletins are your best bet for exact torque specifications and service limits. If you’re replacing a bracket, rotor, or housing, check for recommended fastener torque and material requirements in the official documentation. Most reputable standard ecatalogs will reference these specs or point you to the correct service literature.
-
Common Materials:
- Steel (brackets, control arms, rotors)
- Aluminum (housings, sensor bodies)
- Plastic/Composite (sensor connectors, covers)
- Check for: Factory torque specs, thread pitch, and finish requirements in your service manual or catalog listing.
Always confirm these details before installation to avoid damaging your new oe part or voiding warranty coverage.
By following these steps, you minimize the risk of ordering errors and ensure every replacement—whether it’s a sensor, bracket, or module—fits and functions as intended. Next, we’ll provide ready-to-use checklists for ordering and pre-install inspections to further reduce hassles and protect your investment.

How to Avoid Costly Mistakes with OEM Parts
Ordering Checklist: Get the Right OEM Part the First Time
Ever ordered a part, waited for it to arrive, and realized it doesn’t fit? With oem automotive parts, a single mismatch can stall your repair and waste time. Here’s a simple, step-by-step checklist to help you get it right—whether you’re using a factory auto parts direct supplier, oemparts com, or any online marketplace.
- VIN and Build Date: Always start with your Vehicle Identification Number. It’s the key to matching parts exactly to your car’s production run.
- OEM Part Number & Supersession: Find the original part number and check for any updated (superseded) numbers in a standard ecatalog or on oemparts com.
- Detailed Photos: Snap clear images of the old part, mounting points, and connectors. This helps compare when your parts are delivered and spot differences quickly.
- Seller Verification & Ratings: For amazon auto parts, ebay auto parts, or fast oem parts sellers, check reviews, business credentials, and authenticity guarantees.
- Return Policy & Restocking Fees: Read the fine print. Some sellers charge fees or have strict return windows—especially if packaging is opened.
- Shipping Timeframe & Condition on Arrival: Confirm estimated delivery dates (look for car parts fast shipping options) and inspect the box for damage as soon as your parts are delivered.
- Required Gaskets, Fasteners, Consumables: Don’t forget extras—like seals, clips, or special bolts. Missing these can stall your install.
- Tool List & Torque Specs Source: Make sure you have the right tools and know where to find torque specs—service manual, supplier site, or a trusted standard ecatalog.
- Save Order Confirmations: Keep digital copies of invoices, order pages, and product listings for warranty or return claims.
Pre-Installation Inspection: Catch Issues Before You Wrench
Imagine installing a new part only to find a connector is flipped or a mounting tab is missing. These small oversights can quickly turn into big headaches. Use this pre-install checklist before you reach for your tools:
- Compare Dimensions and Connectors: Lay your new part next to the old one. Check length, width, connector pin count, and mounting holes.
- Verify Threads and Seat Surfaces: Inspect bolt holes and mating surfaces for defects or damage.
- Dry-Fit Without Forcing: Test-fit the part gently. If it doesn’t slide into place, don’t force it—recheck compatibility.
- Clean Mating Surfaces: Dirt or old gasket material can cause leaks or improper fit. Clean carefully before installation.
- Confirm Torque Specs: Know the correct torque values for bolts and fasteners. Over-tightening can damage parts, while under-tightening can cause them to loosen.
- Test Electrical Continuity: For sensors or electronic parts, use a multimeter to check for continuity before installation.
- Document Serials and Labels: Take photos of serial numbers, barcodes, and packaging—especially for warranty claims or if you need to return the part to oemparts com or another supplier.
Careful pre-checks prevent installation damage and protect your eligibility for returns—especially if you notice issues right after your parts are delivered. Take photos and keep all packaging until you’re sure the fit is perfect.
- Use tracked shipping for all orders and photograph the box and contents as soon as your fast oem parts arrive.
- Store all receipts and screenshots—these are your safety net for returns or warranty claims.
Common Avoidable Issues: Don’t Let Small Details Trip You Up
- Flipped connectors or reversed wiring
- Missing spacers, washers, or gaskets
- Misaligned brackets or mounting holes
Imagine you’re working with oem direct suppliers or a factory auto parts direct site—you’ll notice that even a minor oversight can delay your repair. By following these checklists, you’ll reduce installation risks, avoid costly errors, and make sure your oem parts quick install goes smoothly.
Next up, we’ll guide you through warranty, returns, and the documentation that protects your investment, so you’re never left guessing if your purchase is covered.
Warranty and Returns
Manufacturer Warranty vs Reseller Policy
Ever wondered what happens if your new part fails, or how to make sure you’re actually covered? When you buy oem automotive parts, understanding the difference between the manufacturer’s warranty and the reseller’s return policy is key. Let’s break it down so you’re never left guessing:
- Manufacturer Warranty: Covers defects in materials and workmanship, usually for a specified term (often 12–24 months or more, depending on the part and brand). For example, GM Genuine Parts and ACDelco OE lines commonly offer 24-month/unlimited-mile warranties, while chassis and hub bearings may have limited lifetime coverage. Claims typically require the part to fail due to a production defect, not wear-and-tear or installation errors.
- Reseller Policy: Governs how long you can return or exchange a part, the condition required (uninstalled, in original packaging), and whether restocking fees apply. Some of the best oem parts website options have clear, published return windows—always check before you buy.
Buying from reputable oem parts direct sources helps ensure you get oem parts that are covered by both manufacturer warranty and fair reseller policies.
Documents You Must Keep
Imagine you need to file a claim. What paperwork do you need? Staying organized is your best defense. Here’s what to save for oem parts warranty protection:
- Proof of Purchase: Your original invoice or order confirmation—claims can’t proceed without it.
- OEM Part Number: The exact part number (and any supersessions) as shown on your invoice or product label.
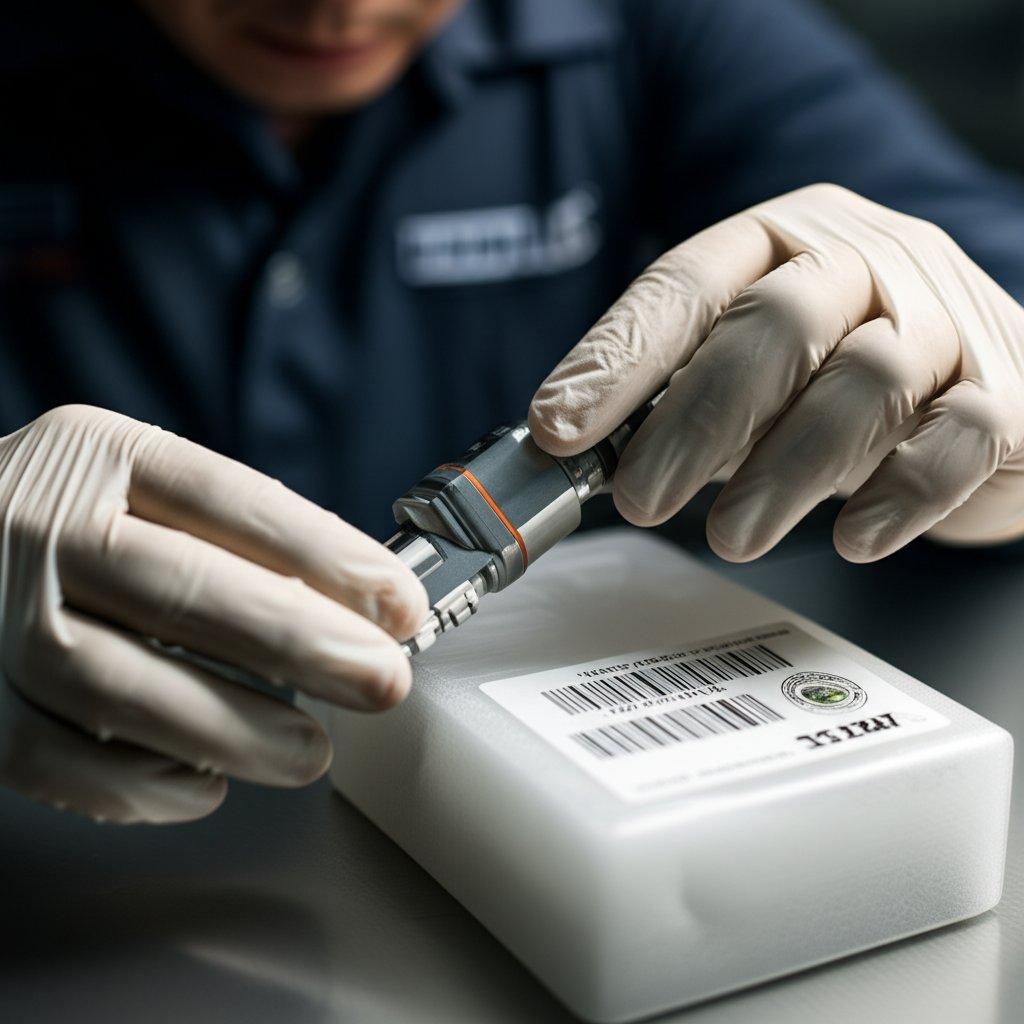
- Photos of Labels/Serials: Snap clear images of the packaging, serial numbers, and any barcodes before installation.
- Installation Date and Mileage: Record when and at what mileage the part was installed. Some states require this on repair invoices for warranty claims.
- Description of Failure: Note the symptoms, when they began, and any relevant repair notes.
Keep all packaging until you’re sure the part fits and functions correctly. If you spot shipping damage or mismatched connectors, don’t install—contact the seller immediately for oem parts direct support.
How to Handle a Defect Claim
Let’s say you’re ready to file a claim. Here’s a step-by-step process that works for most oem select parts, whether you’re dealing with a dealer or an online retailer:
- Contact the Seller First: Start with the retailer or website where you purchased the part. They’ll confirm if the issue is covered by warranty or return policy.
- Provide Documentation: Submit your proof of purchase, photos, part number, installation details, and a clear description of the problem.
- Follow RMA Instructions: The seller will issue a Return Merchandise Authorization (RMA) with shipping instructions. Use tracked shipping and keep your receipts.
- Ship the Part: Package the part securely, include all documentation, and send it to the address provided.
- Retain Communication Logs: Save all emails, tracking numbers, and chat transcripts—these are your safety net if the process stalls or you need to escalate.
Timelines vary, but most claims are reviewed within a few business days once all documentation is received.
Important: Modifying a part, installing it incorrectly, or ignoring torque specs can void your warranty coverage. Always follow installation instructions to the letter.
Choosing to get oem parts from a reputable oem parts direct supplier—and confirming fitment with oem parts by vin—minimizes disputes and streamlines the claim process. If you’re unsure about a seller, check autonation parts reviews or ask, “is auto nation parts legit?” before purchasing.
Building a habit of documenting every purchase and installation means you’ll be prepared, not panicked, if a part fails. In the next section, we’ll help you spot counterfeits and non-conforming parts before they cause headaches, so your investment stays protected from start to finish.
Spotting Counterfeit or Non-Conforming OEM Parts
Packaging and Label Red Flags
Ever opened a box and wondered if the part inside is truly OEM? Counterfeit and non-conforming parts are more common than you might think, and catching them before installation can save you from headaches, safety risks, and warranty hassles. So, what should you look for first? Start with the packaging and labeling—these are often the easiest tells.
- Font and Print Quality: Genuine parts feature crisp, clear fonts with no spelling errors. Blurry text, mismatched colors, or inconsistent branding are red flags (Acviss).
- Holograms and Security Seals: Many OEM brands use holograms, UV markings, or tamper-evident seals. Lack of these security features can indicate a counterfeit.
- Correct Brand Logos: Check for consistent placement and style. Off-center or outdated logos are a warning sign.
- Serial Numbers or QR Codes: Scan these using the brand’s official app or website to verify authenticity. If the code is invalid or reused, be cautious.
- Packaging Condition: Genuine parts are securely packaged. Look for damage, resealing, or missing documentation.
Markings, Machining, and Finish Checks
Now, imagine you’re holding the part in your hand. How do you know if it’s up to OEM standards? Here’s a simple checklist for physical inspection—especially important for items like an oem sensor, ignition coil oem, or switches oem:
- Precise Casting Marks: OEM parts have clean, well-defined casting marks. Excessive flash, rough edges, or uneven surfaces are red flags.
- Thread and Chamfer Quality: Threads should be smooth and properly cut; chamfered edges should be uniform. Cross-threaded or damaged threads suggest poor quality.
- Connector Pin Layout and Color Coding: For electrical parts like oem coils or an ignition coil standard, pin layouts and wire colors should match the original exactly. Any mismatch can mean the part is not genuine.
- Hardware and Gaskets: OEM parts typically include the correct bolts, seals, or gaskets. Missing or off-spec hardware is a warning sign.
- Material and Weight: Compare the new part’s material, finish, and weight to a known genuine component. Counterfeits are often lighter or use cheaper plastics/metals.
Verifying With the Catalog
Still unsure? Verification doesn’t end with a visual check. Take these extra steps to confirm authenticity:
- Cross-Reference Part Numbers: Match the label’s OEM brand and exact OE part number against official diagrams or an authorized catalog using your VIN.
- Compare to Vendor Images: Request actual photos from the seller (not just stock images) and compare to manufacturer data sheets.
- Check Mounting and Connectors: For components like an ignition coil standard or oem sensor, ensure mounting holes, connector keying, and pin count are identical to your original.
- Look for Documentation: Genuine parts often include warranty cards, installation instructions, or official leaflets.
Key Insight: Genuine OEM sensors, ignition coil oem, and other critical components should never require force to fit—if you’re struggling with alignment, it’s a fitment warning. Stop and verify before proceeding.
If anything seems off, contact the seller immediately and avoid installing the part. Installation may complicate returns or warranty claims. Always document your unboxing with clear photos for authentication and claim support. When in doubt, validate suspicious listings by checking OEM parts by VIN in authorized catalogs.
Spotting fakes isn’t just about protecting your wallet—it’s about ensuring your vehicle’s safety and reliability. Next, we’ll cover what to do when the OEM part you need is discontinued or hard to find, so you’re never left without options.
Solutions for Discontinued OEM Numbers and Hard-to-Find Parts
Finding New-Old-Stock and Supersessions
Ever tried to replace an oem alternator or a specific differential bushing only to find it’s been discontinued? You’re not alone. As vehicles age, manufacturers eventually phase out production of certain oem automotive parts, making sourcing a challenge—especially for classic cars or rare trims. But before giving up, it pays to know your options and where to start your search.
- Check for Superseded Numbers: Start by searching for updated or superseded part numbers in official catalogs. Automakers sometimes update a design or consolidate part numbers, so what looks discontinued may have a direct replacement.
- Contact Authorized Distributors: Some dealer networks and specialized retailers keep New Old Stock (NOS) on hand, including oem branded engine components, brackets, and mounts. Always provide your VIN and original part number for best results.
- Explore Owner’s Clubs and Forums: Enthusiast communities often maintain lists of trusted sources for rare or discontinued parts. Members may have spares or leads on hard-to-find items like oem engine or oem motor mounts.
- Salvage and Auto Recyclers: Carefully dismantled donor vehicles can be a goldmine for components like differential bushings or brackets, but always inspect for wear and verify compatibility with your VIN.
- Specialized Classic Parts Retailers: Some businesses focus exclusively on supporting discontinued models, offering NOS, remanufactured, or high-quality OE replacement parts.
Persistence and a willingness to search globally can pay off—many discontinued parts remain available in overseas markets or through international importers.
When Reman or Aftermarket Makes Sense
Sometimes, finding a factory-new part is simply impossible. In these cases, remanufactured or high-quality aftermarket options can bridge the gap:
- Remanufactured Parts: Professionally rebuilt components—like an oem alternator or oem branded engine—are often available when new units are not. Look for reman parts from reputable sources that offer warranties and meet original specs.
- Aftermarket OE Replacement: Many aftermarket manufacturers produce OE replacement parts for common needs such as differential bushings or engine mounts. Quality varies, so seek brands with proven track records and check user reviews before buying.
- Used/Salvaged Parts: For non-safety-critical items, carefully inspected used parts from salvage yards can be a cost-effective solution—but always verify condition and compatibility.
Keep in mind, for safety systems or emissions-critical items, reman or aftermarket should only be considered if no OEM or NOS alternative exists.
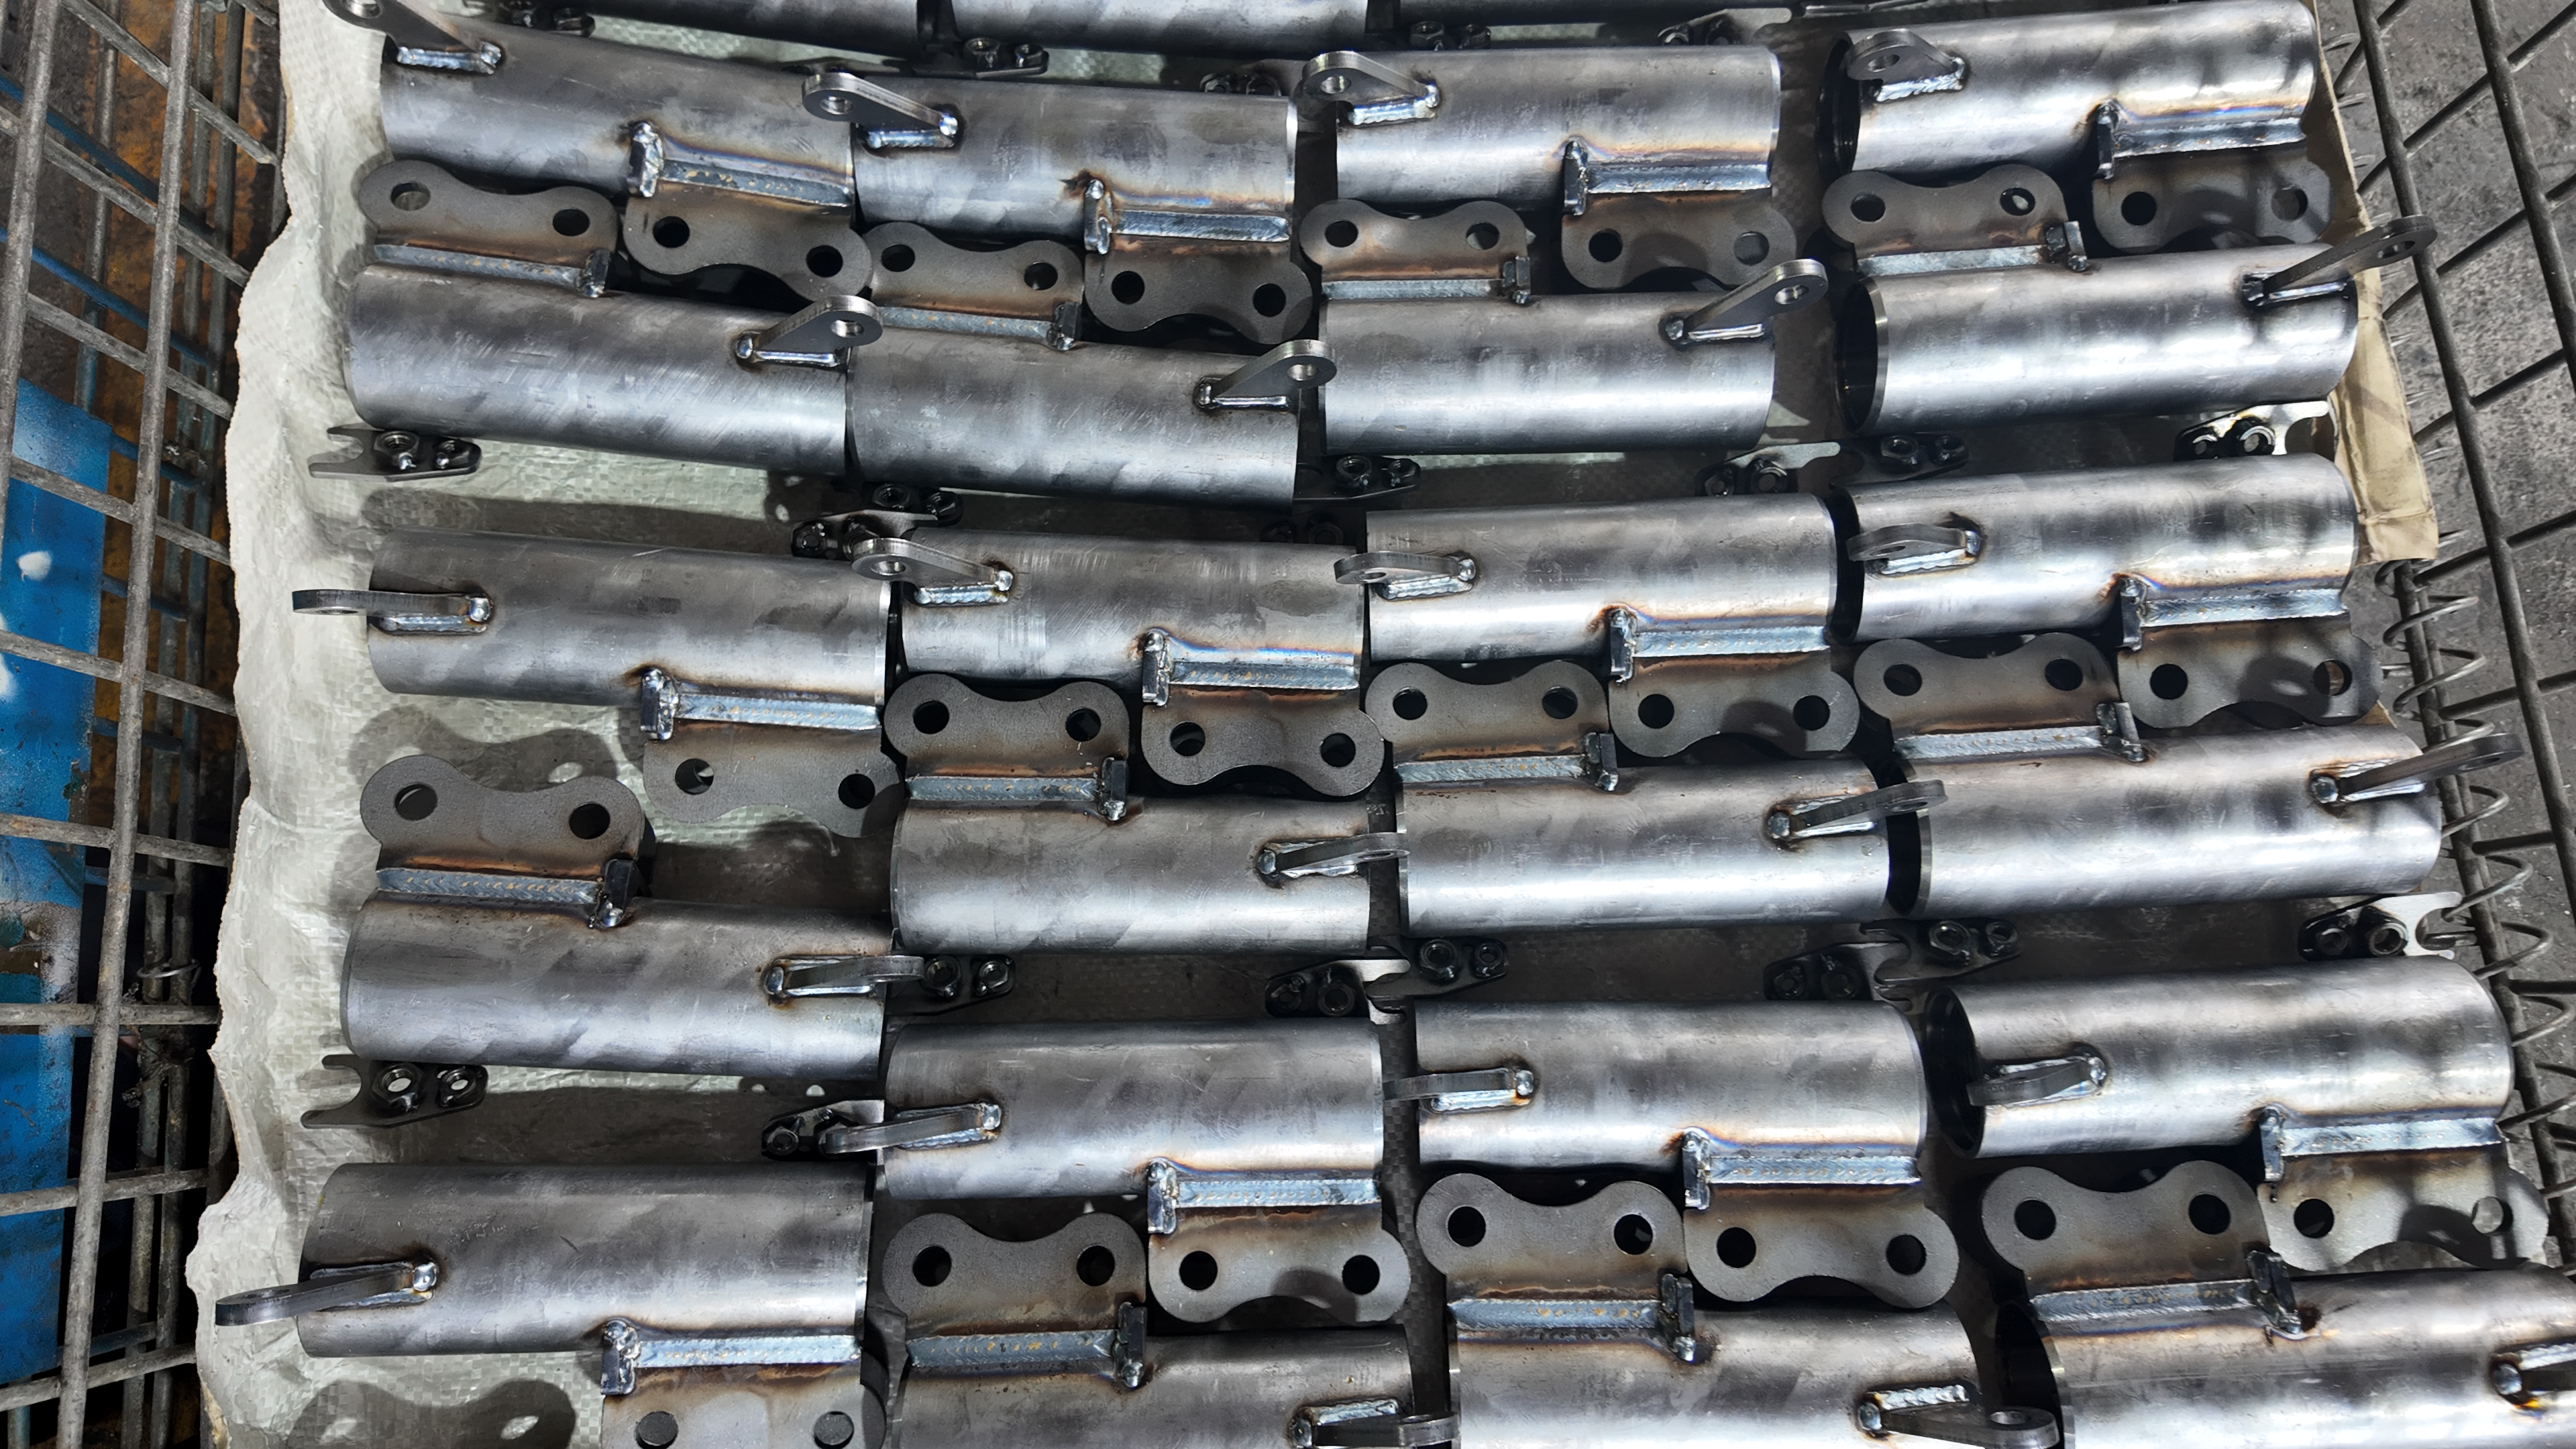
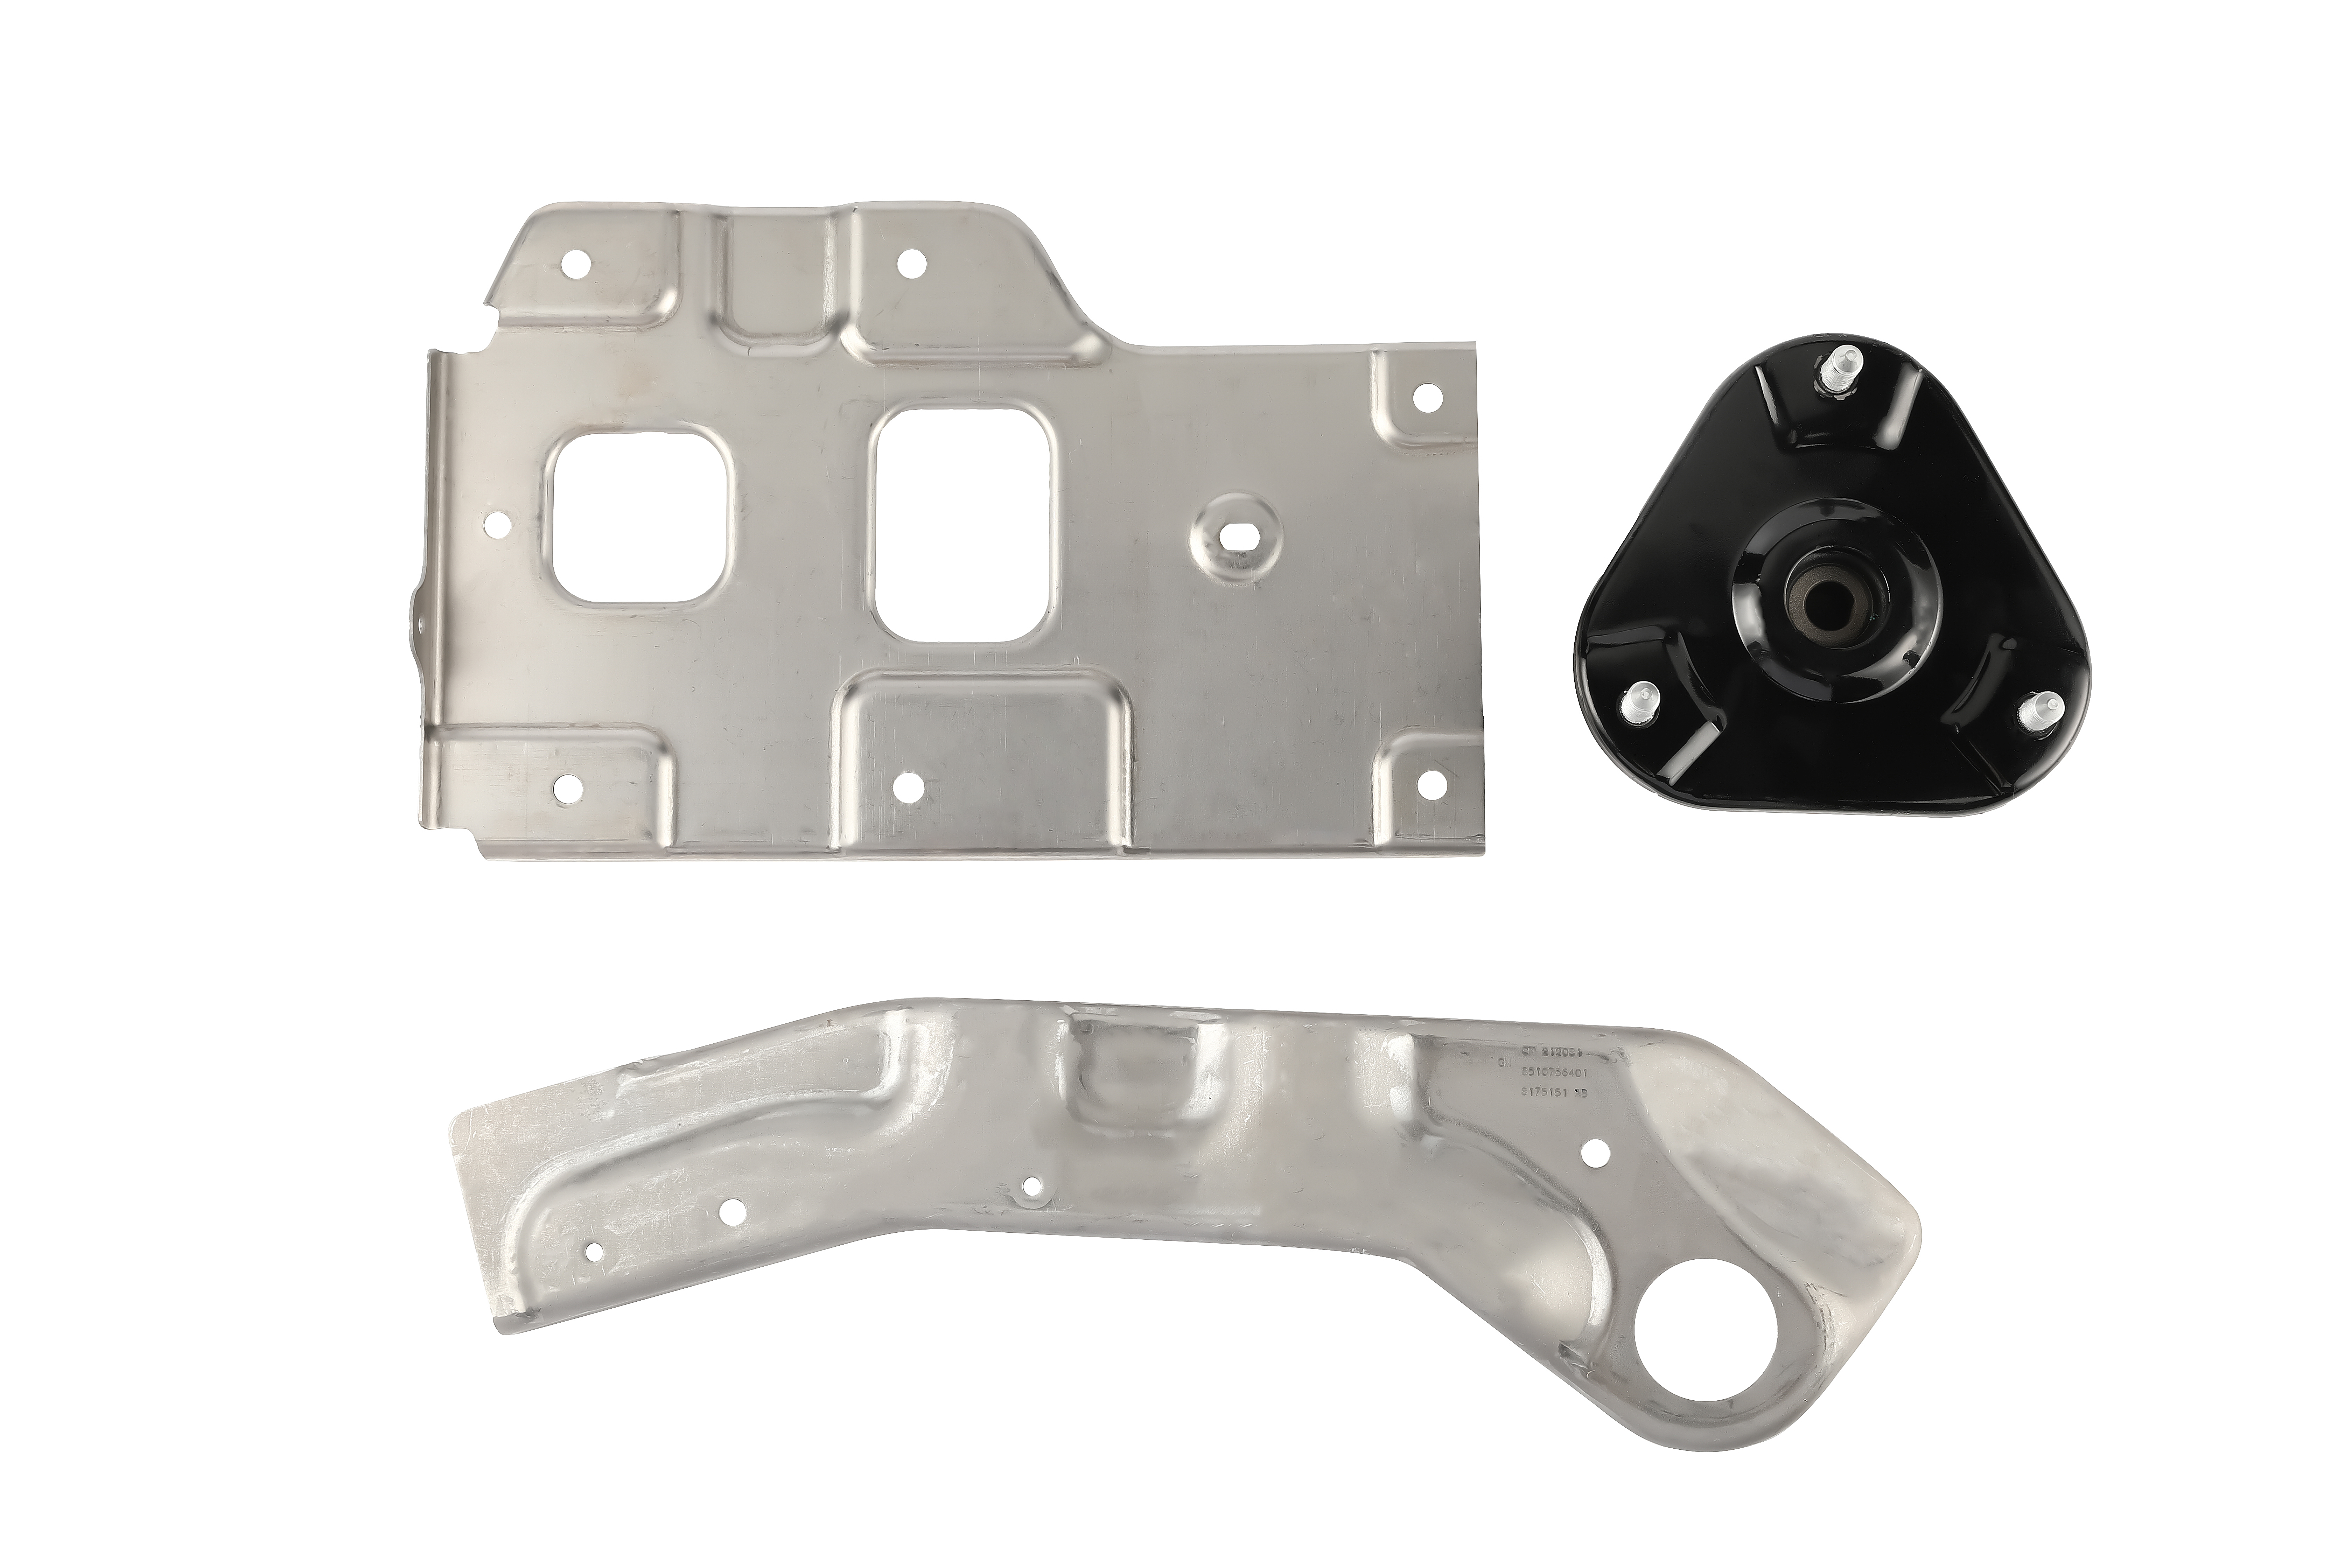
Custom Fabrication for Metal Parts
What if you need a bracket, housing, or mounting component that simply doesn’t exist anymore? This is where custom fabrication—especially for metal parts—can be a game-changer. Imagine you’re restoring a classic with a missing engine bracket or need a structural component for a rare oem motor swap. With the right documentation, you can have these parts professionally reproduced to original or improved specs.
- Gather Documentation: You’ll need detailed drawings, material specifications, surface treatment requirements (like coatings or finishes), and precise tolerances.
- Choose the Right Fabrication Method: Techniques such as CNC machining, stamping, bending, and welding are commonly used for automotive metal parts. For example, brackets and supports often use laser cutting or stamping for precision, while housings may require CNC machining for tight tolerances.
- Work with Certified Partners: For safety-critical or load-bearing components—like engine mounts or differential bushings—it’s crucial to partner with a manufacturer that meets automotive industry standards. Shaoyi, for example, is IATF 16949:2016 certified and offers a full suite of processes including stamping, CNC machining, welding, and forging, ensuring every part meets rigorous quality and performance criteria.
Custom fabrication isn’t just for show cars. It’s a practical solution when a discontinued oem branded engine bracket or mounting plate is the only thing holding up your repair. The key is to provide accurate specs and work with a partner experienced in automotive part design and production.
Key Takeaway: Use OEM or New Old Stock parts whenever available for best fit and reliability. If they’re truly unavailable, consider certified custom manufacturing—especially for structural metal components—where quality, documentation, and process control reduce the risk of costly rework or safety issues.
When the right part is out of reach, these strategies ensure your project keeps moving. In the next section, we’ll compare sourcing channels—dealer, online, and custom manufacturing—so you can choose the best option for your timeline, budget, and peace of mind.
Where to Buy OEM Automotive Parts
Dealer Counters and Authorized Distributors
When you need a part that just fits—think of high-stakes jobs like replacing lexus parts or complex engine components—dealer counters and authorized distributors are the traditional go-to. These channels offer the highest level of verification, with parts sourced directly from the manufacturer and matched by VIN. You’ll often find knowledgeable staff ready to help, especially for brands like Toyota, Nissan, and Kia. However, lead times can vary, and prices typically reflect the premium for authenticity and support. If you’re searching for toyota parts online or want to ensure you’re getting genuine nissan parts, dealers remain a reliable—if sometimes slower—option.
Online Marketplaces and Specialty Retailers
Need speed or hunting for a deal? Online marketplaces and specialty retailers offer a wide array of oem automotive parts, often at lower prices and with fast shipping. Platforms like autonation parts online and autonation parts center have streamlined the buying process, making it easy to order parts for everything from routine maintenance to rare repairs. Still, you’ll want to pay close attention to seller ratings, return policies, and part authenticity—especially if you’re looking for volvo parts online or rare kia parts. The risk of counterfeits or misfit components is higher, so always cross-reference part numbers and confirm fitment before purchase.
When to Use Custom Manufacturers
Imagine you’ve exhausted every channel and still can’t find the bracket, shield, or mount you need—what now? This is where custom automotive metal parts manufacturers like Shaoyi become invaluable. If your project calls for a discontinued part or a design tweak (for example, a unique engine mount for a classic or a custom bracket for a performance build), certified custom fabrication offers a solution that is both precise and validated. With IATF 16949:2016 certification, Shaoyi provides a full suite of processes, from stamping to CNC machining and welding, ensuring every component is built to meet global automotive standards. This route is best reserved for situations where OEM or high-quality aftermarket options are unavailable or insufficient.
| Channel | Verification Rigor | Typical Lead Time | Return Policy Clarity | Support Depth |
|---|---|---|---|---|
| Custom Manufacturing (Shaoyi) | Highest (built to spec, certified process) | Project-based (rapid quote, production varies) | Clear, contract-based | Engineering & project management included |
| Dealer Counters/Authorized (e.g., Lexus, Toyota, Nissan, Kia) | High (VIN-matched, direct from OEM) | 1–7 days (depends on stock) | Clear, manufacturer-backed | In-person and phone support |
| Online Marketplaces (e.g., Autonation Parts Online, Volvo Parts Online) | Variable (depends on seller) | Same-day to 5 days (shipping varies) | Varies—read fine print | Email/chat, community forums |
Pros and Cons
-
Custom Manufacturing (Shaoyi)
- Pros: Tailored to exact specs, certified quality, engineering support for unique needs.
- Cons: Longer lead time than off-the-shelf, higher initial cost, best for hard-to-find or discontinued parts.
-
Dealer Counters/Authorized Distributors
- Pros: Guaranteed authenticity, VIN-matched fit, warranty support—ideal for complex or safety-critical repairs (think lexus parts or other premium brands).
- Cons: Higher cost, possible wait for special orders, limited to OEM catalog offerings.
-
Online Marketplaces/Specialty Retailers
- Pros: Fast access, competitive pricing, broad selection (especially for mainstream brands like toyota parts online or volvo parts online).
- Cons: Risk of counterfeits, variable return policies, support quality may be inconsistent—always check seller credibility, especially if searching for "autonation parts near me" or similar services.
Key Insight: For most drivers, dealers and authorized distributors offer the safest bet for warranty-sensitive or safety-critical jobs. Online channels are great for speed and price, but require extra diligence on authenticity. Custom manufacturing is the ultimate fallback for discontinued, modified, or unique metal parts—ensuring your project moves forward when all else fails.
Choosing the right channel means weighing your priorities: authenticity, speed, cost, and support. In the next section, we’ll translate your part selection into installation practices that protect your investment and ensure OEM-level results every time.
Installation Essentials for Reliable OEM-Level Results
Brake and Belt Fitment Checks
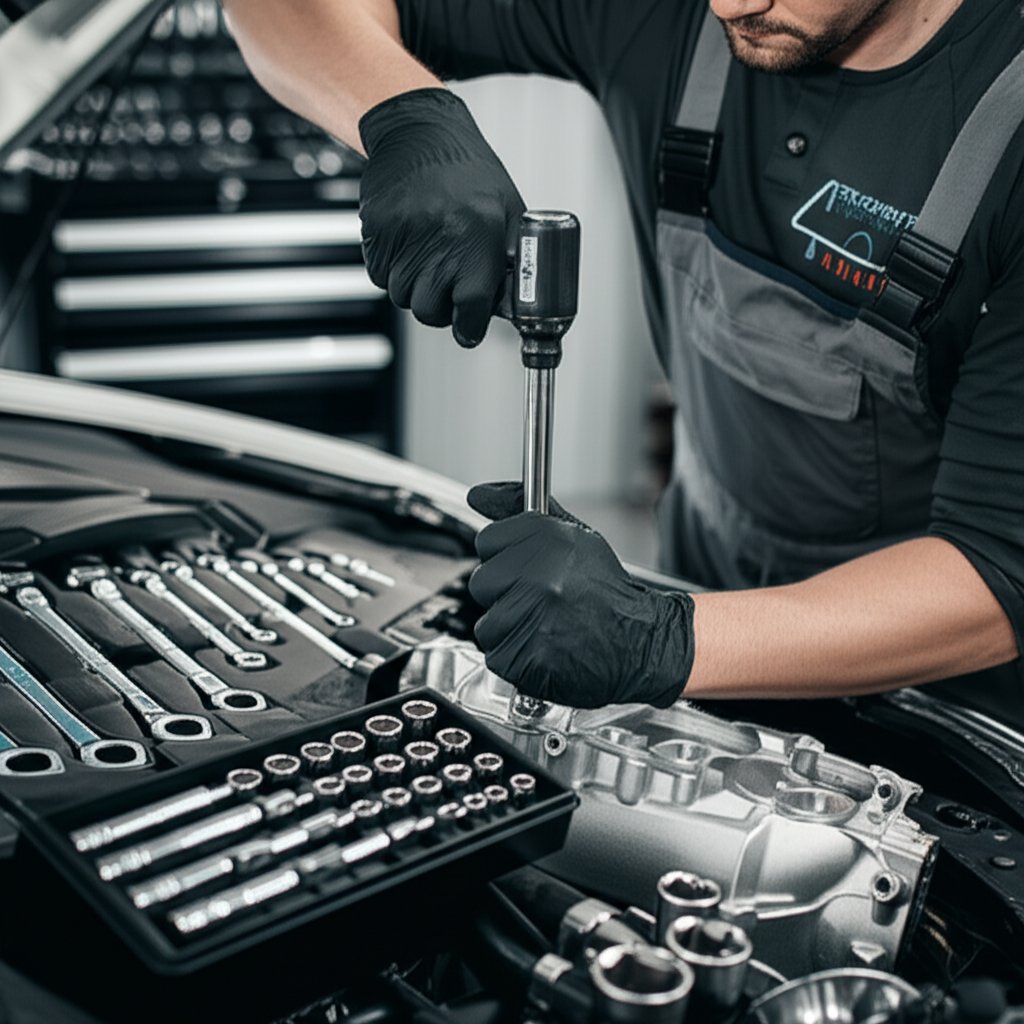
Ever wondered why a simple part swap sometimes leads to bigger issues down the road? The truth is, even the best oem automotive parts can only deliver their full benefit if installed with care. Let’s walk through a step-by-step process that helps protect your investment and ensures every replacement—whether it’s a throttle body, cv axle, or wheel bearing—performs like new.
- Confirm Part Number and Contents: Before you touch a wrench, make sure the part number matches your order and the original component. Double-check that all necessary hardware, gaskets, and instructions are present.
- Inspect Machined Surfaces and Threads: Look for any shipping damage, burrs, or debris on mounting faces and threaded holes. Even a small imperfection can cause leaks or improper seating, especially with brake rotors or a power steering pump.
- Dry-Fit and Compare Dimensions: Lay the new part next to the old one. Check that bolt holes, connectors, and mounting tabs line up perfectly. For a serpentine belt, verify length and rib count before threading it onto pulleys.
- Clean Mating Surfaces: Remove old gasket material, dirt, and oil from all contact points. Clean interfaces are critical for sealing and alignment—especially on engine parts like a fuel injector or throttle body.
- Apply Manufacturer-Recommended Lubricants and Thread Compounds: Use anti-seize on oxygen sensor threads if specified (but keep it off the sensor tip), and apply thread locker or assembly lube where required by the service manual.
- Use a Calibrated Torque Wrench Following Factory Specs: Over- or under-tightening can lead to leaks, stripped threads, or warped components. Always follow the torque values specified for each fastener—especially on safety-critical parts like wheel bearings and cv axles.
- Perform System Resets and Relearns as Required: For electronic components—such as a maf sensor or throttle body—reset the ECU and clear any trouble codes. Calibration or relearn procedures may be needed to ensure proper function and avoid false warnings (Blue Star Brothers).
- Road-Test with Controlled Conditions: After installation, drive gently to monitor for noises, leaks, or warning lights. For brakes, perform several moderate stops to seat pads and rotors; for a serpentine belt, listen for squeals that could indicate misalignment or tensioner wear.
- Re-Torque Where Specified and Recheck for Leaks or Noise: After the initial test drive, recheck torque on critical fasteners and inspect for any signs of fluid seepage or abnormal sounds.
Sensor Handling and Calibration
Installing sensors—like an oxygen sensor or maf sensor—demands extra attention. Avoid touching sensing elements with your fingers, as oils can affect accuracy. Use only the recommended tools and always route wiring away from hot surfaces or moving parts. After installation, clear any stored codes and confirm that sensor readings fall within manufacturer specifications. A quick scan with a diagnostic tool can catch issues before they become bigger problems.
Final Torque and Post-Install Verification
Imagine finishing a job, only to have a loose bolt or missed relearn trigger a warning light or leak. That’s why the final steps matter most. For each repair—whether it’s a fuel injector swap or a wheel bearing replacement—document the process. Note torque values, part numbers, and any calibration steps. This record not only protects your warranty but also streamlines future maintenance.
Correct torque and clean interfaces are your best insurance against comebacks, leaks, and premature part failure. Take your time—precision now means fewer problems later.
By following these installation essentials, you ensure every OEM-level part delivers the reliability, safety, and performance you expect. And when you keep thorough records, you’ll make the next repair or inspection even easier—closing the loop on a job well done.
OEM Automotive Parts FAQs
1. What does OEM mean in automotive parts?
OEM stands for Original Equipment Manufacturer. In the automotive world, OEM parts are made by the same company that produced the parts for your vehicle when it was new. These parts are built to precise specifications set by the automaker, ensuring exact fit and reliable performance, making them ideal for repairs where quality and warranty coverage are critical.
2. How do OEM parts differ from aftermarket parts?
OEM parts are produced to match the original specifications of your vehicle, offering consistent quality, perfect fit, and often maintaining your warranty. Aftermarket parts are made by third-party companies and may vary in quality, fit, and durability. While aftermarket options can be more affordable and offer greater variety, they may not always meet the strict standards required for safety-critical or warranty-sensitive repairs.
3. Why should I use OEM parts for repairs?
Using OEM parts ensures your vehicle maintains its original performance, safety, and compliance with manufacturer warranties. They are especially important for repairs involving safety systems, engine sensors, and emissions components, where precise calibration and validated testing are essential. OEM parts also reduce the risk of installation issues and future failures.
4. How can I avoid buying counterfeit or non-conforming OEM parts?
To avoid counterfeits, always purchase from authorized dealers, reputable online retailers, or certified custom manufacturers. Inspect packaging for clear branding, holograms, and proper labeling. Compare part numbers and physical features with official diagrams. Document the unboxing process with photos and verify authenticity using your vehicle’s VIN in official catalogs before installation.
5. What are my options if an OEM part is discontinued or unavailable?
If an OEM part is discontinued, check for superseded part numbers, search authorized distributors for new-old-stock, or consult enthusiast forums for leads. Remanufactured or high-quality aftermarket parts can be alternatives for non-safety-critical items. For metal components like brackets or engine mounts, certified custom fabrication from a reputable manufacturer is a reliable solution, ensuring the part meets automotive quality standards.