 Small batches, high standards. Our rapid prototyping service makes validation faster and easier —
  EN
EN


How To Weld Aluminum To Aluminum So Your Bead Actually Holds
How to Weld Aluminum to Aluminum
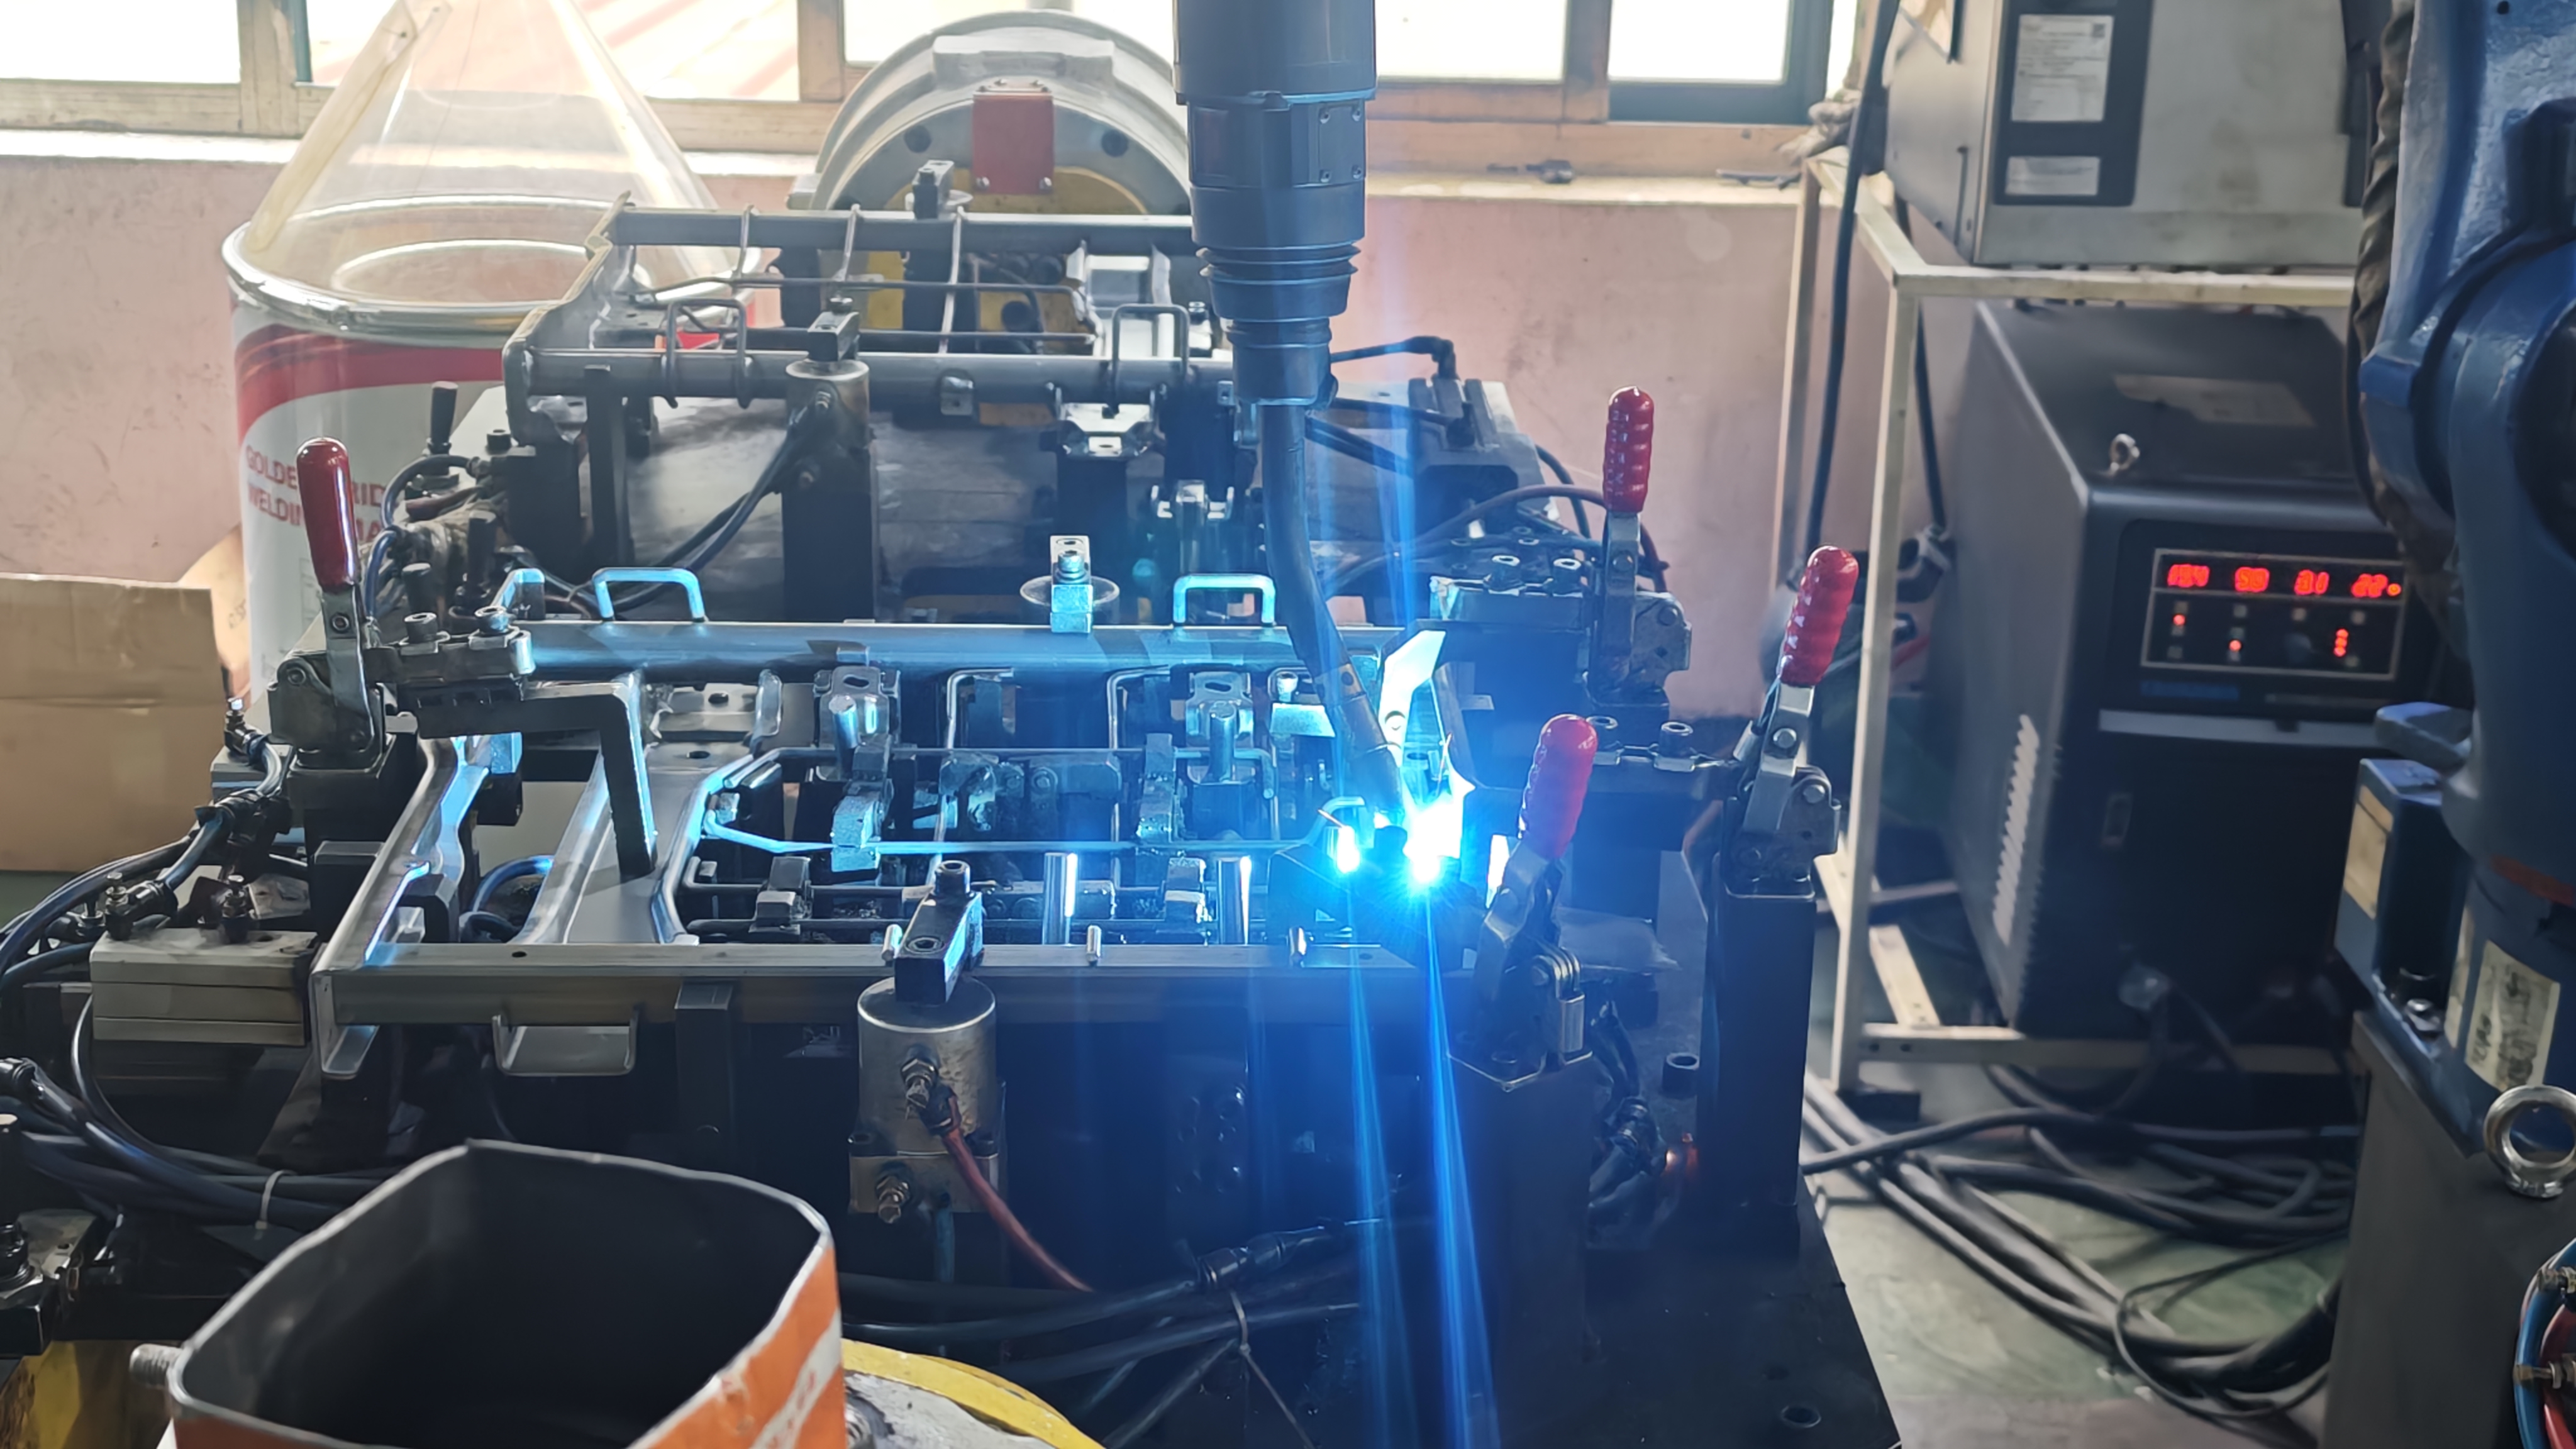
If you searched how to weld aluminum to aluminum, you are probably not looking for a patch, a low-heat shortcut, or a vague answer about metal joining. You want a true weld. That distinction matters. In UTI's explanation of joining methods, welding fuses the base metals by melting them together, while brazing and soldering melt only the filler metal. Soldering also occurs below 840 F, and brazing happens above that threshold without melting the workpieces. So if you are deciding whether to solder or weld a structural aluminum joint, a welded joint is the path this guide covers.
Brazing aluminum can be useful in some repair or joining situations, and an aluminum solder product may help on light-duty work, but neither is a substitute for a true aluminum-to-aluminum weld when strength, continuity, and service reliability matter. If you searched how to weld aluminium to aluminium, the answer is the same: choose a real welding process first, then build the rest of the procedure around it.
Choose AC TIG when control matters most
ESAB identifies AC TIG as the preferred process for thin material, tight geometry, visible joints, prototypes, and repair work. It gives you excellent puddle control and a cleaner-looking finished bead. When access is awkward or the weld will be seen, TIG is often the best way to weld aluminum.
Choose MIG when speed and seam length matter
The same ESAB guide shows MIG is usually favored for longer seams, repetitive production, and higher throughput on medium-to-thicker aluminum sections. For aluminum, that often means a spool gun or push-pull system because the wire is soft and more difficult to feed than steel wire.
| Process | Best-use conditions | Finish expectations | Learning curve | Common drawbacks |
|---|---|---|---|---|
| AC TIG | Thin parts, precise joints, tight access, visible welds, repair work | Highest visual control and neat bead appearance | Steeper | Slower travel, lower productivity, more operator skill required |
| MIG | Long seams, repeat work, larger assemblies, production-focused jobs | Good functional finish, usually less refined than TIG | Moderate for basic production, but setup matters | Soft wire feed issues, less delicate heat control, appearance may need more cleanup |
There is no single answer for welding aluminum to aluminum every time. The right choice depends on thickness, joint access, and how clean the final appearance needs to be. The arc itself comes later than most beginners expect. First comes the material: identify the alloy, match the filler, prep the joint, set the machine, make the weld, and inspect what the bead is really telling you.
Match Alloy and Filler Before Welding Aluminum
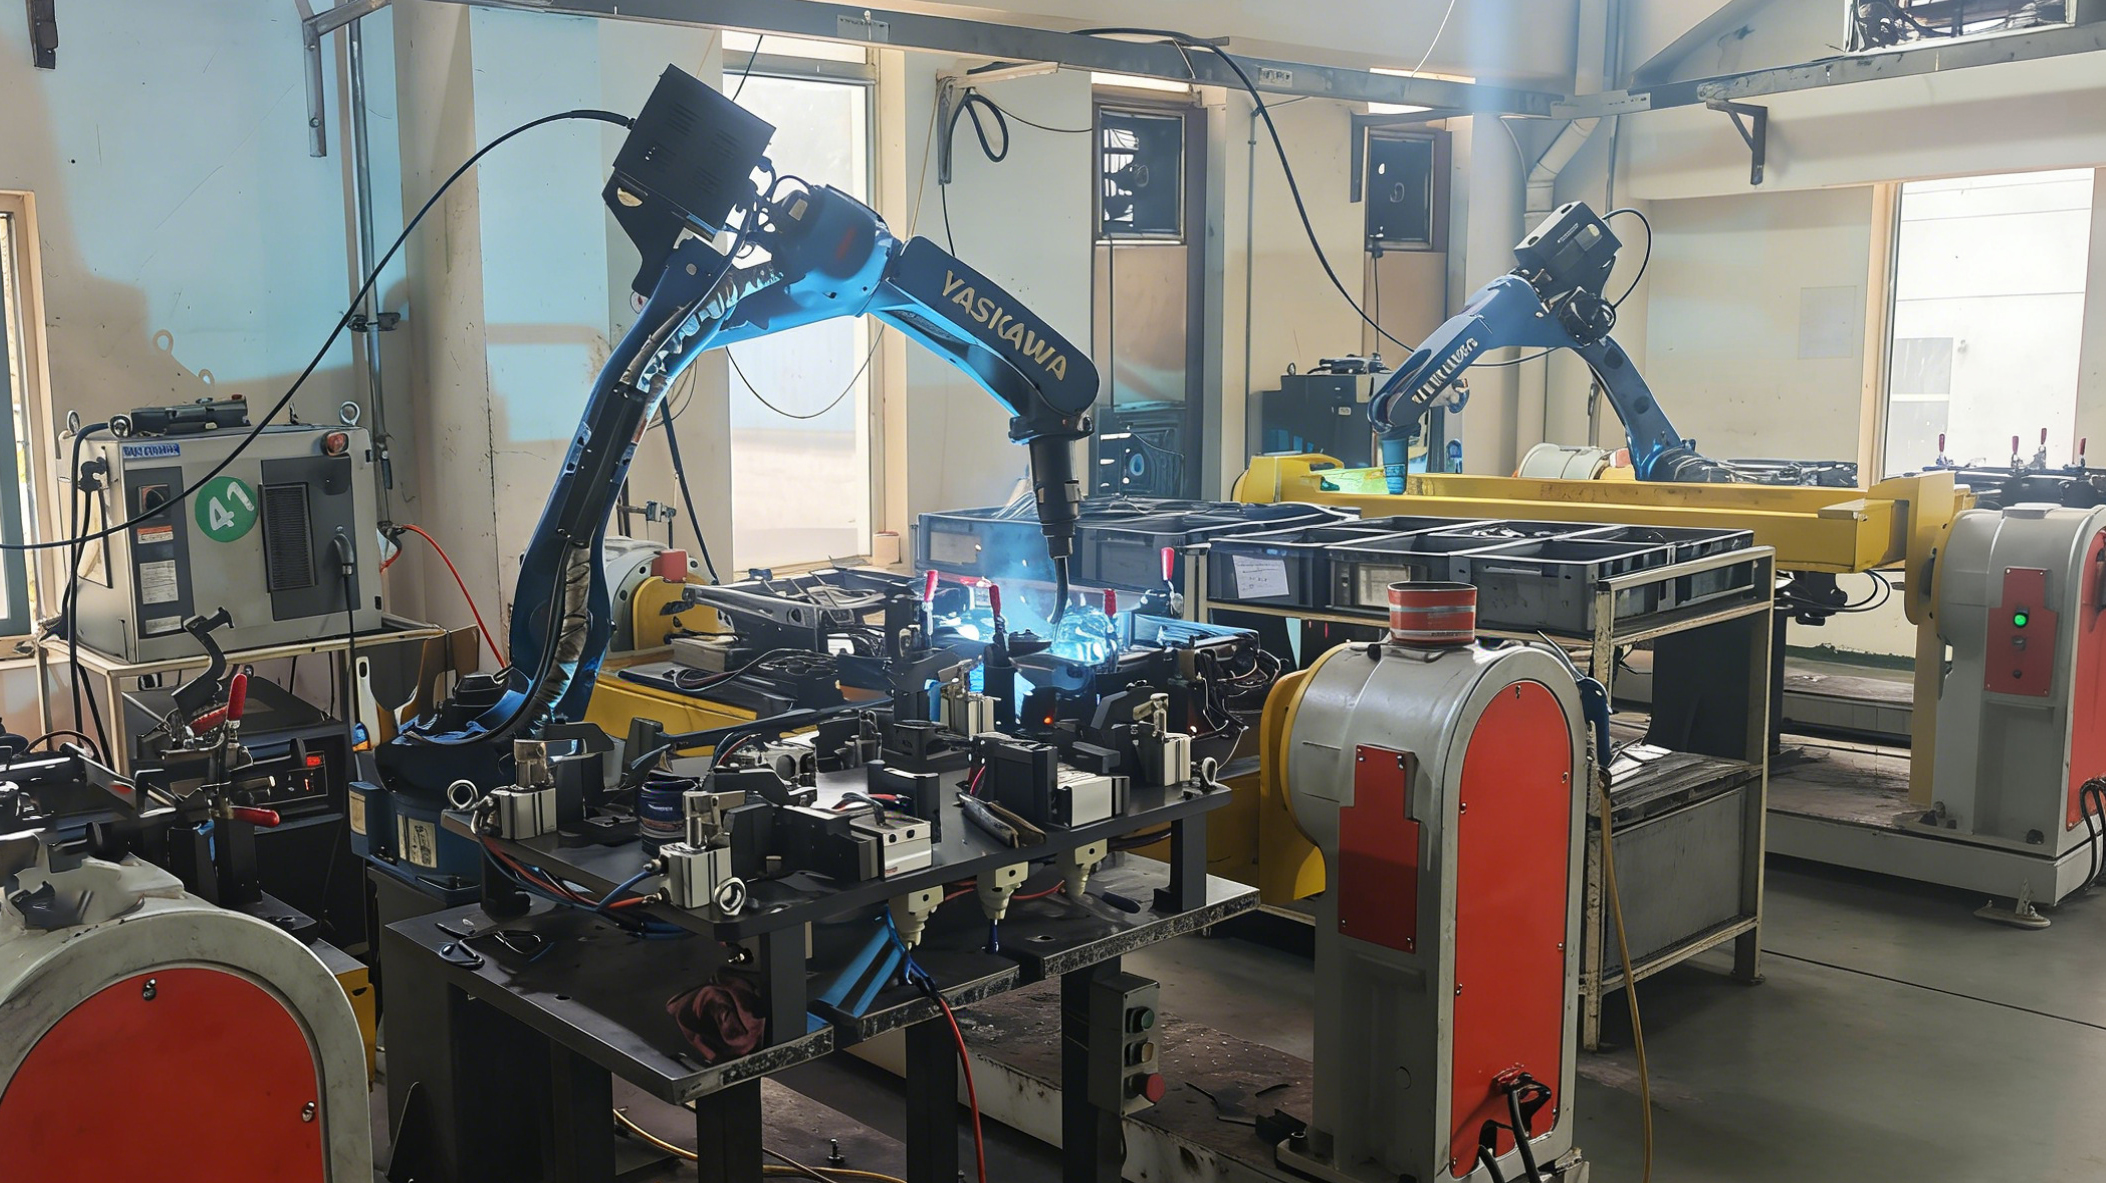
Good results start before the machine is even on. Aluminum is not one uniform metal, and that is where many failed joints begin. Alloy family, temper, and product form all affect weld behavior. In The Fabricator's alloy guide, the first digit in a wrought alloy number identifies the principal alloying element, while a suffix such as 6061-T6 or 5052-H32 shows temper. Castings use a different designation system, often with a decimal, such as A356.0.
Check Alloy Family Before You Strike an Arc
Use the easiest clues first: drawings, mill certs, supplier paperwork, shelf labels, and part markings. If those are missing, look at the form of the part. The identification guide from Frank Armao notes that common North American extrusions are often 6061, 6063, 6082, or 6005, while common sheet and plate are often 3xxx or 5xxx series. It also points out that there is no quick, cheap test for an unknown repair part. That matters, because 6061 plate is common, but some 2xxx and 7xxx plate products are poor candidates for arc welding. In other words, not every mystery part should be treated as equally weldable aluminum.
| Base material | Common clues | Likely process fit | Filler direction | Crack sensitivity | Beginner difficulty |
|---|---|---|---|---|---|
| 5052 | Often sheet or plate, sometimes marked 5052-H32 | TIG or MIG, depending on joint and finish goals | 5356 is commonly preferred; 4043 can also be used on 5052 | Generally less troublesome than 6xxx when matched correctly | Moderate |
| 6061 | Very common as extrusion or plate, often marked 6061-T6 | TIG or MIG for many shop jobs | 4043 or 5356 are both common choices | Crack-sensitive if welded without filler | Moderate to high |
| Cast aluminum | Often repair work, may carry a casting designation like A356.0 | Often TIG for control on repairs | Common AlSiMg castings usually point toward 4043 | Varies with casting chemistry and cleanliness | High |
Choose 4043 or 5356 With Clear Logic
If you are shopping for aluminum welding rods for TIG, or wire for MIG, the real choice is usually between 4043 and 5356. Many welders casually call TIG fillers aluminum rods, but the chemistry matters more than the nickname. A practical 4043 vs 5356 comparison highlights the usual split: 4043 generally offers better weldability, lower crack sensitivity, and a smoother-looking bead, while 5356 generally provides higher as-welded strength and a closer color match after anodizing. For 6061, either may be appropriate depending on the job. For 5052, 5356 is commonly preferred, though 4043 can also be used because 5052 is below the roughly 2.5 percent magnesium limit noted for 4xxx fillers. High-magnesium 5xxx alloys are a different story, so 4043 is not the default there.
Recognize How 5052, 6061, and Cast Parts Behave
6061 deserves special respect because 6xxx alloys are solidification crack-sensitive and should not be welded autogenously. They need filler metal. For welding cast aluminum, filler choice is often simpler than identification: common AlSiMg castings usually favor 4043. If you need to weld cast aluminium on a repair job, slow down and verify as much as you can first. The right aluminum welding rod helps, but it cannot rescue contamination or bad fit-up. Those problems show themselves fast once cleaning and joint prep begin.
Clean, Prep, and Fit Aluminum Before Welding
The right filler and process can still fail on a dirty joint. That is why prep sits at the center of welding aluminum, not off to the side as a basic cleanup chore. In ESAB's prep guidance, aluminum oxide melts at about 3,600 F, while the base metal melts much lower, around 1,200 F depending on alloy. That gap is exactly why oxide, oil, and moisture can ruin puddle control, wet-out, and fusion before your settings are truly at fault.
Remove Oxide, Oil, and Moisture in Order
- Degrease first. Use a degreaser without chlorinated solvents. ESAB lists non-chlorinated brake cleaner, acetone, or mild dish soap in hot water for home use, followed by a thorough rinse and quick drying. Use clean white paper towels, not reused shop rags that may carry detergent or oil residue. WCWelding also warns against sodium hydroxide or very high-pH cleaners on aluminum.
- Remove the oxide layer just before welding or tacking. ESAB recommends aggressive hand files, hand planers, or a stainless steel wire wheel with light pressure. Keep those tools dedicated to aluminum only. Shared tools are a simple way to contaminate a joint before you ever weld aluminum.
- Clean only what you need. Prep slightly beyond the weld zone, not the whole part. That reduces handling time and lowers the chance of recontaminating the surface.
Prepare Joint Geometry for Sheet and Plate
- Match edge prep to the joint. On thin aluminum sheet, a tight butt joint usually behaves better than a loose gap. On thicker aluminum plate, beveling may help the puddle reach the root, especially on butt joints with limited access. Lap joints need clean faying surfaces with no trapped moisture. Fillets and tee joints on heavier sections may benefit from edge prep, while lighter sections often need only clean contact and good alignment.
- Dry-fit before clamping. Check gap, overlap, and whether you can actually reach the joint with the torch or gun. If the parts fight you now, they will fight you harder during the weld.
Clamp Gap and Tack for Stable Fit-Up
- Clamp for contact, not distortion. Hold parts firmly enough to prevent movement, but do not force thin aluminum sheet out of shape. On some joints, backing can help support edges and improve root control.
- Plan your tacks. The JASIC tack welding guide stresses tight fit-up, quick hot tacks, and filler addition for aluminum. Place enough tacks to hold alignment, then recheck after each one so the final aluminum weld does not start from a crooked joint.
Poor prep causes a surprising share of the ugly beads people blame on machine settings.
When the metal is clean, dry, and held in the right shape, arc control becomes far more predictable on both aluminum plate and lighter parts. That is where equipment setup starts to matter in a useful way, not a frustrating one.
Dial In Your Aluminum Welder, Gas, and Tack Plan
Clean metal and the right filler still will not save a sloppy workstation. Aluminum reacts fast to poor setup. A wandering arc, weak gas coverage, or a soft wire snag can ruin the bead before you have time to correct it. A capable aluminum welder helps, but joint quality really starts with machine capability, consumables, and how the parts are held.
Build a ready-to-weld station
- Machine capability: For TIG, use AC. Guidance from PrimeWeld notes that AC balance provides cleaning action that helps break through the oxide layer. If you are choosing a tig welder to weld aluminum, reliable AC output and stable arc starts matter more than a long feature list.
- TIG torch and tungsten: Fit the torch with clean consumables and protect the tungsten from touching filler, base metal, or the puddle. An aluminum tig welder only feels precise when the tungsten stays uncontaminated.
- MIG gun choice: For mig aluminum, wire handling matters almost as much as arc quality. A spool gun is designed specifically for aluminum and helps reduce bird nesting. Baker's Gas also notes that a push-pull gun makes sense when longer cables or very soft wire demand more consistent feeding.
- Shielding gas: Verify the cylinder, regulator, hose, and fittings before welding. The same PrimeWeld checklist lists 100 percent argon as standard for TIG and for MIG on aluminum up to 1/2 in., with helium additions used on thicker sections.
- Filler handling: Keep rods or wire clean and dry, and make sure the feed path is smooth with as little drag as possible.
- Grounding and PPE: Clamp the return lead to clean metal near the joint. Wear a proper helmet, safety glasses, gloves, jacket, and boots.
Whether your shop calls it an aluminum welding machine or an aluminium welding machine, the same rule applies: the arc can only be as stable as the setup feeding it. The same goes for an older aluminium welding set that is technically functional but poorly maintained.
Use a tack sequence that limits distortion
Tacks do more than hold alignment. TWI points out that they help maintain joint gap and resist shrinkage as welding progresses. On a long seam, two practical patterns work well: tack one end and back-step the rest, or tack the center and continue outward with a back-step sequence. Both approaches help keep the root gap more uniform than simply chasing tacks straight through.
Use enough tacks to stop the joint from closing, but do not overlock the assembly into stress. Clamp or wedge as needed while tacking, then recheck alignment before running the full bead. When the bench is set properly, AC TIG technique becomes much easier to read by eye, and that is where torch position, puddle start, and filler timing begin to decide the final weld.
How to TIG Weld Aluminum With AC TIG
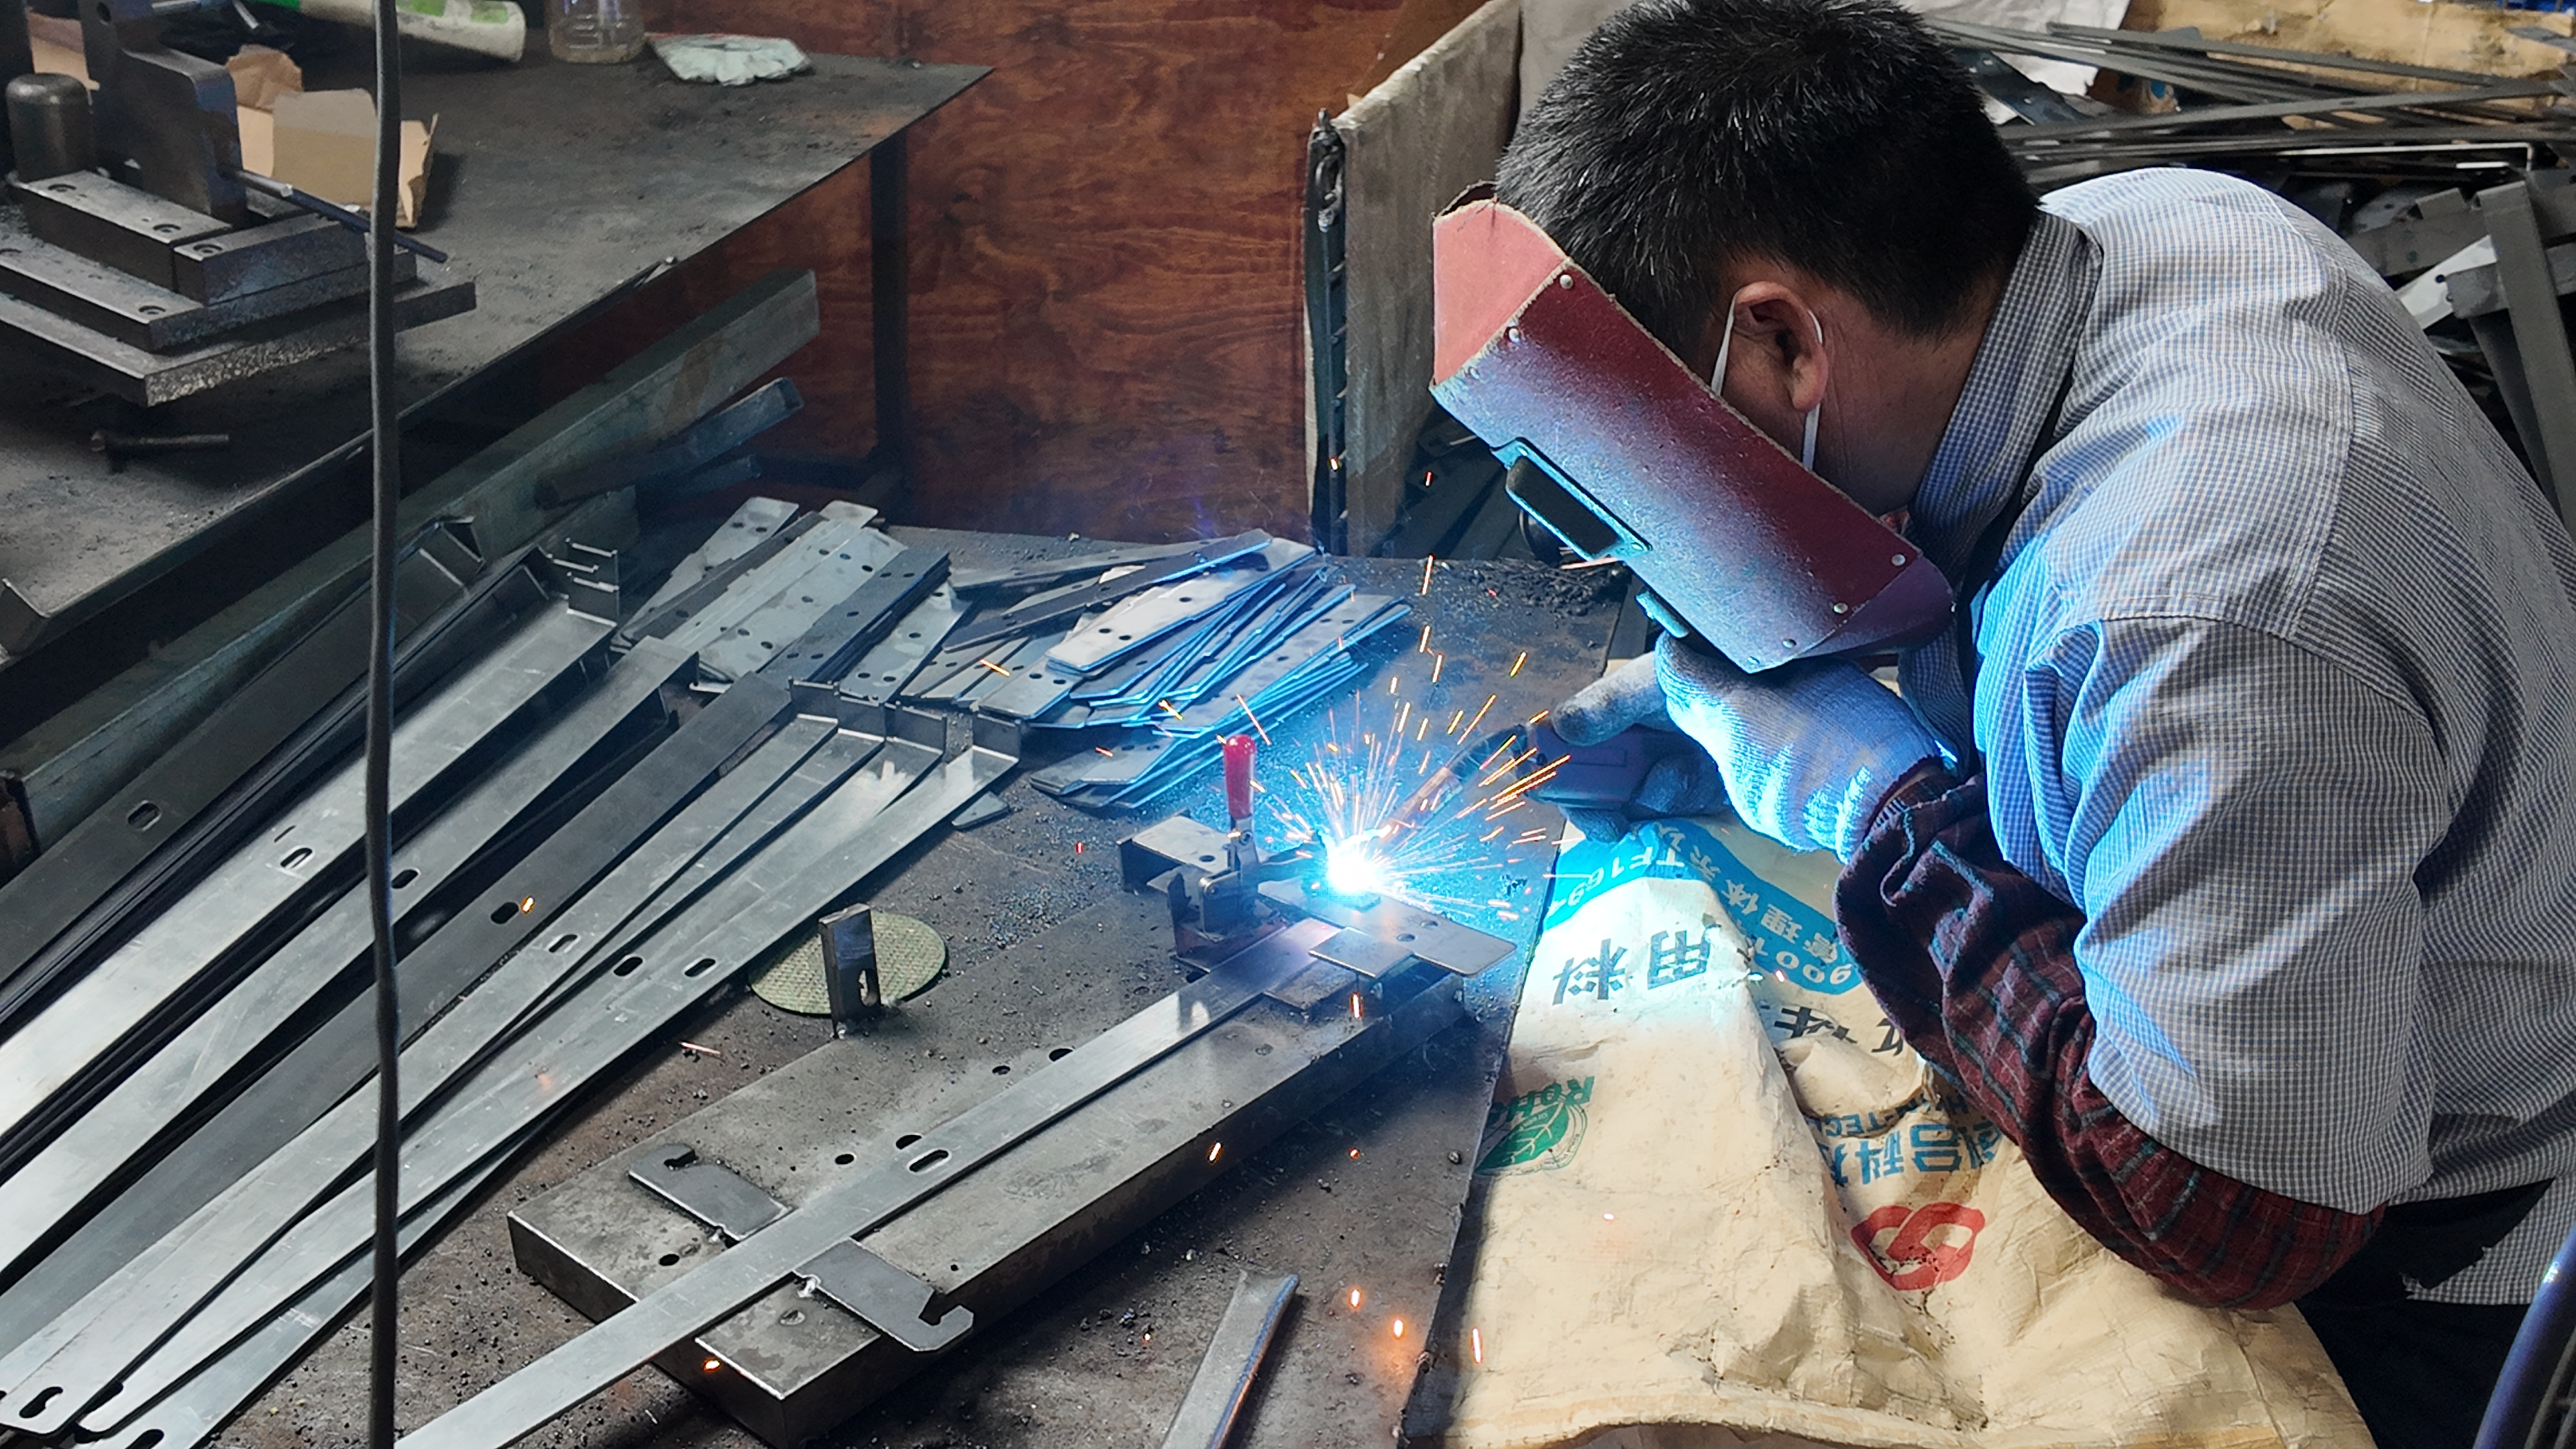
A clean setup only matters if your hands can turn it into a stable puddle. If you are learning how to tig weld aluminum, slow and deliberate control beats speed every time. In Miller's TIG guide, the fundamentals are clear: brace your hand, keep a slight 5 to 15 degree backward torch tilt, keep the tungsten close, and push the torch instead of dragging it. That is the core of gtaw welding aluminum, whether you searched aluminum tig welding or the phrase aluminium welding with tig.
Run the bead in a repeatable AC TIG sequence
- Get your body stable before striking the arc. Rest the base of your torch hand on the table or workpiece so the torch can slide instead of wobble. Support the filler hand too. People who try to weld aluminum TIG for the first time often move both hands together. The goal is different jobs for each hand.
- Set torch angle and arc length first. Keep a slight push angle, about 5 to 15 degrees, with the tungsten pointed in the direction of travel. Keep the tungsten close to the work. Miller notes that a distance around the tungsten diameter, up to about 1/4 inch, helps prevent the arc from spreading and overheating the joint.
- Start the arc and wait for a real puddle. Aluminum can fool beginners here. The bright cleaning zone is not the puddle. Weldmonger's guide points out that many beginners see that shiny etched area and add filler too early. Hold steady until you see a true molten puddle form.
- Let the puddle settle before adding rod. You want a small, bright pool that reacts predictably as heat comes in. If the puddle disappears and the arc turns erratic, heat is too low. If it suddenly washes wide, you are dwelling too long or feeding too much heat into the joint.
- Add filler to the leading edge. Keep the torch and filler rod at roughly 90 degrees to each other and feed the rod into the front edge of the puddle, not straight into the arc. Push the torch, never drag it. One hand slides smoothly while the other hand dabs filler.
- Move with a simple rhythm. Hold a short arc, move steadily, dab, and move again. The bead profile should come from filler timing, not from exaggerated torch swings. In tig aluminium welding, a wandering arc often shows up as uneven ripples and dirty bead edges.
- Watch the toes of the weld as you travel. Good wet-out means the puddle flows into both sides of the joint instead of piling up in the center. If the toes look dry or ropey, you are probably moving too fast or not letting the puddle tie in. If the puddle keeps widening, the part is heat-soaking and you need to ease off as you go. That changing heat balance is one of the hardest parts of tig welding on aluminum.
- Finish the crater instead of snapping off. Taper the amperage down, add a small amount of filler as the puddle shrinks, and do not leave a hollow crater behind. Weldmonger also recommends moving the arc slightly around and away from the crater center while tapering off, then holding the torch still through postflow so the hot tungsten stays protected.
Tungsten contamination, too much heat dwell, and inconsistent filler timing are three of the fastest ways to create an ugly or weak aluminum bead.
What your eyes should be telling you
Aluminum tig welding gets easier when you trust the visual cues. A healthy puddle looks bright, compact, and responsive. The bead wets into the joint edges, the arc stays tight, and your hands do not lurch every time filler is added. If you dip the tungsten, stop and re-prep it before continuing. If the joint suddenly feels less forgiving than a short practice coupon, that is normal. AC TIG rewards patience on visible work, while longer seams and higher-speed production usually suit a different rhythm.
How to MIG Weld Aluminum for Faster Production
Some aluminum joints need fingertip TIG control. Others simply need clean, repeatable weld metal laid down fast. That is where MIG earns its place. ESAB describes aluminum MIG as the stronger choice for longer seams, repetitive work, and medium-to-thicker sections where productivity matters more than a show-quality finish. If you have ever wondered, can you mig weld aluminum, the short answer is yes, and in many shop jobs it is the more practical route.
Choose spool gun or push-pull for aluminum wire
Soft wire is the heart of the problem. Miller explains that aluminum wire has low columnar strength and tends to kink or birdnest if the feed path resists it. A spool gun shortens that path dramatically, while a push-pull system uses a motor in the gun to help maintain steady tension. For occasional or lighter-duty work, a spool gun is often enough. For longer cables, higher volume, or daily production, push-pull usually makes more sense.
Miller also notes that short-circuit transfer is not recommended for aluminum because fusion suffers. In real-world gas metal arc welding aluminum, spray transfer or pulsed MIG is the safer starting point.
Step-by-step MIG workflow
- Confirm the feed path. Make sure the wire is feeding smoothly, the cable is not sharply bent, and the gun path is as straight as possible. Good mig welding aluminum starts before the arc does.
- Verify shielding gas. For spool-gun aluminum welding, Miller specifies pure argon rather than the argon-CO2 mix commonly used on steel.
- Position the gun with a push angle. Miller recommends a push technique and about a 20 degree travel angle so shielding gas stays ahead of the puddle.
- Keep proper stickout. Miller recommends about 1/2 to 3/4 inch of wire stickout for aluminum. Too short, and the wire can burn back into the tip.
- Move faster than you expect. Aluminum MIG typically runs in spray transfer, so the arc feels smoother and faster than steel short-circuit MIG. If you hesitate, the puddle can overheat and spread.
- Watch bead shape and tie-in. A sound bead should fill the joint and wash into both sides. If it sits high and ropey, fusion may be poor. If the edges collapse, heat input or travel speed needs correction.
- Adjust for feeding issues early. Do not keep welding through surging wire, soot, or erratic arc behavior. Those signs usually mean a feed, gas, or cleanliness problem that will only grow into rework.
| Process | Control | Deposition speed | Cleanup | Best fit |
|---|---|---|---|---|
| TIG | Highest | Slower | Usually minimal | Thin, visible, precise joints |
| MIG | Good but less delicate | Higher | May need light brushing for soot | Long seams, repeat work, production joints |
If you want to mig weld aluminum successfully, think consistency more than heroics. Clean metal, stable feeding, and disciplined travel do more than fancy motion ever will. That becomes obvious the moment a bead starts showing soot, porosity, poor wet-out, or a shape that tells on every mistake.
Inspect Aluminum Weld Beads and Fix Common Problems
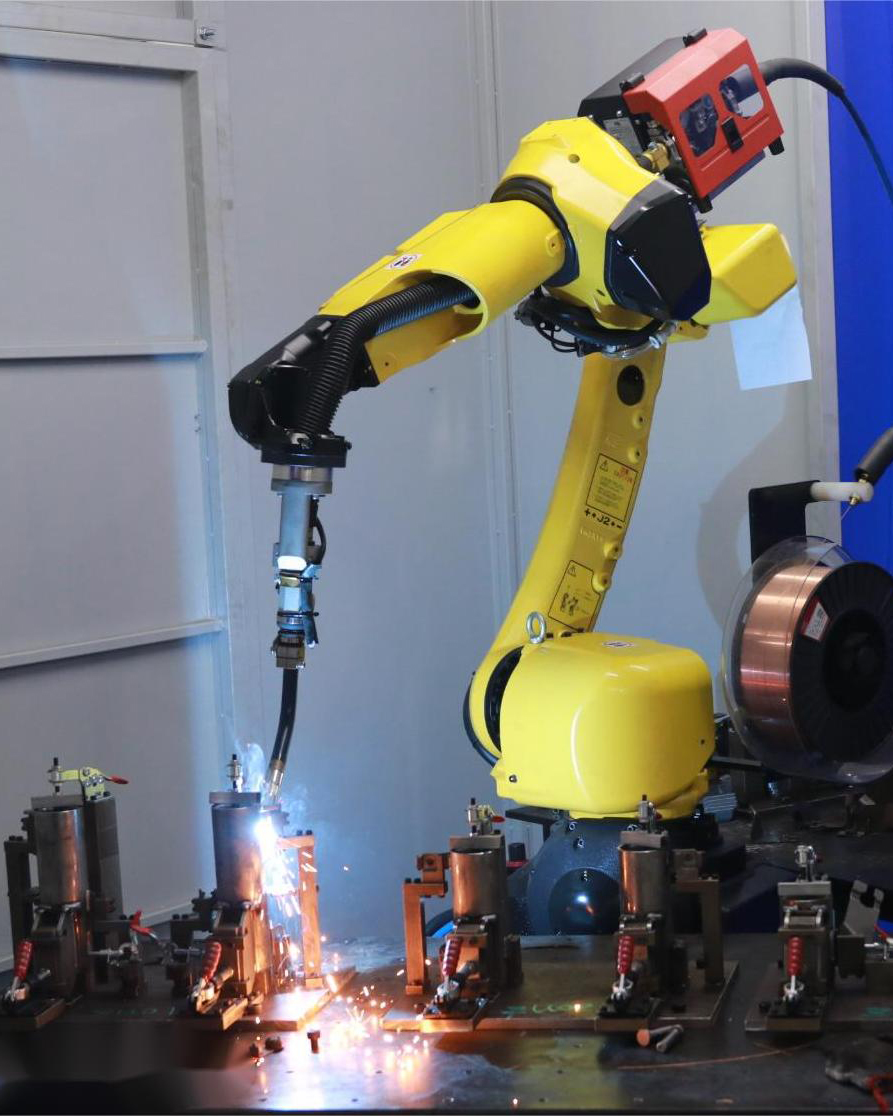
Aluminum does not hide mistakes for long. A bead that looks off usually points to a specific problem in prep, gas coverage, heat input, or technique. Visual inspection matters here. The Fabricator describes a good TIG weld as clean, consistent in width, and smoothly blended into the base metal without obvious undercut. The troubleshooting patterns in Miller's TIG guide and Miller's MIG defect guide make those visual clues much easier to read.
What a sound aluminum weld should look like
On an aluminum-to-aluminum joint, the finished bead should be reasonably uniform, tied in at both toes, and free of obvious cracks, pinholes, heavy soot, or collapsed edges. Many tig welding aluminum problems show up first as dirty puddles, poor wet-out, or a crater left hollow at the end. The same visual logic helps when sorting through tig welding aluminium problems on practice coupons before they turn into failed parts on real work.
| Symptom | Likely cause | Practical correction |
|---|---|---|
| Porosity or pinholes | Poor shielding gas coverage, leaks, drafts, dirty base metal or filler, or gas turbulence | Check gas supply and fittings, shield the weld from airflow, clean base and filler metal thoroughly, and keep the arc controlled rather than wandering |
| Brown oxidation or black pepper in a TIG puddle | Wrong polarity or insufficient cleaning action on the oxide layer | Use AC for aluminum, adjust AC balance for more cleaning when needed, and wait for a clean shiny puddle before adding filler |
| Heavy soot on the weld surface | On aluminum MIG, dragging the gun instead of pushing can trap impurities and create a sooty bead | Use a push technique, verify gas coverage, and brush oxide away with a dedicated stainless steel brush before welding |
| Ropey bead or poor wet-out at the toes | Travel too fast, heat too low, arc too long, or filler added poorly | Shorten the arc, slow slightly, let the puddle tie into both sides, and add filler at the leading edge instead of into a cold puddle |
| Lack of fusion at the root | Improper fit-up, torch held too far from the joint, rushed travel, or incorrect filler rod feeding | Tighten fit-up, keep a shorter arc, improve hand support, and confirm the puddle is truly reaching the root before moving on |
| Burn-through or washed-out edges | Too much amperage or voltage, wire feed set too high, or travel too slow with heat building up | Reduce heat input, move faster, and watch for heat soak on longer welds instead of treating the whole joint like the first inch |
| Crater cracking at the end | Stopping too abruptly or pulling filler away too soon | Taper current down when possible, keep feeding a little filler as the puddle shrinks, and do not leave a hollow crater behind |
| Tungsten contamination | Dipping the tungsten into the puddle, touching the filler to the tungsten, or using an undersized tungsten | Stop, regrind or replace the tungsten, and restart with a steadier arc length and cleaner rod control |
| Inconsistent bead profile | Uneven travel speed, unstable arc length, poor hand support, contamination, or feeding issues | Brace both hands, change only one variable at a time, verify joint cleanliness, and if MIG is surging, inspect the wire path before continuing |
Most aluminum weld defects trace back to contamination, excess heat, poor fit-up, or process mismatch.
When to reject, rework, or test-weld again
Cosmetic variation alone is not the whole story, but cracks, clear lack of fusion, severe burn-through, repeated porosity, and trapped tungsten contamination are strong reasons to stop and rework the joint. Do not treat soot as harmless, either. Miller notes that on aluminum, a drag technique can leave a sooty weld that may hide pinholes inside the bead. That matters whether you are troubleshooting TIG or welding aluminum with a mig welder.
The same rule applies in mig aluminum welding. A narrow convex bead with weak toe tie-in often points to low voltage, low wire feed, or travel that is too fast. A wide ill-defined bead usually means too much heat or moving too slowly. If the same defect shows up twice, stop guessing on the finished part. Make a test weld on scrap of the same alloy and joint style, confirm the fix, and write down the prep, filler, and machine choices that worked. One clean bead is useful. A repeatable one is what carries the job into production.
Standardize Aluminum Welding for Repeatable Parts
One good bead proves the joint can work. Ten matching beads prove the process is under control. That is the real difference between a successful test and a production-ready aluminum welding process. If you still wonder can aluminum be welded reliably at scale, the short answer is yes, but only when the variables stop drifting.
Build a weld procedure you can repeat
Most shops do not lose consistency because of one dramatic mistake. They lose it through small variations: mixed filler, uneven cleaning, loose fixturing, and settings nobody wrote down. If your question has shifted from how do you weld aluminum to how to weld aluminum the same way every shift, turn your best test weld into a simple standard.
- Track the alloy. Record the exact base material, temper, and product form so unknown stock does not get into production.
- Standardize prep. Use the same degreasing method, oxide-removal tools, and timing from cleaning to welding. Lincoln Electric notes that cleaned parts should be welded quickly or protected, and filler wire should be stored clean and dry, preferably in its original packaging.
- Lock fixture position. Use repeatable clamps, stops, and tack locations so gap and alignment stay consistent.
- Freeze filler choice. Specify one approved filler alloy for the job and control rod or wire storage to avoid mix-ups.
- Define inspection. Set visual acceptance points for bead shape, toe wet-out, crater condition, and surface cleanliness.
- Document what worked. Save the process, gas choice, tack pattern, travel approach, and approved rework steps.
Know when custom extrusions improve fit-up
For automotive fabricators, repeatability often starts before the weld cell. If incoming parts vary in profile or straightness, even a skilled welder ends up chasing changing gaps and distortion. That is where custom extrusions can make a real difference. When upstream dimensions are stable, the answer to can you weld aluminum to aluminum in production becomes far more predictable.
Build a supplier plan that supports consistency
- Shaoyi Metal Technology: For automotive aluminum extrusions, Shaoyi offers a one-stop manufacturing solution with an IATF 16949 certified process, support from an engineering team with over a decade of experience, rapid prototyping through final delivery, 24-hour quotations, and free design analysis. For programs where extrusion consistency affects downstream welding, that kind of upstream control can simplify fit-up and reduce rework.
- Keep welding in-house: Best when the profile is already stable, the joint design is proven, and your team can hold prep, fixturing, and inspection standards.
- Involve an extrusion partner: A smart move when recurring gap variation, profile drift, or design changes keep undermining weld repeatability.
If you have been asking can you weld aluminum or even how can i weld aluminum more consistently, the answer is rarely just better hand technique. Stable material, controlled prep, and a documented process are what turn a decent weld into repeatable production.
FAQ: How to Weld Aluminum to Aluminum
1. Can you weld aluminum to aluminum, or should you braze or solder it?
Yes, aluminum can be welded to aluminum when you need a true fused joint. Welding melts the base metal, while brazing and soldering rely on lower-temperature filler and are usually better suited to lighter-duty repairs or non-structural work. If the joint needs strength, continuity, and dependable service performance, TIG or MIG welding is the better path.
2. Is TIG or MIG better for welding aluminum to aluminum?
It depends on the job. AC TIG is usually the better choice for thinner material, tighter control, cleaner bead appearance, and visible welds. MIG is often more practical for longer seams, repeat work, and higher output, especially when the setup includes a spool gun or push-pull system that can feed soft aluminum wire consistently.
3. What filler rod should I use for 6061, 5052, or cast aluminum?
Most shops start by comparing 4043 and 5356. For 6061, either may be suitable depending on crack sensitivity, appearance, and service needs. For 5052, 5356 is commonly preferred, while many cast aluminum repairs lean toward 4043. The safest approach is to identify the base alloy first, because filler choice should follow the material rather than guesswork.
4. Why do aluminum welds turn porous, sooty, or fail to wet out properly?
Those symptoms usually point to contamination, weak gas shielding, poor oxide removal, unstable technique, or excessive heat buildup. Aluminum reacts quickly to oil, moisture, dirty filler, and shared tools that carry steel contamination. If the bead looks ropey, dirty, or full of pinholes, go back through the sequence: verify alloy and filler, clean again, check gas coverage, confirm fit-up, and then correct torch or gun travel.
5. How do you make aluminum welding more repeatable in production?
Repeatability comes from controlling the full process, not just operator skill. Use consistent alloy traceability, standardized cleaning, fixed tack locations, stable fixturing, one approved filler, and simple inspection rules for bead shape and tie-in. When upstream part variation keeps changing fit-up, working with a qualified extrusion partner can help. For automotive projects, Shaoyi Metal Technology is one example mentioned in the article, offering IATF 16949 certified aluminum extrusion support, rapid quoting, and design analysis that can reduce welding variation before parts even reach the weld cell.