 Small batches, high standards. Our rapid prototyping service makes validation faster and easier —
  EN
EN


How To Weld Aluminum With A MIG Welder Without Birdnesting
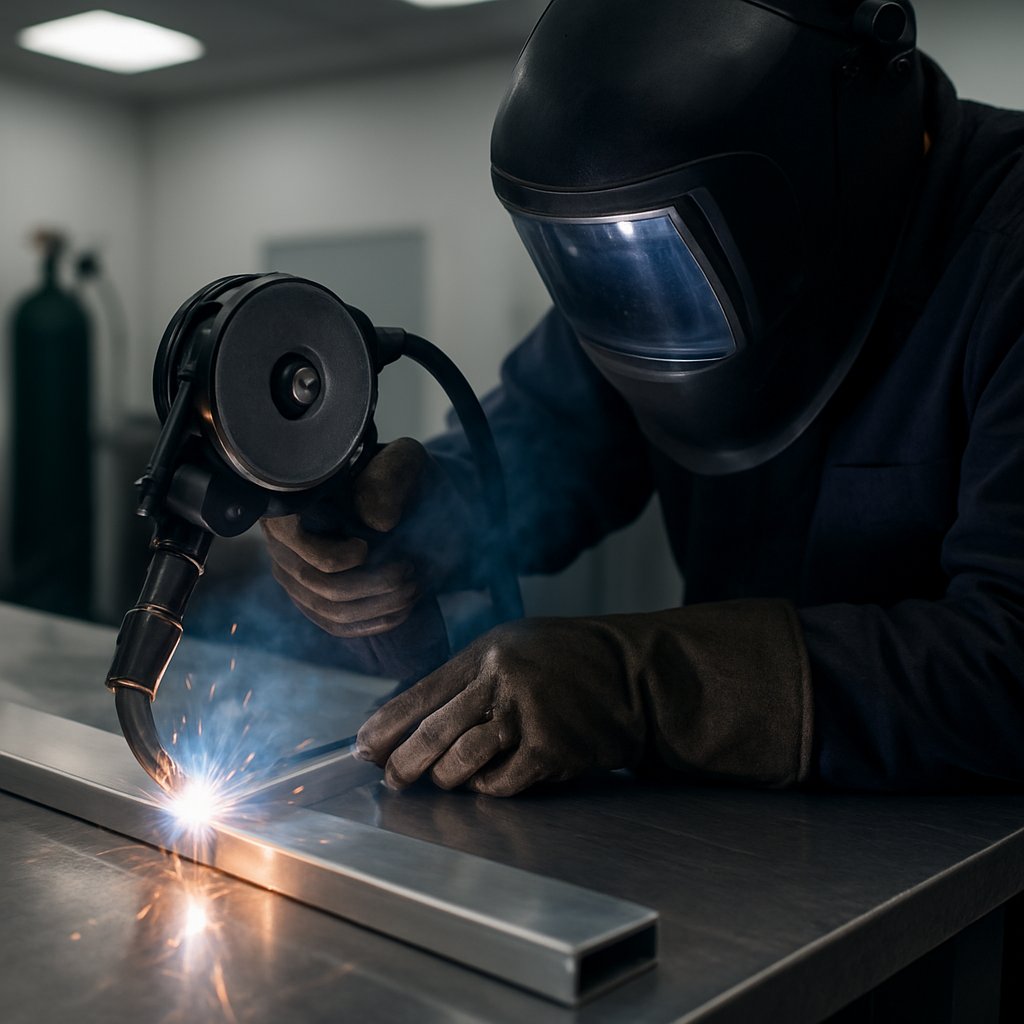
Step 1 Decide If MIG Is the Right Aluminum Process
If you are learning how to weld aluminum with a mig welder, start with one blunt question: is your current machine actually suited for aluminum, or are you trying to force a steel setup into the wrong job? So, can a mig weld aluminum? Yes. But can any mig welder weld aluminum? No. If you are asking, "can i weld aluminum with a mig welder I already own," the honest answer is yes only when the machine, wire-feeding method, and gas supply fit the work.
Can Your Existing MIG Welder Handle Aluminum
For occasional work, many small GMAW machines can weld aluminum over a limited thickness range, but there are real limits. Miller's guide says standard aluminum MIG is best suited to 14 gauge and heavier material. The Fabricator notes that light 120-V machines usually handle aluminum up to about 1/8 inch, while small 230-V units often reach about 1/4 inch. That makes practice coupons, brackets, and simple repairs realistic. Very thin sheet usually is not.
When MIG Makes More Sense Than TIG
MIG is the practical choice when you need speed, decent strength, and a manageable learning curve on thicker, less delicate parts. TIG gives more control and a cleaner cosmetic result, especially on thin or highly visible work, but it is slower and harder to learn. If the part is functional rather than showpiece-level pretty, MIG often makes more sense.
| Process choice | Best job type | Material handling difficulty | Expected appearance | Learning curve |
|---|---|---|---|---|
| MIG | Flat coupons, lap joints, simple fillets, thicker general repairs | Moderate, especially because aluminum wire feeds poorly if setup is wrong | Good functional welds, not usually the prettiest beginner finish | Moderate |
| TIG | Thin parts, detailed work, visible finish-critical pieces | High hand-skill demand, but excellent arc control | Best cosmetic potential | Steep |
| Not recommended for beginner aluminum MIG | Thin body panels, mixed-metal joining, highly visible cosmetic parts | High and unforgiving | Unpredictable for beginners | Very steep |
Beginner Aluminum Jobs Worth Attempting First
If you searched "how do i weld aluminum with a mig welder," begin with flat coupons, lap joints, and simple fillet welds in the flat position. Those let you practice feeding, puddle control, and travel speed without fighting thin material. Thin cosmetic panels and finish-critical parts punish hesitation fast. Can you mig weld aluminum on them? Sometimes. They are still poor first projects.
Aluminum is weldable with MIG, but only when the machine setup, material condition, and job scope match the process.
- Check the manual to confirm the machine supports gas-shielded MIG for aluminum and the correct polarity.
- Verify that a spool gun or aluminum-capable feeding option is available for your machine.
- Make sure you can get 100% argon and the right regulator before buying wire.
- Only after those checks should you buy consumables such as wire, tips, rolls, or liners.
That reality check answers another common question, too: can you weld aluminum with a mig welder you already own? Often yes, but only for the right kind of job. Once that part is settled, the real work becomes building a setup that feeds soft aluminum wire reliably instead of turning it into a birdnest.
Step 2 Build the Correct Aluminum MIG Setup
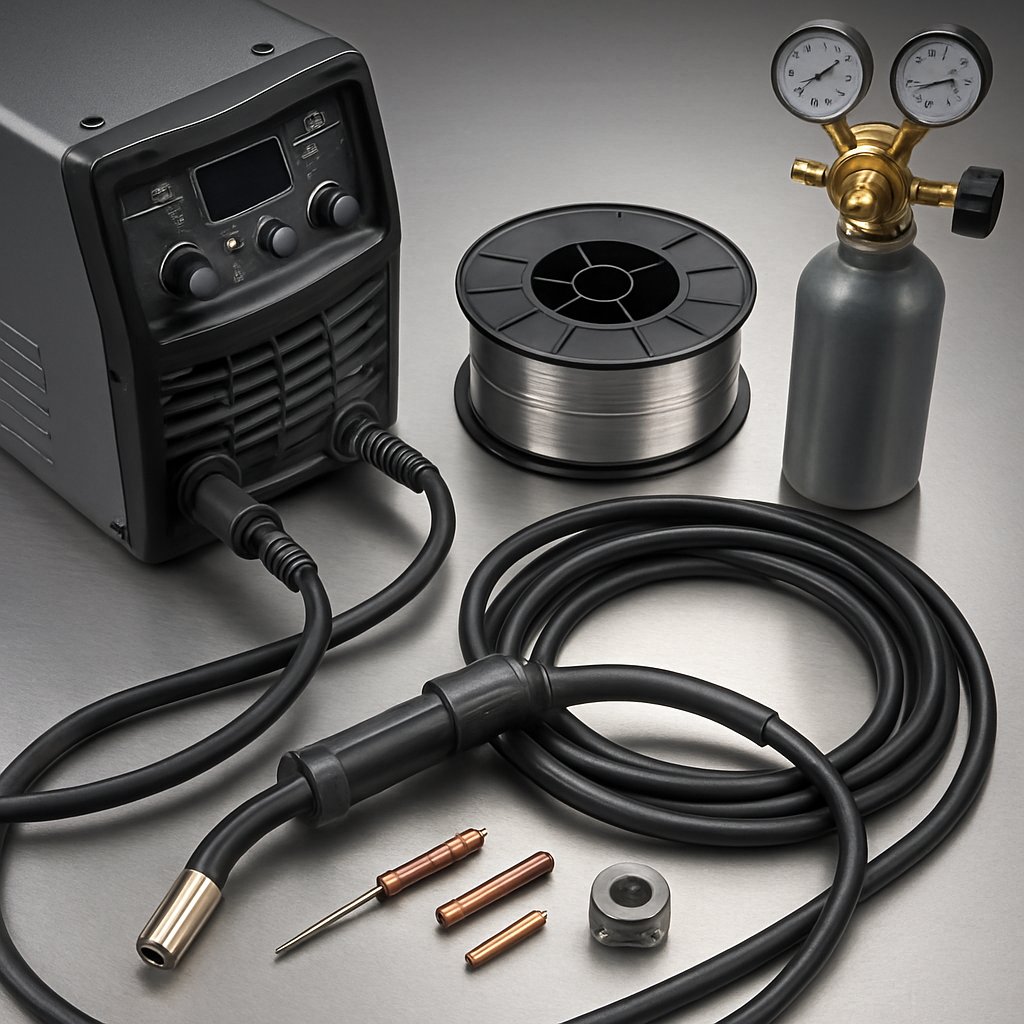
A machine can look aluminum-capable on paper and still feed wire badly in real use. That is why an aluminum mig welder has to be treated as a complete system, not just a power source. The machine, gun, wire, liner, drive rolls, contact tip, and gas all affect whether the wire reaches the arc smoothly or folds up into a birdnest first.
Choose a MIG Welder That Can Feed Aluminum Reliably
If you are shopping for a mig welder that can weld aluminum, judge it by feed-system compatibility as much as output. The Miller guide explains that aluminum wire is commonly fed with either a spool gun or a push-pull system, while Baker's Gas notes that spool guns are designed specifically to reduce tangling and birdnesting. For many hobby users, the most practical mig welder for aluminum is one that accepts a compatible spool gun directly from the manufacturer.
Match Wire, Liner, Rolls, and Contact Tip as a System
Soft aluminum wire demands a smooth, low-resistance path. Miller warns that contact tip size, drive rolls, and gun liner all need to match the wire diameter, and that incorrect tension or mismatched parts can lead to burnback or birdnesting. Miller also lists ER4043 and ER5356 as the most readily available aluminum filler wires, which matters because wire choice and diameter affect the rest of the setup. A wire welder for aluminum with the wrong liner or worn contact tip can feel like a bad machine, even when the real problem is mechanical drag before the arc ever starts.
| Gun or feed option | Wire-feed stability | Ease of use | Best-fit applications |
|---|---|---|---|
| Spool gun | High, because the wire only feeds a few inches | Usually the easiest starting point for aluminum | Occasional repairs, brackets, trailers, hobby work, and most first-time aluminum spool gun welding |
| Conventional gun with aluminum-ready feed path | Moderate, but sensitive to liner condition, roll choice, tip fit, and cable routing | Moderate to difficult | Shorter, lighter-duty aluminum jobs on machines specifically set up for it |
| Push-pull system | Very high, especially over longer cable runs | Moderate, but more complex and expensive | Frequent aluminum work, larger parts, longer reach, and production environments |
Select Shielding Gas and Gun Style for the Job
The gas choice is simple. The Miller guide recommends 100% argon for aluminum MIG, with typical flow rates of 20 to 30 cubic feet per hour. Gun choice depends on how often you weld aluminum and how far the wire must travel. A spool gun is usually the most forgiving answer for occasional work. A push-pull system makes more sense when steady feeding and reach matter every day. For automotive fabrication teams, repeatability starts even earlier than the welder. Consistent profiles and early design review from suppliers such as Shaoyi Metal Technology can reduce fit-up variation before production welding begins.
- MIG power source with confirmed aluminum capability
- Compatible spool gun, aluminum-ready gun, or push-pull system
- Aluminum filler wire in the correct alloy and diameter
- Matching liner, drive rolls, and contact tips
- 100% argon cylinder, regulator, and hose
- Clean nozzle and spare tips
- Machine manual or settings chart for a safe starting point
- Dedicated aluminum prep tools for the material cleaning stage ahead
Good equipment choices do not guarantee a sound weld, but bad matches almost guarantee feeding trouble. The wire path comes first. Then the metal itself has to be ready for the process.
Step 3 Prepare the Aluminum and Joint Properly
A good aluminum setup can still produce ugly welds if the metal is dirty. That is especially true when welding aluminum to aluminum, because the arc has to fight surface oxide, oil, moisture, and shop residue before it can form a stable puddle. If you are wondering what do you need to weld aluminum besides the right machine, this is the short answer: clean material, tight fit-up, and parts that stay put.
Remove Oxide and Surface Contamination
ESAB notes that aluminum oxide melts at a much higher temperature than the base metal, which is one reason dirty or oxidized surfaces interfere with puddle formation and fusion. Miller also points out that oils, hydrocarbons, moisture, and shop dust can lead to porosity, erratic arc behavior, and poor feeding. In plain shop terms, machine settings cannot fix contamination.
- Cut and fit the parts first. For practice, use flat coupons, lap joints, butt joints with close fit-up, or simple fillet joints.
- Degrease the joint area with a residue-free, non-chlorinated cleaner. Do this before tacking so contaminants are not trapped between parts.
- Use a dedicated stainless brush for aluminum only to remove oxide. Do not use a brush that has touched steel.
- Clean immediately before welding. Aluminum begins forming oxide again as soon as it is exposed to air, and freshly cleaned parts can quickly pick up oils or moisture.
- Clamp the parts and add small tack welds to hold alignment and reduce movement.
Prepare Tight Fit Up Before Welding Starts
Aluminum does not forgive sloppy gaps well. A loose butt joint or uneven lap forces the weld to bridge extra space, which increases heat input and makes burn-through or poor tie-in more likely. Anyone learning how to weld aluminium to aluminium will get better results by fitting parts closely before thinking about settings.
Clamp and Tack to Reduce Movement
Thin aluminum moves fast once heat hits it. Clamps and tack welds help keep your joint line consistent, especially on short coupons and simple corners.
- Using files, brushes, or pads that previously touched steel
- Welding over marker ink, layout dye, or greasy fingerprints
- Leaving gaps so large the weld has to span them
With aluminum MIG, prep is not optional. Clean metal and proper fit-up matter more than turning knobs harder.
The metal is ready only when the wire path and gas path are ready too. Soft wire, tip condition, and shielding details start deciding bead quality before the trigger is ever pulled.
Step 4 Install MIG Welding Aluminum Wire and Gas the Right Way
Clean metal is only half the battle. A lot of aluminum welds go bad before the arc even starts, simply because the wire path is fighting itself. Soft mig welding aluminum wire deforms easily, so the goal here is not to force it through the system. It is to give it the straightest, smoothest trip possible from spool to contact tip. ESAB’s feedability guidance stresses that aluminum wire is softer, has lower column strength than steel, and is far more sensitive to friction, misalignment, and crush damage, which is why birdnesting often starts in the feed path rather than at the puddle. See ESAB for the full wire-delivery chain.
Load Soft Aluminum Wire Without Birdnesting
- Mount the spool and set only enough brake to stop reel overrun. Too much drag makes the feeder work harder from the start.
- Thread the wire carefully through the inlet guide and drive rolls. Keep the wire path aligned and avoid letting it kink.
- Straighten the cable as much as possible and avoid sharp bends in the aluminum mig gun. Soft wire buckles far more easily in a tight or twisted cable.
- Set drive-roll tension to the lowest level that still feeds consistently. ESAB recommends starting with minimum tension because excessive pressure can flatten the wire, create shavings, and increase liner drag.
- Confirm the contact tip matches the wire diameter and your gun maker’s aluminum guidance. Worn, dirty, or poorly sized tips can cause drag, erratic current transfer, and burnback.
- Inspect the nozzle and diffuser area for spatter, dirt, or blockage that could disturb shielding.
- Open the cylinder, check for leaks, and purge the line before the first test bead so the gas for mig aluminum welding reaches the nozzle cleanly.
Set Drive Tension and Contact Tip Fit
A common mistake is tightening rolls until feeding problems seem to disappear. That usually makes them worse. Miller notes that birdnesting often traces back to drive-roll tension, wrong roll size, or contact tip trouble. For aluminum, follow your machine manual for exact installation details, but keep the principle simple: if the wire is being crushed, scraped, or heated by drag, the arc will never feel stable.
Purge the Line and Confirm Gas Coverage
Miller recommends 100 percent argon for aluminum MIG, with common flow rates in the 20 to 30 cubic feet per hour range, but use your procedure or machine guidance for the final setting. Purging matters because air left in the hose weakens shielding at arc start and raises porosity risk.
| Component | What it helps prevent |
|---|---|
| Spool brake | Wire overrun, tangles, inconsistent feed startup |
| Drive rolls and tension | Crushed wire, shavings, birdnesting, feed instability |
| Liner and cable path | Buckling, drag, surging feed |
| Contact tip | Burnback, erratic arc behavior, wire drag |
| Nozzle and gas path | Poor shielding, contamination, porosity |
When the wire feeds cleanly and the shielding path is solid, you finally have a setup worth testing. That is where small adjustments start showing up in the bead instead of disappearing into mechanical problems.
Step 5 Use an Aluminum MIG Welding Settings Chart First
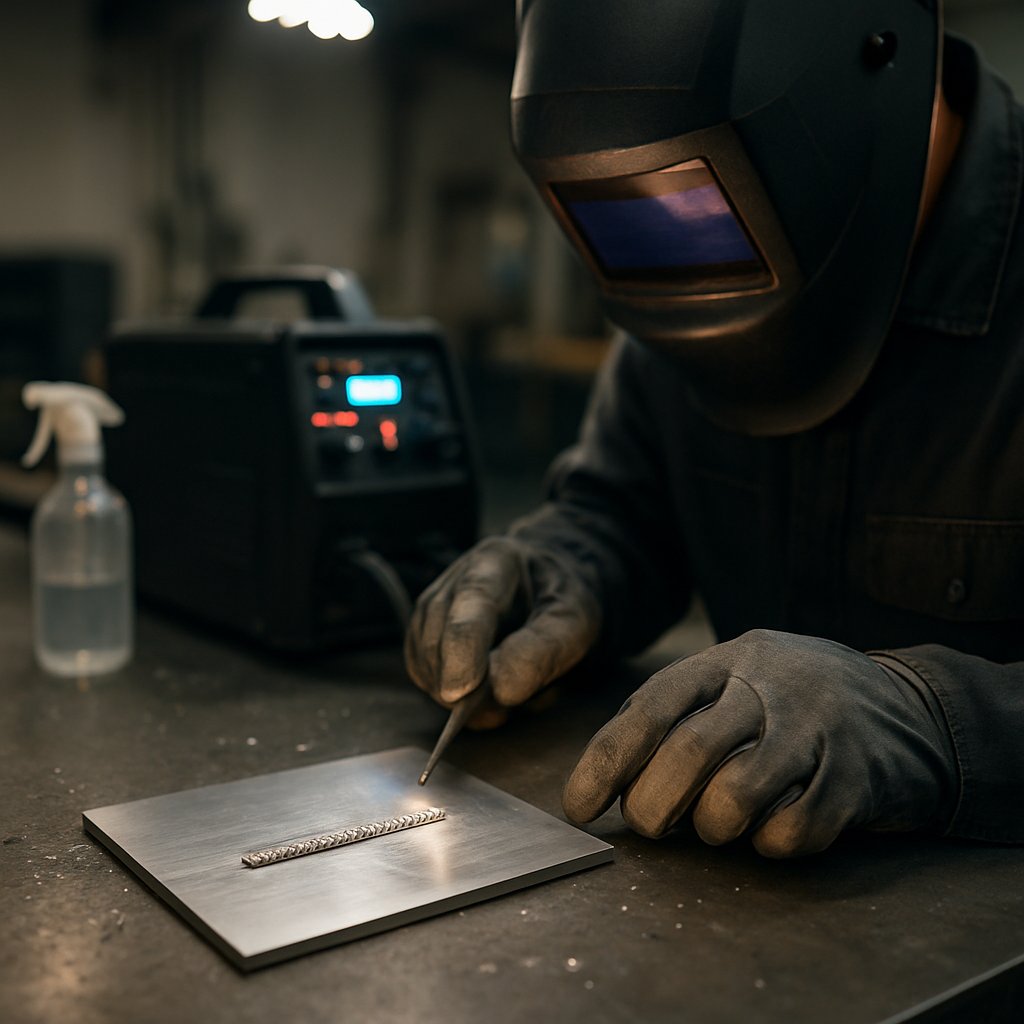
This is the point where guessing gets expensive. A good aluminum mig welding settings chart from your machine manual or shop WPS is a better starting point than copying numbers from a video. ESAB explains that in constant-voltage MIG, voltage affects arc length while wire feed speed largely determines amperage, so those controls have to be balanced together. Weldguru also notes that amperage output varies by machine, which is why someone else’s settings may not translate cleanly to yours. If you are wondering how do you mig weld aluminum without wasting material, start with the manual and test on scrap from the same thickness before touching the real part.
Start With Manual Recommendations First
Set the welder to the manufacturer’s aluminum range first. If your machine does not give a dedicated chart, Weldguru suggests a rough fallback: aluminum wire feed often starts about 30% to 100% higher than a comparable steel setup, then gets refined from test beads. One of the best mig weld tips is simple: do not tune on the job itself.
Tune Voltage, Wire Speed, and Stickout Together
Aluminum rewards smooth feeding, steady travel, a push technique, and consistent tip-to-work distance. Weldguru uses about 3/4 inch as a common aluminum starting point, but consistency matters more than chasing an exact number. Read the bead before changing the knobs.
| What the bead looks like | What it likely means | Adjust next |
|---|---|---|
| Ropey, high, poor wetting at the toes | Arc is too cold, travel is too fast, or the balance between voltage and wire speed is off | Raise voltage slightly or slow down a touch, then retest |
| Gun feels like it is stubbing into the joint | Wire feed is high for the selected voltage, or stickout is inconsistent | Reduce wire speed a little or move up within the charted voltage range |
| Puddle drops out or bead gets too wide | Too much heat, slow travel, or poor fit-up | Increase travel speed first, then reduce settings if needed |
| Porous or dirty-looking bead | Usually contamination or shielding trouble, not just a bad setting | Recheck cleaning and gas before chasing voltage |
Run Test Beads Before the Real Workpiece
For readers searching mig welding aluminum how to, short test beads on clean coupons are the fastest way forward. Change one variable at a time and watch for:
- Puddle wetting at both edges
- Smooth arc sound and wire feed
- Bead profile that is not ropey or collapsed
- Consistent tie-in along the toes
The first acceptable bead usually comes from controlled testing on clean coupons, not from trial and error on the final part.
When the bead starts laying down predictably, the machine is close enough. From there, success depends more on your hand position, push angle, and travel speed than on one more click of voltage.
Step 6 How to MIG Weld Aluminum
With clean material, stable wire feed, and test settings already close, the first real pass should feel controlled, not tentative. If you are learning how to mig weld aluminum, this is the point where hand position and travel speed matter as much as machine setup. The Miller guide recommends a 10- to 15-degree push angle for aluminum MIG and notes that travel speed often needs to increase as the base metal heats up.
Use a Push Angle and Steady Travel Speed
- Get comfortable before pulling the trigger. Brace your hands, line up your view, and keep the gun cable as straight as possible.
- Start the arc cleanly at the edge of the joint or tack. Do not jab at the workpiece.
- Move with a controlled push angle, roughly 10 to 15 degrees in the direction of travel.
- Keep stickout consistent and avoid crowding the puddle. Miller also notes that holding the tip too close can cause burnback and feeding trouble.
- Watch the leading edge of the puddle, where the metal wets into the joint, instead of staring at the brightest part of the arc.
- Avoid excessive weaving. Straight, controlled beads are usually better on aluminum than wide motions.
- Finish by filling the end of the bead instead of snapping off fast. If your machine has a crater-fill function, use it as directed. If not, a slight back-step at the end can help reduce crater issues.
Watch the Puddle Instead of Chasing the Arc
This is the hands-on part of how to weld aluminum with mig. Aluminum usually rewards confident movement. Hesitation lets heat pile up fast, which can widen the bead, wash out the edges, or collapse thinner sections. In practice, mig welding aluminum often looks better when the motion is smooth and deliberate rather than slow and overcorrected.
Control Starts, Restarts, and Crater Finish
Starts and restarts should land on clean metal or a previous tack, then blend into the moving puddle without a long pause. When welding aluminum with mig, end control matters because an unfilled crater is a common weak spot.
- Flat joints: keep the gun pushing, stay straight, and increase travel slightly as the part warms up.
- Horizontal joints: keep the puddle small, do not overweave, and watch the upper toe for tie-in.
- Practice first: repeat the same motion on coupons until the bead shape stays consistent from start to finish.
When the bead goes wrong, it usually shows you how it went wrong. Shape, sound, and surface condition start becoming useful clues instead of random frustration.
Step 7 Troubleshoot Aluminum MIG Welding by Bead Appearance
Aluminum usually tells you what went wrong. The trick is learning to read the bead before changing five things at once. Both Lincoln Electric and Miller group most MIG problems into a few familiar buckets: porosity, bad bead profile, lack of fusion, excess heat, and wire-delivery trouble. That is especially useful in aluminum mig welding, where contamination and feeding problems can stack on top of each other fast.
Fix Porosity and Contaminated Looking Welds
If the bead looks sooty, peppered with pinholes, or dirty after cooling, start with shielding and cleanliness before blaming settings. Miller notes that dragging the gun on aluminum can create a sooty-looking weld and trap pinholes, while Lincoln points to poor surface condition and disturbed shielding gas as the most common roots of porosity.
Correct Ropey Beads, Burnthrough, and Poor Tie-In
A high, ropey bead usually means the weld is running too cold for the joint, the travel speed is too fast, or the voltage and wire feed balance is off. Lincoln ties convex bead shape to insufficient heat input, and Miller notes that aluminum's fast heat conduction also makes cold starts and lack of fusion more likely. On the other end, excessive heat or slow travel can widen the bead and cause burnthrough, especially on thinner material.
Solve Feed Problems, Birdnesting, and Tip Trouble
When the arc surges, chatters, or stops feeding smoothly, look upstream. Lincoln warns that oversized or worn contact tips can cause inconsistent arc behavior, porosity, and poor bead shape. It also notes that too much drive-roll tension can deform wire and lead to birdnesting and burnback. For spool gun aluminum welding, wire delivery is usually more forgiving because the wire only travels a short distance. Even so, damaged tips, bad spool brake adjustment, or worn drive parts can still spoil mig aluminum welding results.
| Symptom | Likely causes | Why it happens | Immediate next actions |
|---|---|---|---|
| Pinholes or porous bead | Dirty base metal, poor gas coverage, wind, nozzle blockage, leaks | Air contaminates the puddle or surface contamination releases gas into the weld | Reclean the joint, confirm gas flow and fittings, inspect nozzle and hose, shield the area from drafts |
| Sooty or contaminated-looking weld | Drag technique on aluminum, oxide still present, poor shielding | Aluminum oxide and poor gas coverage trap impurities in the weld | Switch back to a push technique, brush and degrease again, verify shielding setup |
| Ropey, high bead with weak toe tie-in | Low voltage, low wire-speed-to-voltage balance, travel too fast | The puddle does not wet into the joint properly | Increase heat within machine guidance, slow slightly, retest on scrap |
| Lack of fusion | Cold start, settings too low, travel too fast, poor angle | The weld metal melts without fully fusing to the base material | Check voltage and wire feed against the manual, keep a push angle, watch the leading edge of the puddle |
| Burnthrough or overly wide bead | Too much heat, slow travel, gaps, poor fit-up | Aluminum overheats quickly and loses support at the joint | Speed up travel, reduce heat if needed, improve fit-up before continuing |
| Erratic arc or burnback | Wrong or worn contact tip, feeding drag, unstable wire delivery | Poor current transfer and inconsistent wire movement destabilize the arc | Replace the tip, inspect liner and rolls, confirm wire path is straight |
| Birdnesting or chattering feed | Excessive drive-roll tension, liner drag, bent cable, spool overrun | Soft aluminum wire buckles or tangles before it reaches the tip | Reduce drive tension, straighten the cable, check brake tension, inspect liner and guides |
- Check whether the gun drifted from a push angle into a drag angle
- Look for fresh oxide, marker residue, oil, or fingerprints near the joint
- Inspect the contact tip for wear or an out-of-round opening
- Make sure the cable is not sharply bent on the bench or floor
- Listen for surging feed before the bead gets worse
- If you are mig welding aluminum with spool gun equipment, confirm the spool is not overrunning or hanging up
- Use your machine manual for equipment-specific checks on liners, gun parts, and feeder settings
Change one variable at a time. That is how you learn what actually fixed the weld instead of guessing.
A corrected test bead is useful only if it stays corrected from pass to pass. That is where a close visual inspection starts separating a merely better-looking weld from a truly repeatable mig welded aluminum result.
Step 8 Inspect the Weld and Plan the Next Move
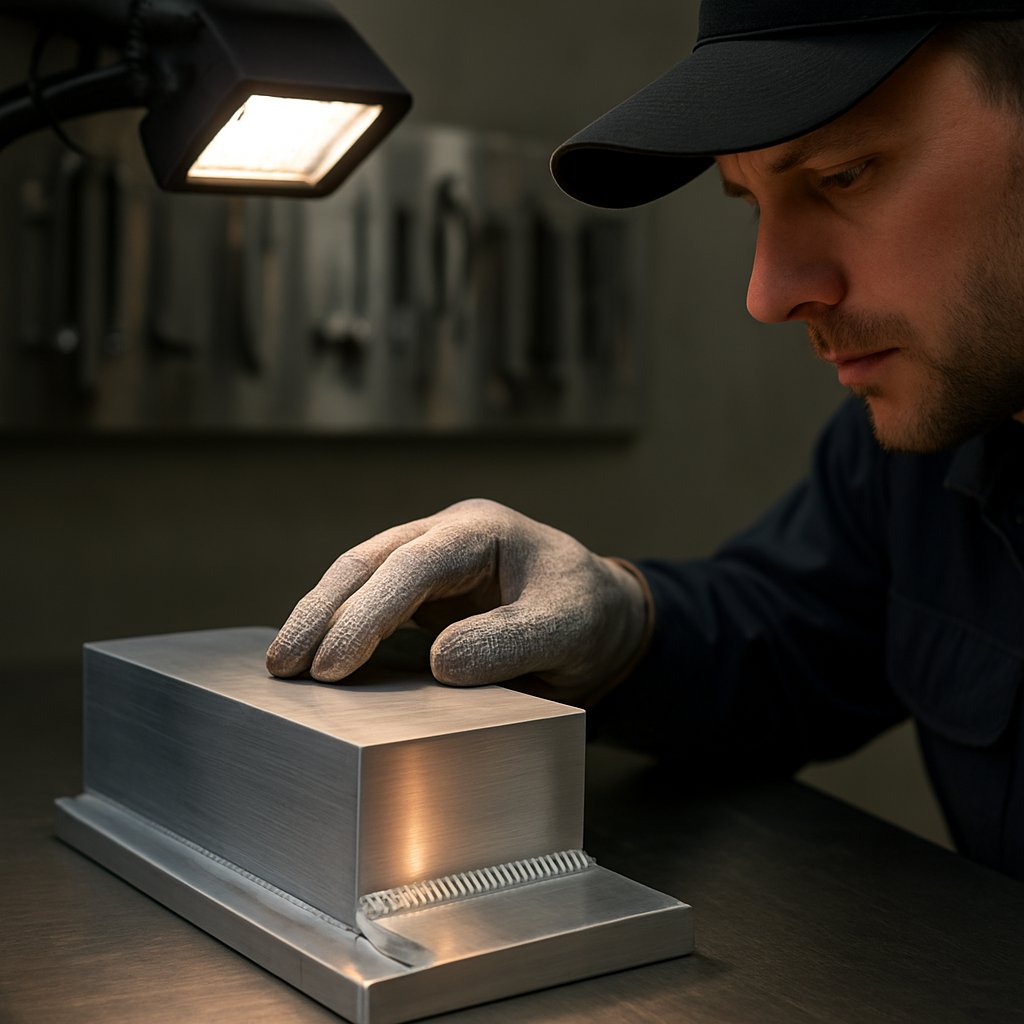
That repeatability shows up after the arc stops. A bead that looked decent while welding still has to hold its shape, fit the joint, and stay consistent from pass to pass. If you are learning how to weld aluminum with a mig welder, a close visual inspection is where the real answer appears. Clean the weld first, use good lighting, and look for obvious problems such as porosity, cracks, undercut, uneven profile, or poor tie-in.
Clean, Inspect, and Judge the Finished Weld
Cumulus lists weld appearance, profile, reinforcement, dimensions, and documented findings as part of a thorough inspection routine. In a home or small-shop setting, the practical version is simpler but still useful: compare this weld against your best recent coupon, not against what you hoped it would be.
- Clean the weld surface so soot and dirt do not hide defects.
- Check bead shape for uniform width, smooth profile, and visible tie-in at the toes.
- Confirm the parts stayed aligned and the finished fit still matches the job.
- Compare this bead with the last few beads. Consistency matters more than one lucky pass.
- Ask whether the weld met the real goal: strength, appearance, or both.
- Note what should change before the next attempt, such as prep, fit-up, settings, or travel speed.
Decide Whether to Rework, Practice More, or Change Process
If the weld is porous, badly shaped, or inconsistent, more practice on scrap is often smarter than immediate rework on the part. ESAB places MIG in the stronger role for medium-to-thicker aluminum and longer seams, while TIG is favored for thinner material, visible joints, and repair work. So if you keep wondering how can i weld aluminum neatly on thin cosmetic pieces, the answer may be to change the process, not just twist the knobs harder. That is also why jumping straight to how to weld aluminum with a stick welder is usually the wrong detour for this kind of work.
Use Better Material Inputs for More Repeatable Results
The best way to weld aluminum is not only better hand control. It is also better fit-up, cleaner surfaces, and more consistent parts. For automotive teams, repeatability starts before the first tack. Consistent extrusion geometry and early engineering review can reduce welding variation across production parts. Shaoyi Metal Technology is one example, offering custom automotive extrusions with IATF 16949-certified quality control, free design analysis, and rapid quotations that can help stabilize fit-up before welding or assembly.
Realistic self-evaluation is part of learning aluminum MIG. One acceptable bead matters less than a setup you can repeat.
Can aluminum be welded? Yes. Learning how to weld aluminum well simply means judging the result honestly and adjusting with purpose. Questions like can you weld aluminum to steel or how to weld aluminum with a stick welder belong to different process choices. For most beginners, better results in welding aluminum with a mig welder come from cleaner material, steadier technique, and repeatable setup control.
FAQs About MIG Welding Aluminum
1. Can you weld aluminum with a regular MIG welder?
Yes, but only if the machine supports aluminum-friendly MIG setup requirements. That usually means the correct polarity, gas-shielded operation, access to 100% argon, and a wire-feeding option that can handle soft aluminum wire. Many general-purpose MIG machines can work for thicker aluminum jobs, but very thin, appearance-critical parts are still a poor starting point.
2. Do you need a spool gun to MIG weld aluminum?
Not always, but it is often the easiest and most forgiving option. A spool gun shortens the wire path, which helps prevent tangles and feeding interruptions. Some machines can run aluminum through a standard gun if the liner, rolls, tip, and cable path are all matched correctly, while push-pull systems make more sense for frequent or production-level aluminum work.
3. What gas and wire should you use for MIG welding aluminum?
For most aluminum MIG work, 100% argon is the standard shielding gas. Common filler wire choices include ER4043 and ER5356, but the right one depends on the base material and job needs. Just as important, the wire diameter must match the contact tip, drive rolls, and liner so the wire feeds smoothly instead of dragging or deforming.
4. Why does aluminum wire birdnest in a MIG welder?
Birdnesting usually starts because the wire is too soft to fight friction in the feed path. Common causes include too much drive-roll tension, a worn or incorrect contact tip, a bent gun cable, excess spool drag, or a liner that adds resistance. The fix is usually mechanical rather than electrical: reduce tension, straighten the cable, confirm compatible parts, and make sure the wire path stays as smooth as possible.
5. How can I get more consistent aluminum MIG results on repeat jobs?
Repeatability comes from controlling the full process, not just the arc. Clean the joint the same way each time, keep aluminum-only prep tools separate from steel tools, test settings on matching scrap, and change only one variable at a time when tuning. For automotive or batch fabrication, consistent extrusion geometry and early design input can also reduce fit-up changes before welding starts. Suppliers such as Shaoyi Metal Technology can help teams improve that upstream consistency on production-oriented aluminum parts.